I started to make homemade yoghurt for a few reasons. The biggest reason is that my husband is a stroke survivor and I try to make healthy food, but also food that he can easily manage preparing with the use of one hand.
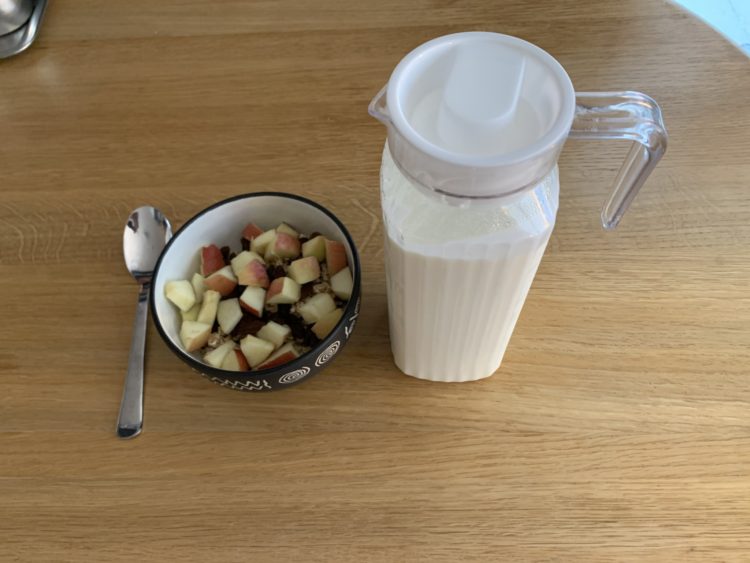
He likes yoghurt poured over muesli in the morning. Most of the commercial drink yoghurts come in a 1 liter carton. The cartons are difficult to manage with one hand and we seem to waste about ¼ of a carton because we can’t get the yoghurt out easily. We go through about 3-4 liters per week.
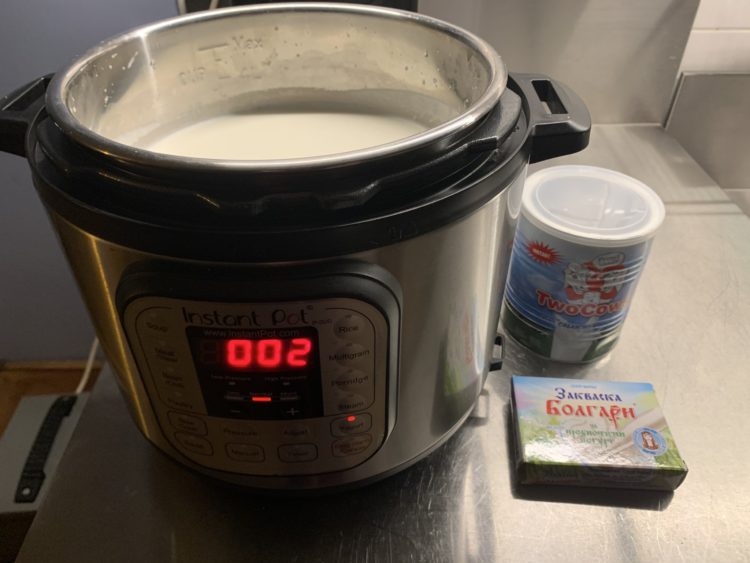
The goal was to make a pourable yoghurt with as many probiotics as possible with no added sugars, emulsifiers, or other junk. It needed to be easy for me so that I would make it consistently, but also easy for my husband to use it. I wanted to make it using the InstantPot and use 1 liter plastic jugs that are easy to open, pour, store, clean in the dishwasher and reuse. They need to fit inside our refrigerator “party hatch” where he makes his yoghurt and muesli in the morning.
Ingredients
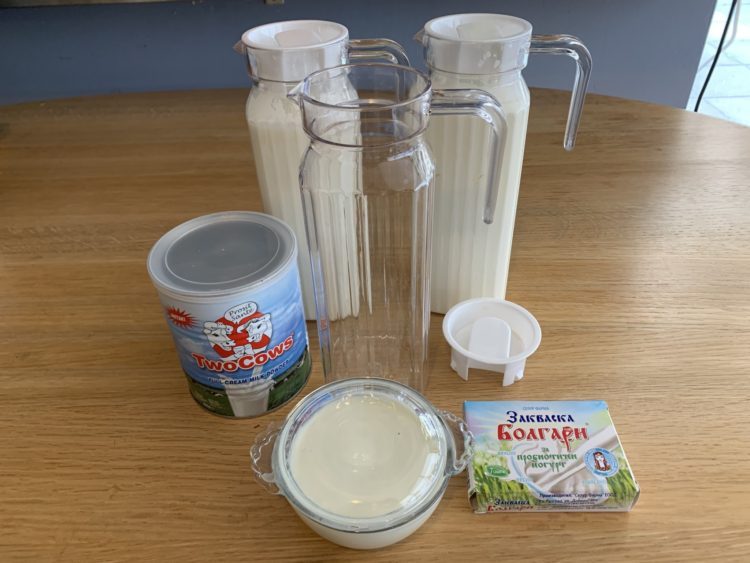
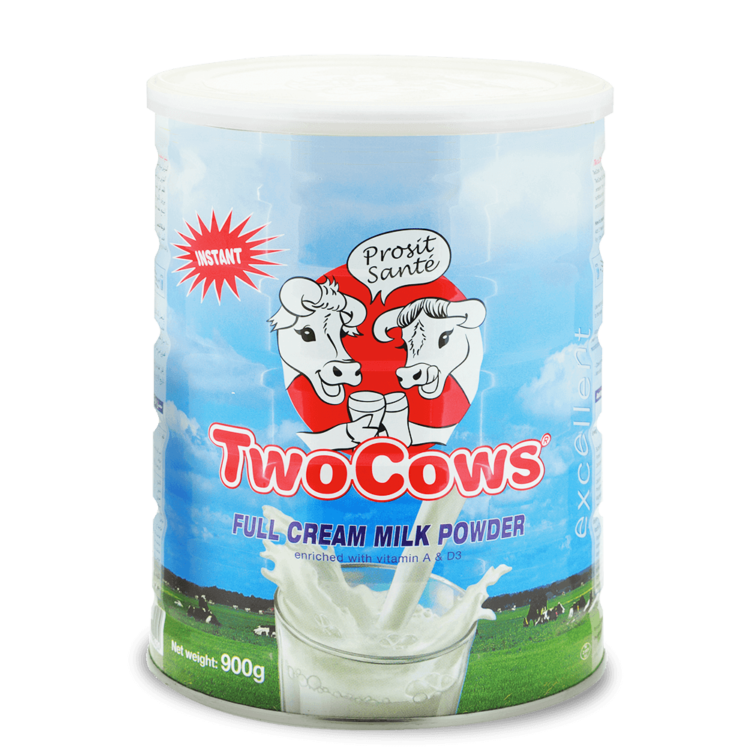
- 400 gram powdered milk (1 tinof TwoCows)
- 2700 ml water at 40°C (or 105°F)
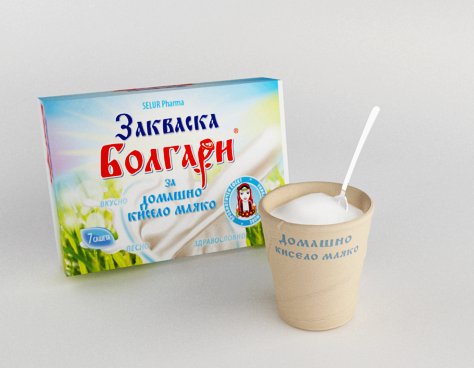
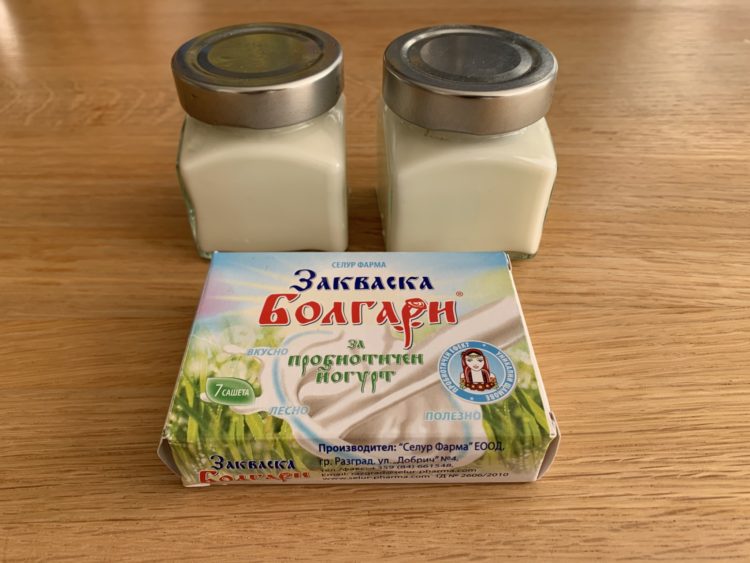
- 1 sachet starter culture “bolgari” for probiotic yoghurt Each sachet is 1 g and makes up to 3 liters.
or - re-culture using 90 ml (6 tablespoons) fresh yogurt from the previous batch.
Makes a bit less than 3 liters in total.
Instructions
- Heat the water to 40°C (or 105°F) or let it cool to that temperature. There is no need to pre-boil because the milk is already denatured (scalded).
- Add 390 g for 3 liters (130 g for 1 liter) milk powder. The milk powder is in 400 g tins, so I use the full tin,
- Add 1 sachet of the yoghurt culture or 90 ml (6 tablespoons) of the re-cultured yoghurt.
- Whisk for about 3-5 minutes or use a staf-mixer for about 1 minute.
- Select the InstantPot “yogurt” function key, press “Adjust” to “Normal” mode and then adjust the time using the “+” key for a total of 10 hours. If you do not set a time it will default to 8 hours. A longer fermentation time usually yields a tarter flavored yogurt. We prefer 10 hours.
- Fermentation is carried out at a temperature between 42-440С, for 8-10 hours, without stirring. The temperature of the Instant Pot is between 36 ° ~ 43°C (96.8° ~ 109.4°F).
- After it has fermented, cool it to 200C (room temperature), and then store in the refrigerator at 2° ~ 6 °С for 5-7 hours.
- Save 90 ml (6 tablespoons) of yoghurt to use as a culture for next time. You can do this approx. 10 times.
InstantPot – Making Yogurt
[copied from the InstantPot-IP-DUO-Manual-English.pdf]
You can make yogurt either with the inner pot or use glass bottles. The process to make yogurt involves two steps. The first step is to pasteurize the milk by heating it to 180° F/83° C. This serves two purposes: (1) killing pathogens and harmful bacteria which can grow during the fermentation period, and (2) denaturing milk proteins, which prevents curding of milk and makes the proteins easier to absorb.
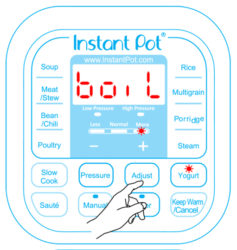
Instant Pot® provides two convenient ways to heat your milk. If you use the inner pot to make yogurt, press “Yogurt” then “Adjust” to “More” mode with the word “boil” on the display. Instant Pot® will then boil the milk to 180° F/83° C. When it’s done, it beeps and displays “yogt”.
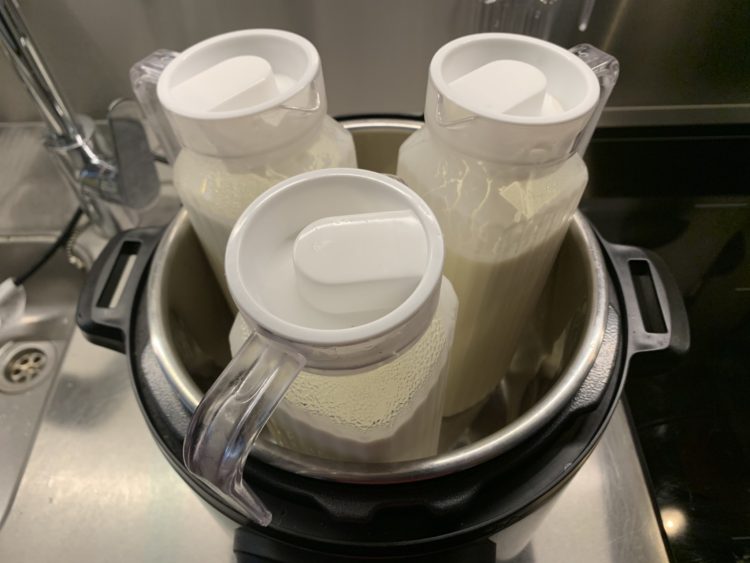
If you use containers or bottles to make yogurt, you can steam the milk by: adding 1 cup of water in the inner pot, putting in the steam rack and placing your containers or bottles on top of the rack. Select the “Steam” function and set the time for 1 minute. Once the process is over, use the “Natural Release” method to release the steam.
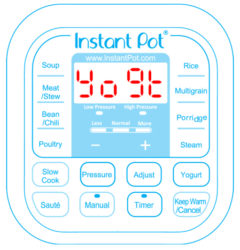
The second step after heating the milk is to let it cool to below 115°F/46°C, then add an adequate amount of yogurt starter or fresh yogurt. If you use containers or bottles, you can place them in the inner pot without adding any additional water. Press the “Yogurt” function key, press “Adjust” to “Normal” mode and then adjust the time using the “+” and “-“ keys based on the instructions of the yogurt starter. The program automatically starts in 10 seconds. When the program completes, Instant Pot® beeps, displays “yogt” and goes to standby state.
The yogurt can be served plain together with other dishes (e.g. curry), or mixed with honey or jam to make a fruit yogurt.
Re-culturing using yohgurt
Save 90 ml to re-culture using the fresh yogurt to make a new batch within 7 days. If a longer break is necessary between batches, freeze for up to 4 weeks. If freezing, thaw gradually in the refrigerator the day before to not harm the culture.
For both methods, let them come to room temperature for a few hours before using. You can re-culture approx. 10 times before it will loose it’s ability to ferment.
For more information, see Taking a Break from Making Yogurt and The Official YOGURT CULTURE Master Homemade Yogurt Recipe .
Yoghurt Starter
We use a “Bolgari” a live active probiotic starter culture from Bulgaria. We have not experimented with many others, because this is the easiest for us to source at a good price. We only need to use a new sacchet if we have not made yoghurt in a while and have yoghurt to reculture. One pack of starter culture is enough to make from 1 to 3 litres. See www.bolgari.bg by Selur Pharma, Bulgaria.
Bolgari contains living lactic-acid bacterial strains of types Lactobacillus bulgaricus, Streptococcus thermophillus, Lactobacillus gasseri, Lactobacilus rhamnosus, that sustain the useful microflora in the gastrointestinal tract and the normal digestive function.
Type of milk
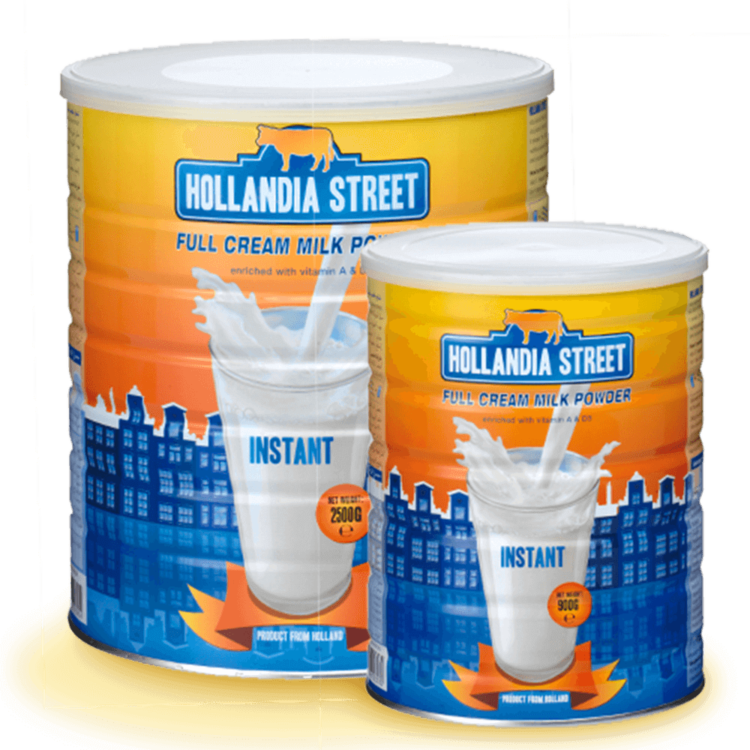
We use Two Cows or Hollandia Street full powdered milk from Vreugdenhil Dairy Foods. They are full cream milk powders made from cow’s milk from Dutch cows. The milk powders consist of 28% fat and is rich in calcium with added vitamins A and D3 so the calcium is absorbed better by the body. They are certified halal, kosher and organic.
The powders have a long shelf life and are soluble in hot and cold water. 130 grams of milk powder and 900 ml of water is good for 1 liter of milk. Two Cows and Hollandia Street are avalable in 400, 900, 1,800 or 2,500 gram tins. We use which ever we can source at the best price.
To boil or not to boil the milk
From Making yogurt without heating milk https://cooking.stackexchange.com/questions/32783/making-yogurt-without-heating-milk
The biggest reason to heat milk to almost boiling before fermenting is that it improves the texture of the yogurt.
During fermentation the bacteria consume lactose and produce lactic acid which causes the milk proteins to denature and coagulate trapping most of the fat. The proteins involved are primarily the casein proteins.
When this happens, there is still quite a bit of protein left that isn’t bound up in the new casein mesh. All of the albumin proteins are water soluble and will not add to the structure of the yogurt.
These albumin proteins denature when they are heated. For this reason recipes universally call for the milk to be heated to 190 and then cooled. The albumin is denatured and is able to tangle up with the casein during fermentation and add to the yogurt structure.
Skipping this step will make a very profound difference to the structure of your yogurt. Without it your yogurt will be thinner and much more fragile. When you scoop it there will be more whey and all that albumin will wash out in it.
According to Harold McGee (On Food and Cooking pp 48)
“These treatments improve the consistency of the yogurt by denaturing the whey protein lactoglobulin, whose otherwise unreactive molecules then participate by clustering on the surfaces of the casein particles. With the helpful interference of the lactoglobulins, the casein particles can only bond to each other at a few spots, and so gather not in clusters but in a fine matrix of chains that is much better at retaining liquid in its small interstices.”
I have been making thermophilic yogurt successfully for about a year or more without the pre-heating step, just incubation. This greatly simplifies the process. However, there are several items that I think are crucial to getting this to work well.
- I only use milk from a previously unopened container to reduce the risk of unwanted bacteria being introduced to the milk. (In the rare events that I have raw milk available, I use the pre-heating stage to pasteurize the milk.)
- I use glass jars with metal or plastic lids freshly “sterilized” by the hot wash and hot dry cycles of a dishwasher, for the same reason.
- There seem to be differences in the resulting yogurt between different dairy brands etc of milk. My best success has been with Organic Valley Whole homogenized milk. I have avoided anything that has been ulta-pasteurized (UHT) because of general online chatter, though I haven’t verified it myself. Perhaps as an earlier contributor suggested, the UHT process may achieve the denaturing effect – this could be an interesting experiment. I am guessing that even the regular flash pasteurization may affect the proteins and thus the consistency of the finished yogurt.
- I use about 1 teaspoon of starter (from previous batch or favourite store brand of yogurt with live cultures)per quart or litre of milk.
- Simply put the teaspoon of yogurt in each jar (I prefer the quart or litre size as I make 4 of these at a time. Then pour in the cold milk directly. Put the jars in the incubating chamber.
- A good ice chest (cooler, Esky, whatever you call it) works well as an incubating chamber with hot tap water to maintain the temperature. Use enough water to immerse the part of the jars below the lids, and close the lid of the cooler to keep the temperature stable.
- The water temperature should be about 105-120F or 40-50C. The cold milk will affect this temperature, so check up and adjust the water an hour or so after introducing the jars. I usually try to have the water temperature in the upper half of the temperature range as it will cool slightly overnight in the cooler.
- Usually overnight or so, roughly 10-12 hours, will complete the process. You can tilt the jar to see that it has gelled. Then just transfer the jars to the refrigerator. Longer incubation seems to yield a more tart flavour which may be a personal preference.
The result is a thinner consistency than if the higher temperature denaturing process is used, but it is very smooth and creamy. Since our household uses about 2 litres of yogurt a week, the simplification of the procedure is welcome. An entire batch can be prepared in about 10 minutes in the ice chest, the water temperature checked and adjusted an hour or so later, and in the morning have yogurt ready to put in refrigerator. Never do I get the graininess that can occur sometimes from the denaturing process etc. The differences in consistency can be a personal preference.
Occasionally, if the incubation temperature is lower than it should be, and I end up with yogurt with a viscosity only slightly thicker than milk. It still tastes great and works well in beverages or smoothies. Some people may actually prefer this.