Velcro Adjustable Back Upholstery replaced with ADI Carbon Fiber Back
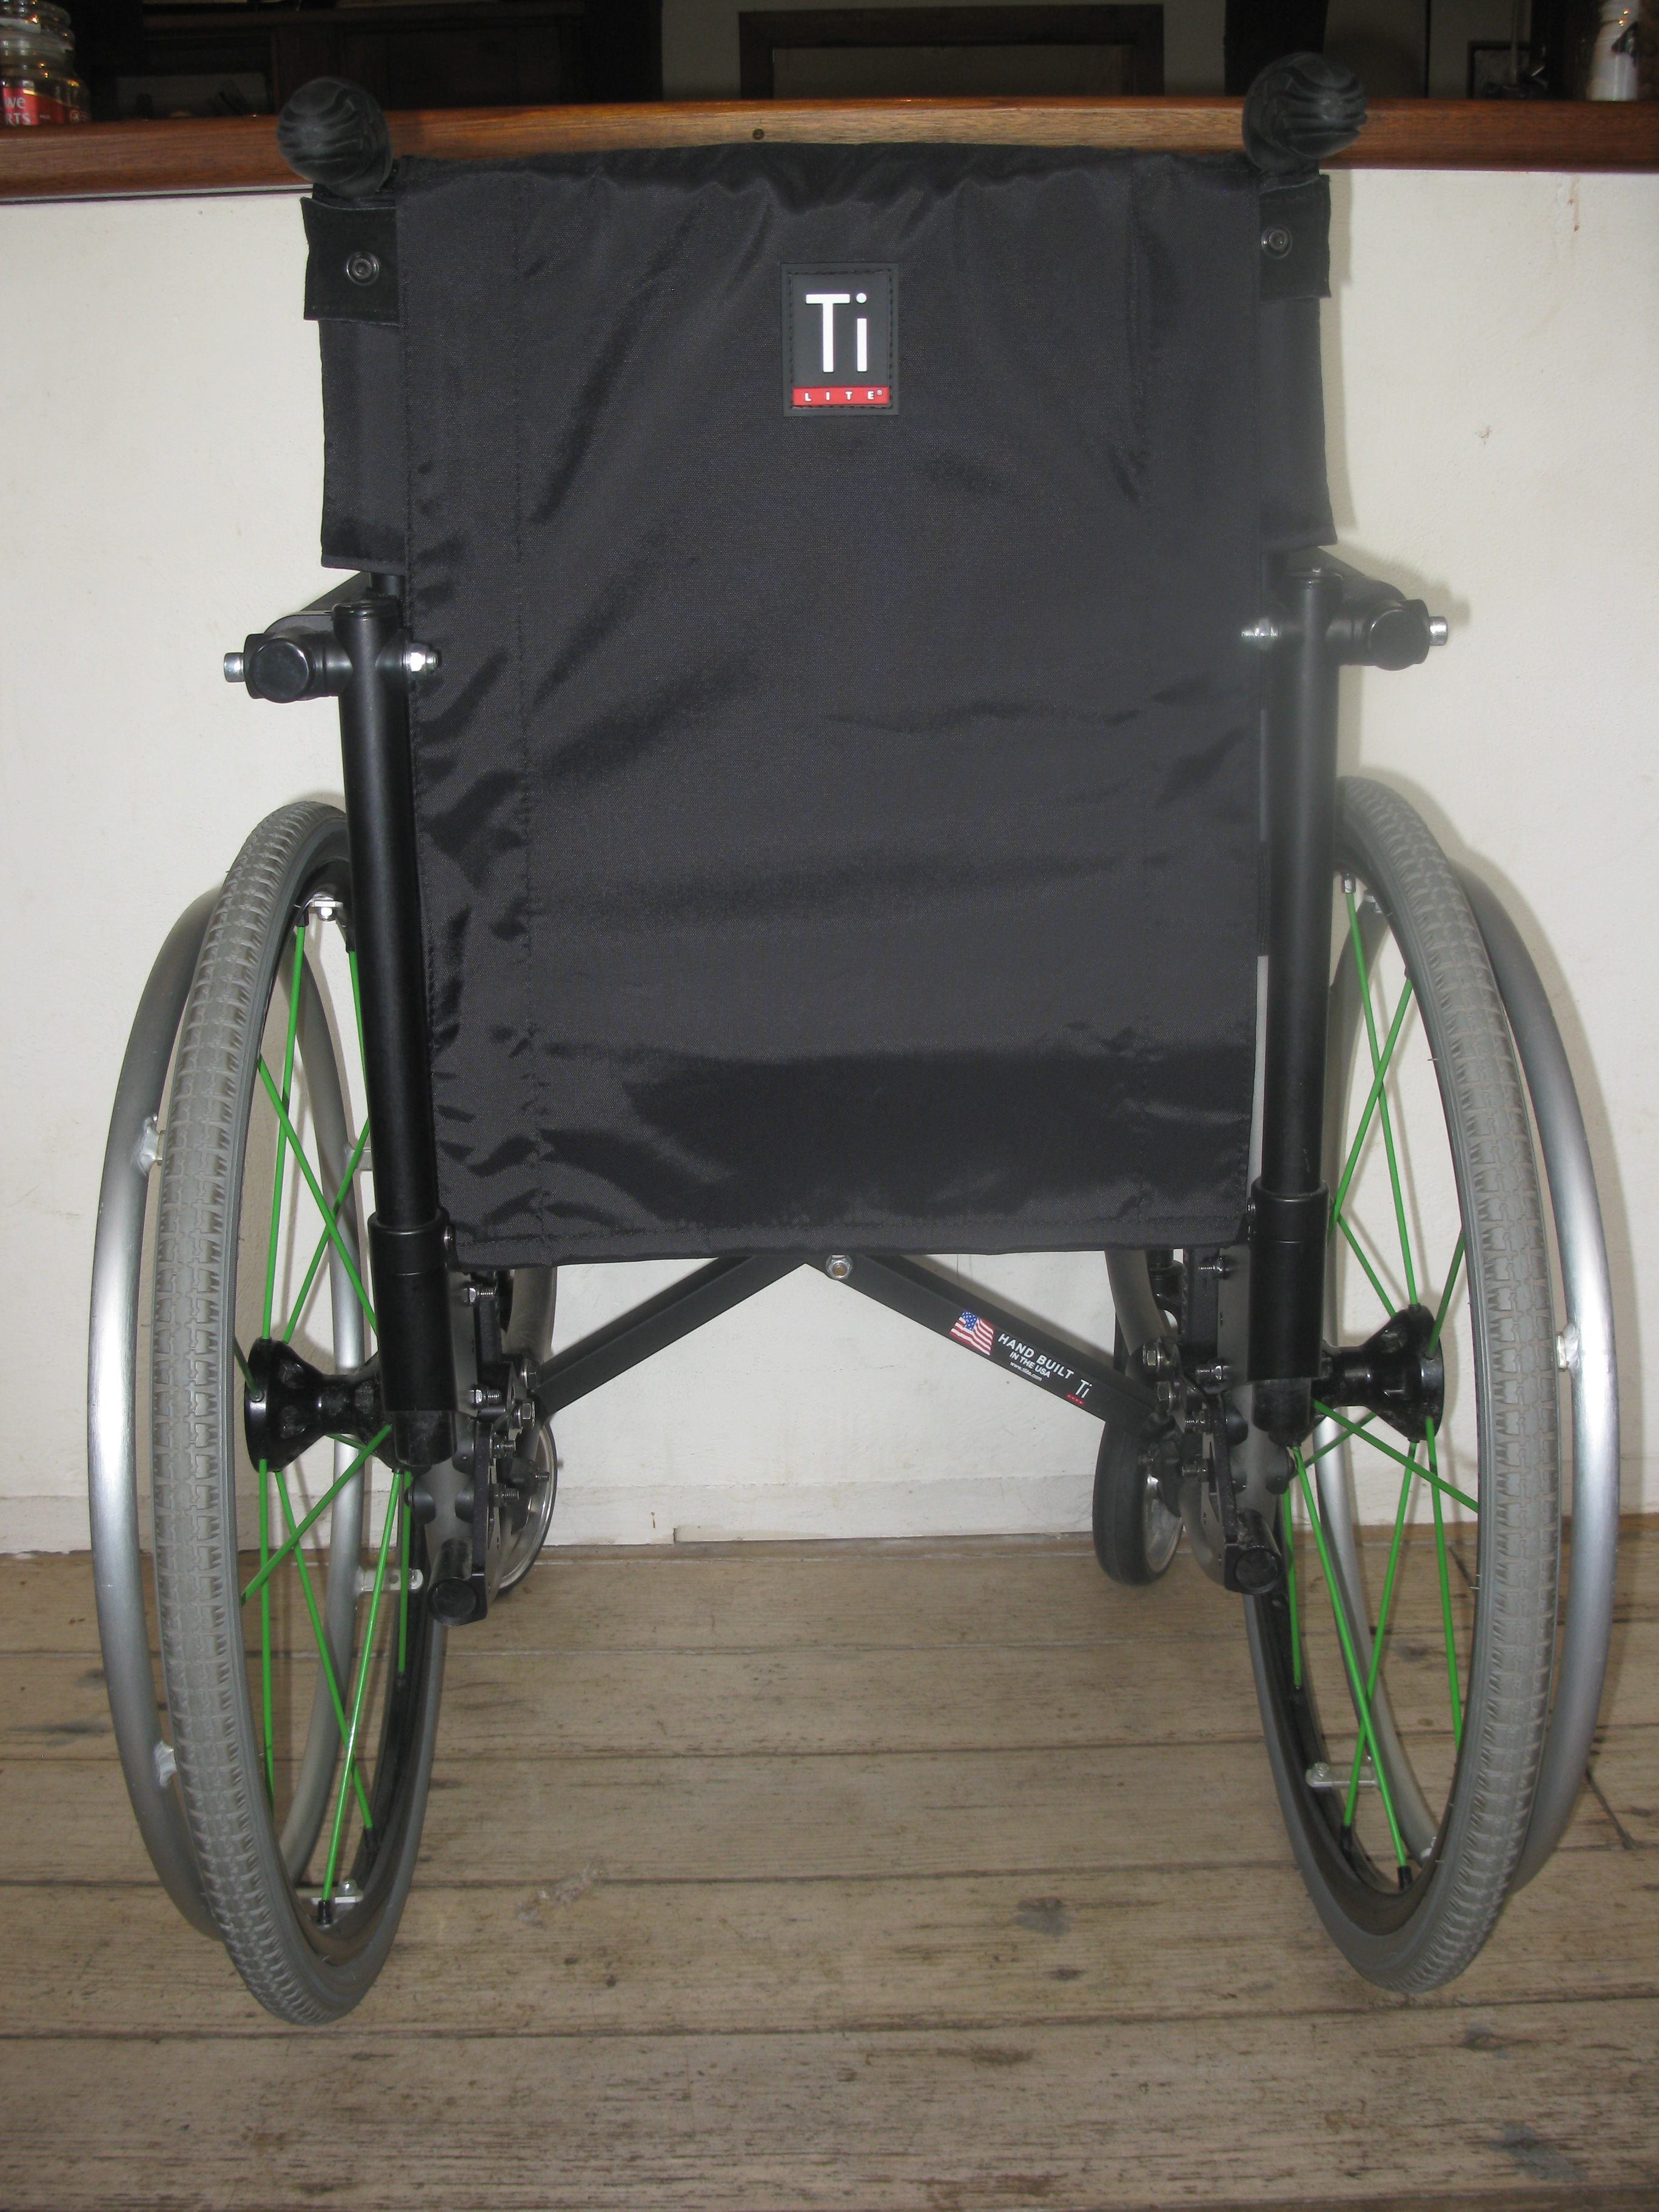
Back Upholstery – Velcro Adjustable
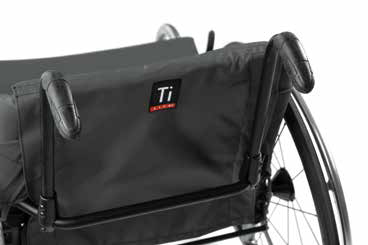 We ordered the ZRA with the Velcro Adjustable Back Upholstery. Because we have Fold-Down Push Handles, and it does not support them, we asked them to not install it because we knew we wanted to swap it to the upstairs 2GX chair that had a very heavy Jay Basic back with quick release that the back fell off of the hardware all the time.
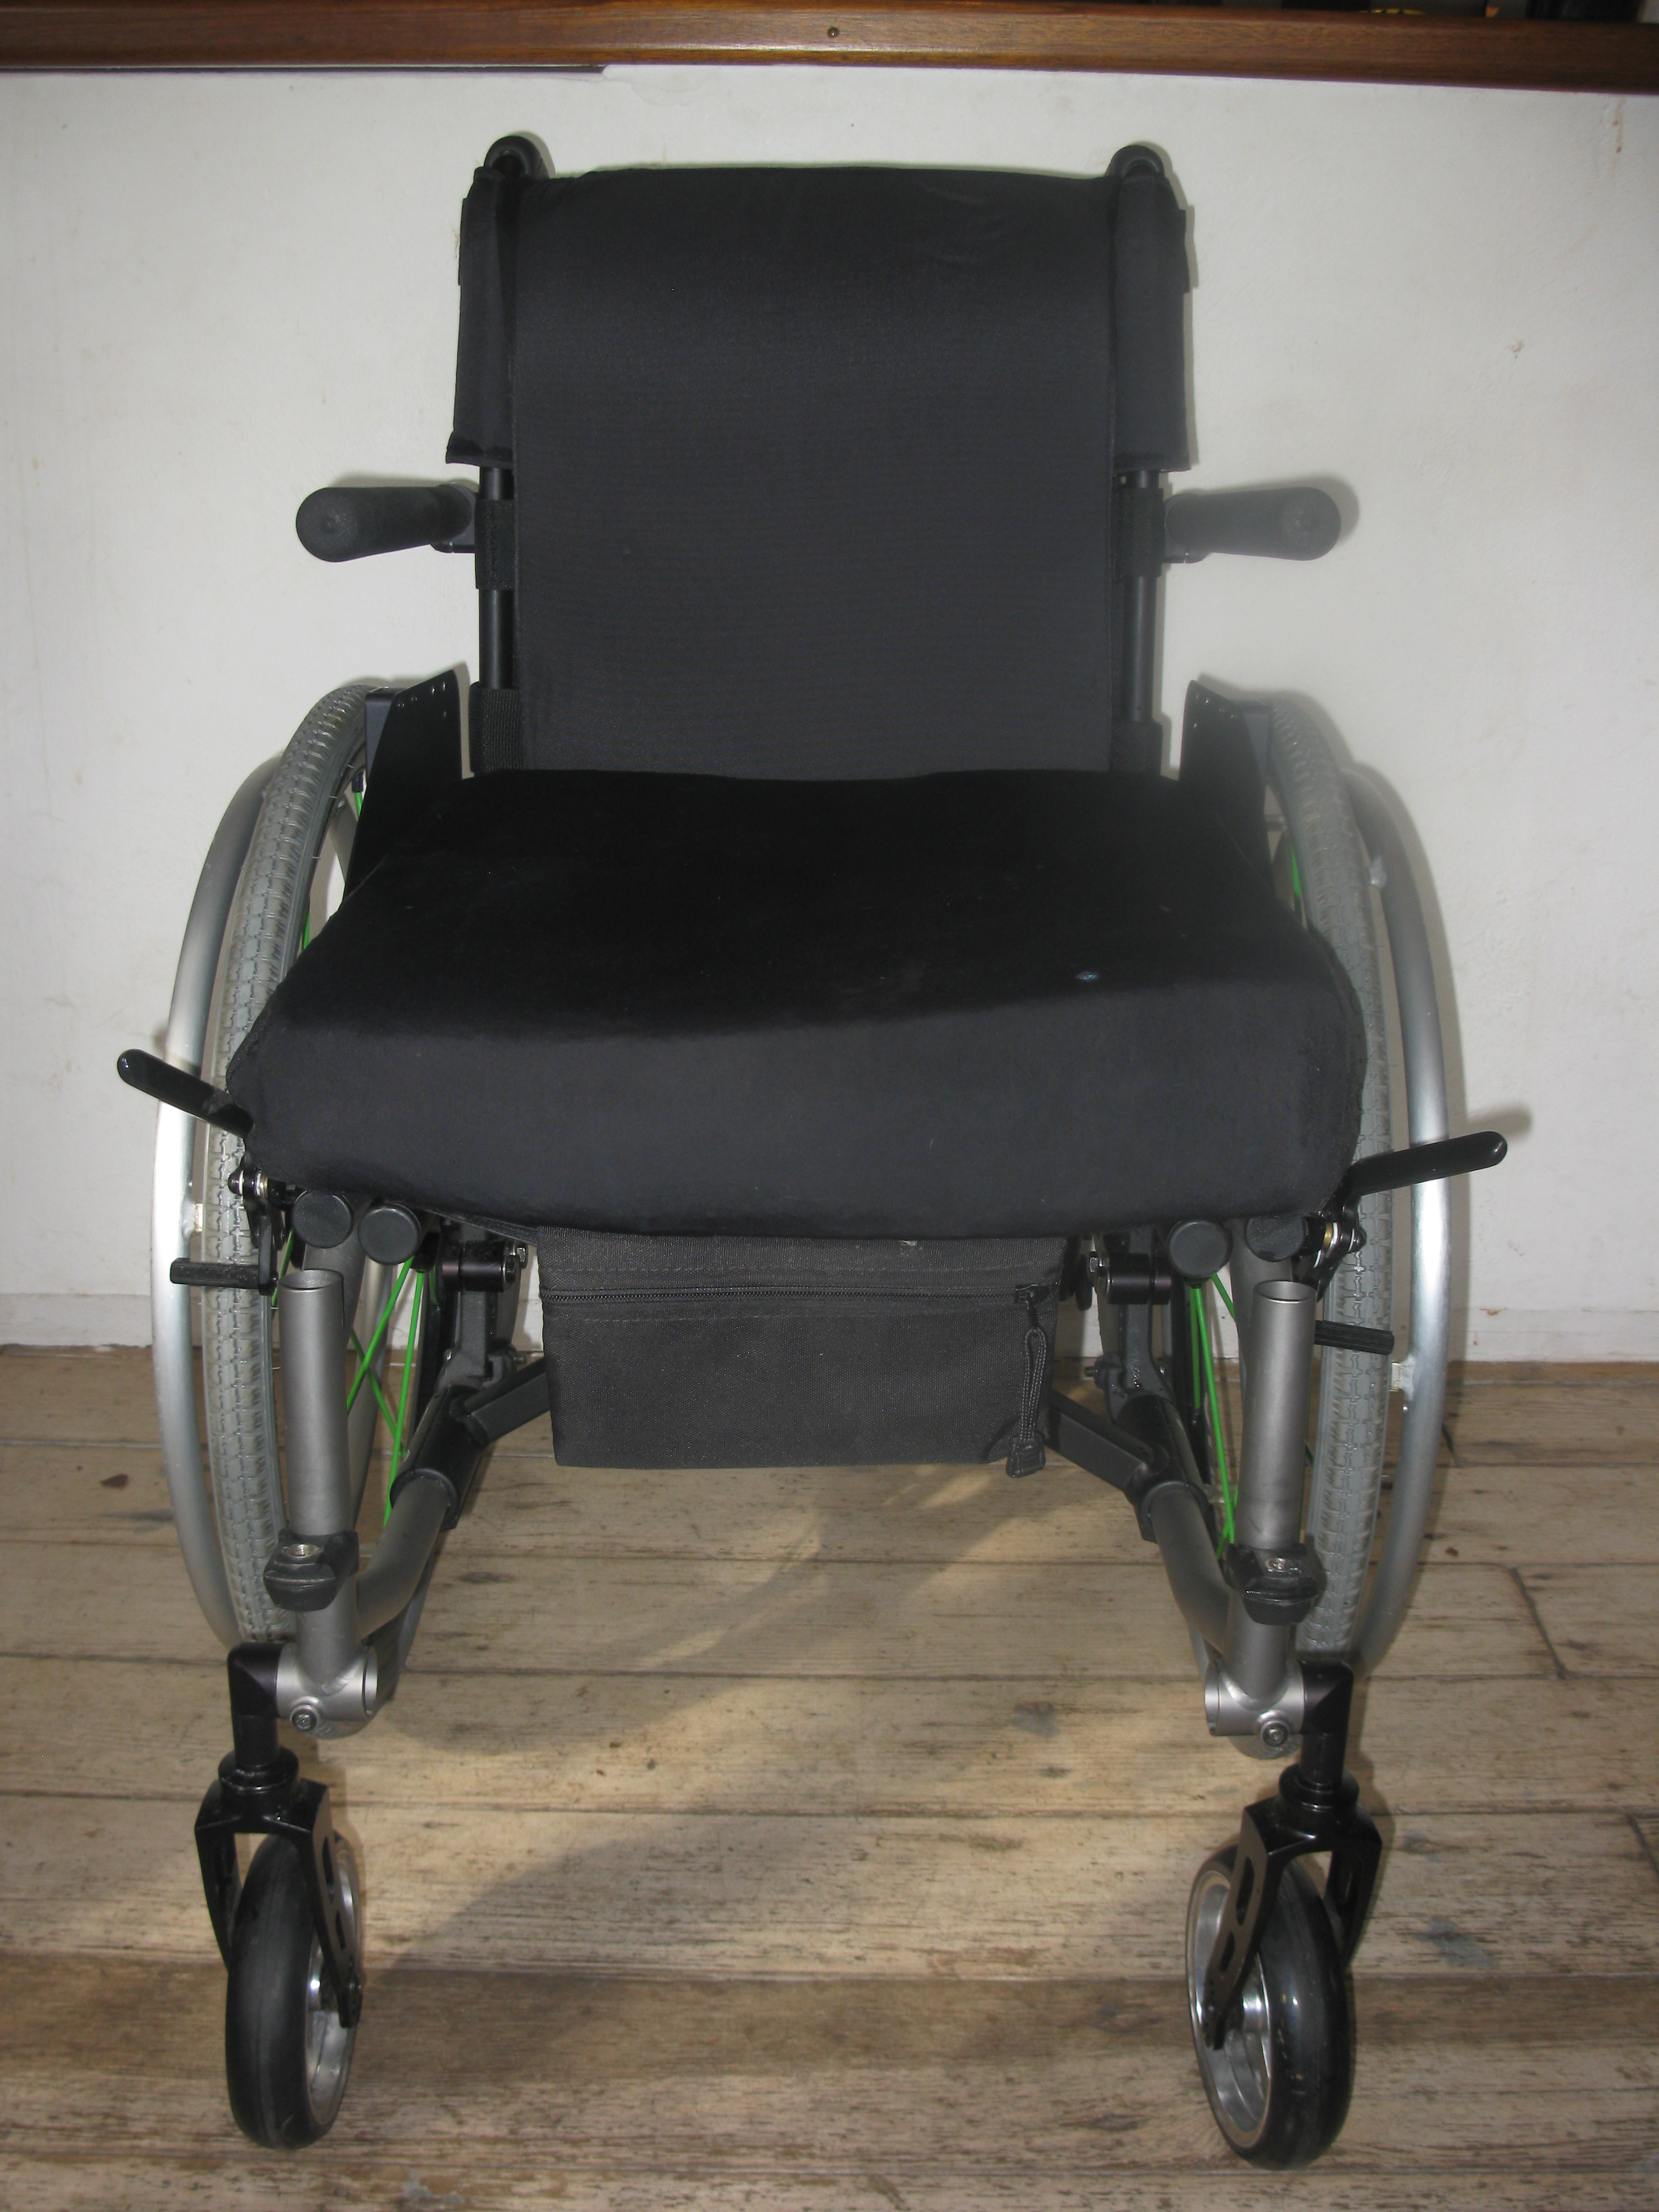
The standard Velcro Adjustable upholstery is very nice, and I would reccommend it if not wanting to pay more for the Tension Adjustable by Straps upholstery or a solid back.
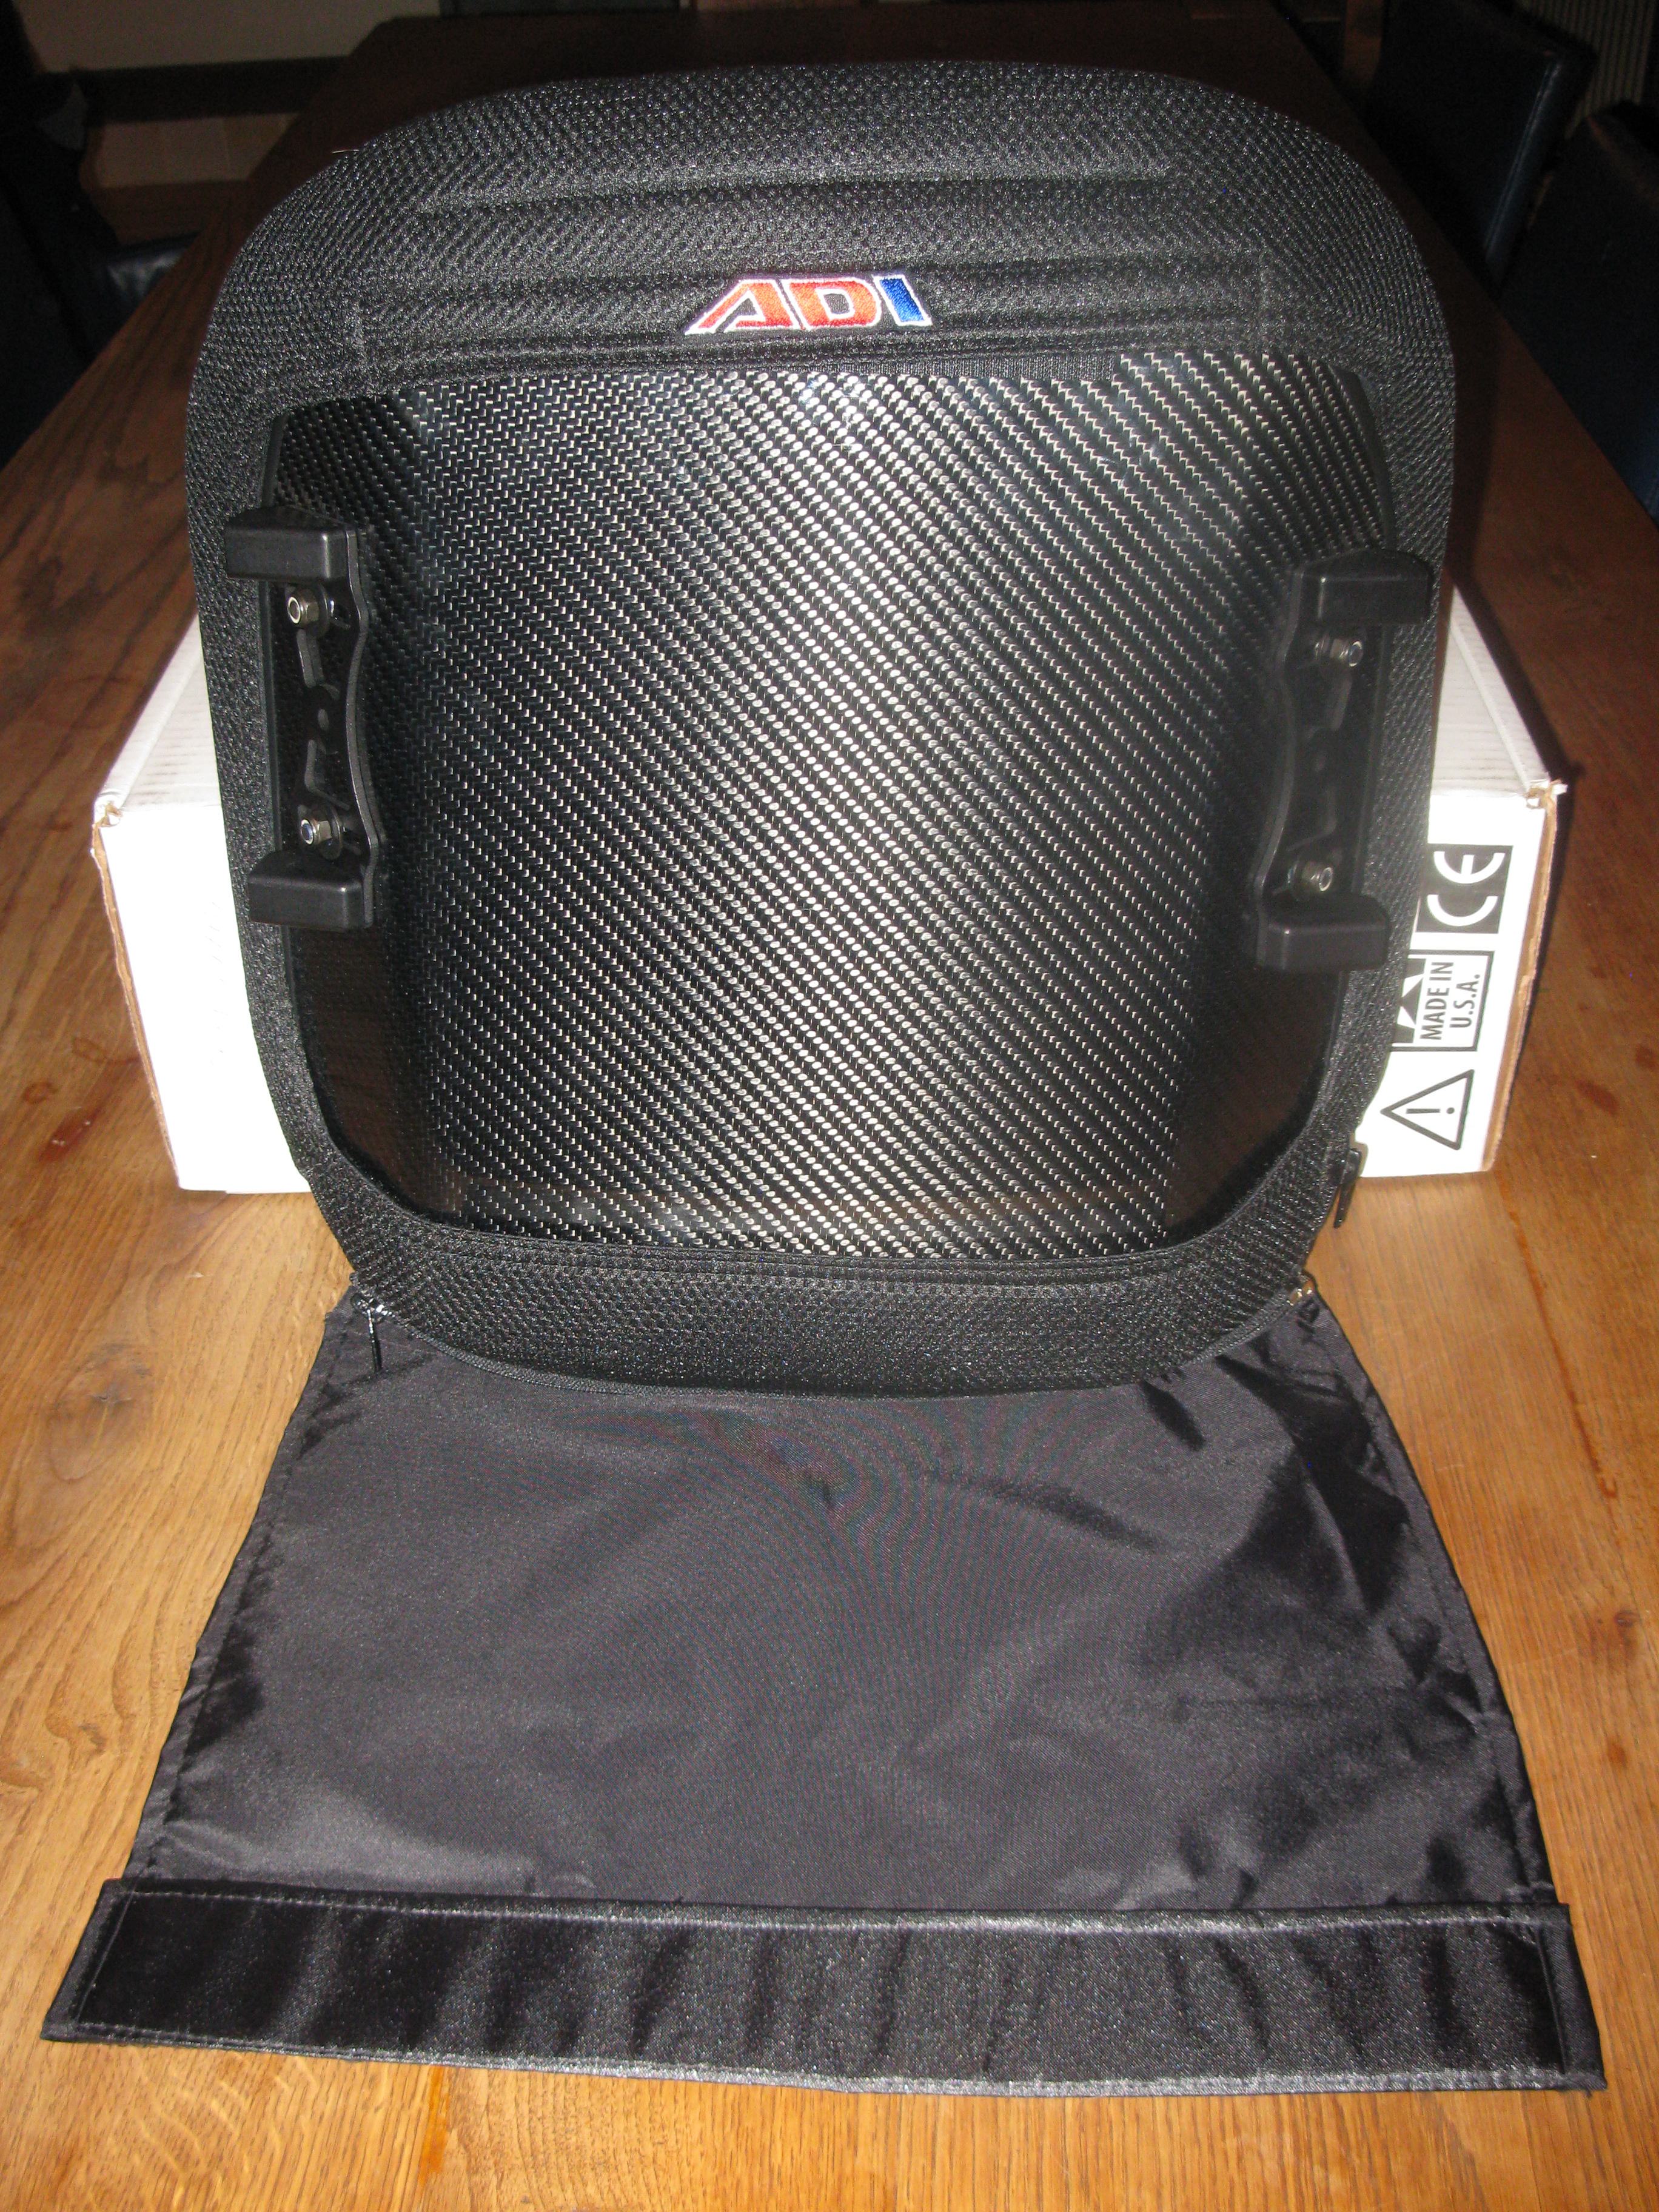
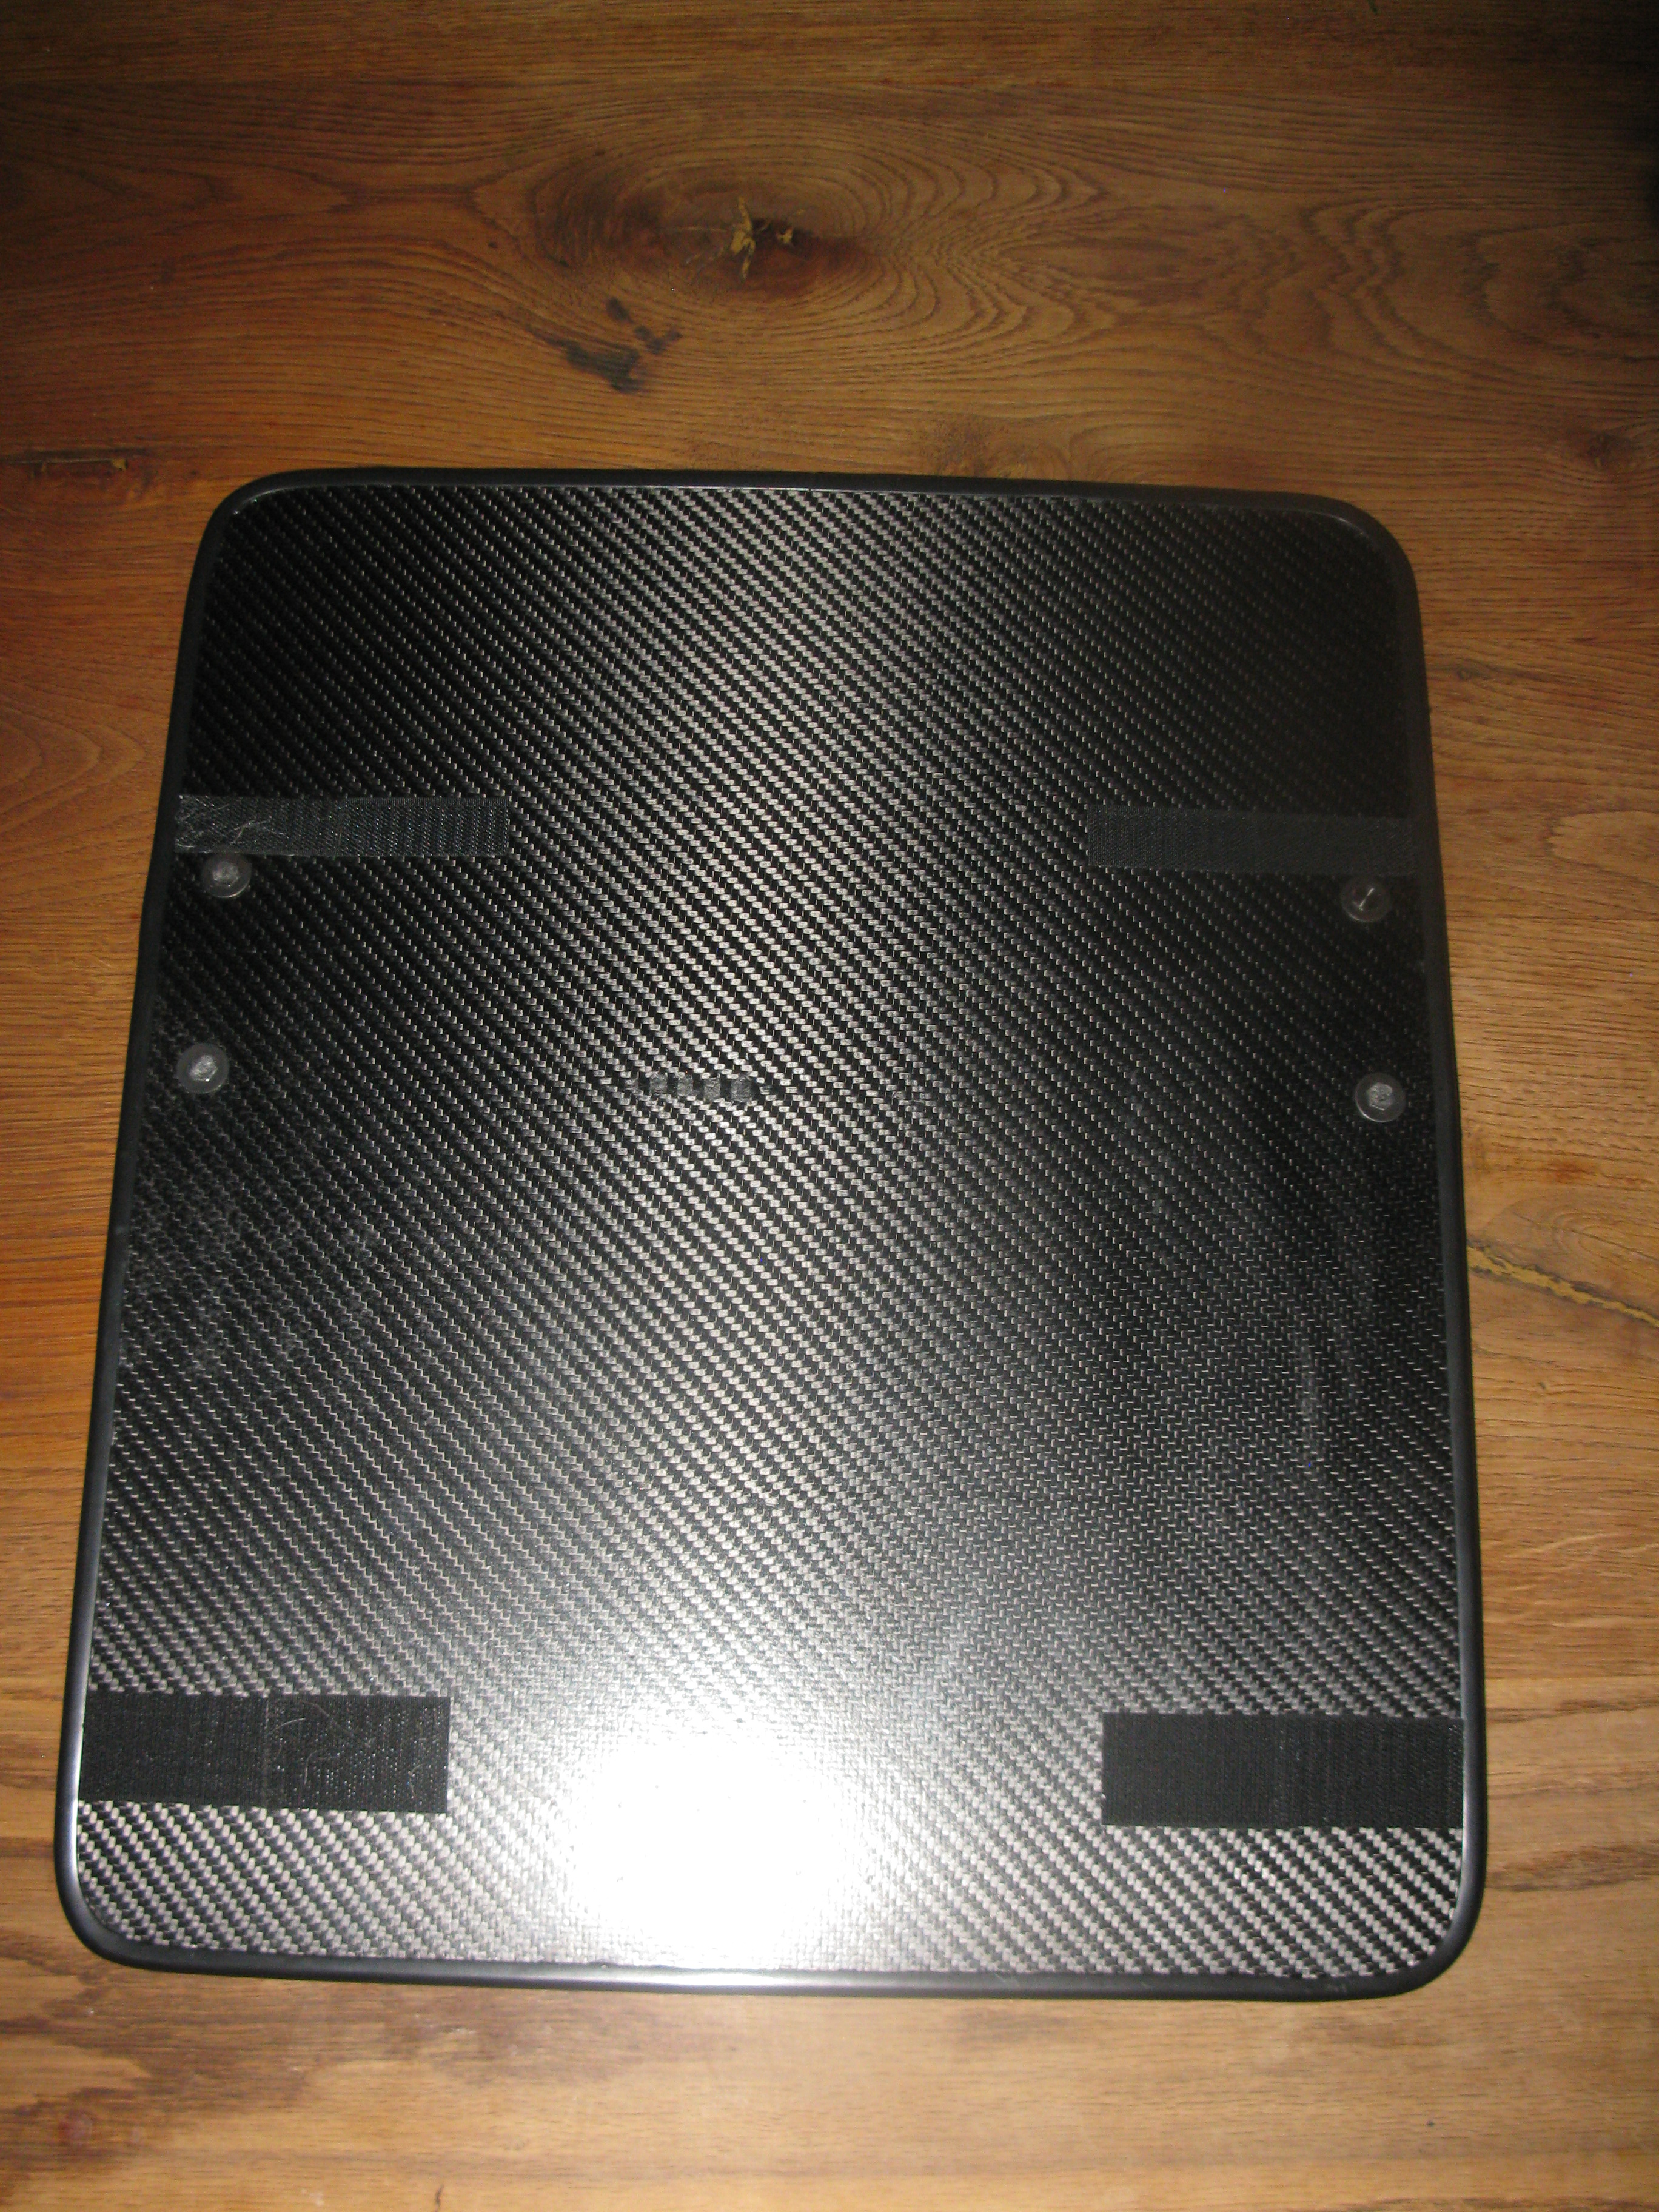
ADI Carbon Fiber Back
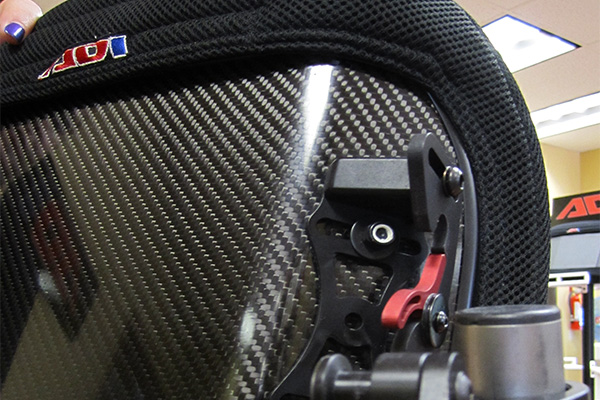 The ADI Carbon Fiber Back is Medium 16″ x 13″, Active contour 2.5″ with ADI Quick Release hardware with a 1″ clamp and Privacy Flap, which is no additional cost when ordered at the time. Here are the specs:
- Carbon Shell width: 16” / 40.6cm
- Back Height: Med 13” / 33cm
- Contour: Active 2.5” / 63.5mm
- Angle adjustments: 20 degrees
- Depth adjustments: 1 1/4” / 31.75mm
- Width adjustments: approx. 1” / 2.5cm
- Hardware: Quick Release
- Clamp: 1” / 25mm round back post
- Weight Carbon Shell: 32 ounces (905 grams)
- Weight Quick Release Latch: 3.5 ounces (100 grams)
- Weight Quick Release Clamp: 7.3 ounces (207 grams)
The ADI Carbon Fiber Back is much more stable than the standard Velcro Adjustable upholstery, and has a good adjustment range. My husband has good upper body strength and control on one side, but needs the stability on the other side. He feels he saves energy doing propulsion because it does not go into the seat back so much. He is also sitting so much better and not sliding out the front of his chair like he did before. The weight is considerably less weight than our other Jay Basic back.
We got the ADI quick release hardware to be able to easily take off the back while traveling on a TiLite ZRA and also so that we could swap it on a TiLite 2GX folding chair if needed with extra hardware. The quick release hardware works very well, and it’s very easy to remove and put back on the back, and it’s very stable. We also have a JAY Basic Back with quick release hardware, and the ADI quick release hardware is much more stable and easier to use. We might also use it on occasion for showers when travelling, with a Supracor Stimulite Lumbar Support and the cushion off of the carbon fiber back.
As I had suspected and hoped for after looking at the Quick Release parts diagram on the ADI website, the Quick Release hardware does not look like it significantly adds weight compared to the 2 Point PRO, but is probably heavier than the Fixed Elite hardware.
Initial Review of the ADI Carbon Fiber Back
It was well packaged with an excellent manual. The website is also very good for providing detailed technical information. I’m especially glad that they also provide all measurements also in metric, which is something many US companies neglect to do. All hardware and fasteners are very good. It included screws for 3/4″ and 1″ seat posts and installed in about 10 minutes with no initial adjustment. We are waiting to adjust it more once we get the ADI carbon fiber seat base with folding side guards, but so far, he likes it like it is. I was able to use the extra screws to attach the standard Velcro Adjustable upholstery to the 2GX chair (bonus!).

Updated Review of the ADI Carbon Fiber Back
After almost 2 years, we are very happy with the ADI Carbon Fiber Back. We have made a few minor adjustments for comfort, which have worked well. My husband does physiotherapy while in his wheelchair and also has seizures while in his wheelchair. I think it is a good testament to the quality of the seat back that it can handle quite a lot of stress and strain on it. We have absolutely zero maintenance issues with it, and other than wiping it down, we do nothing to it. We have not yet washed the cover, but it really doesn’t get very dirty — mostly it just picks-up pet fur and I vacuum it. All of the hardware is holding up very well, even the quick release mechanism is working without a hitch, which I was concerned would be the weakest link. The carbon fiber looks brand new still. Although very expensive, I would highly recommend this product to others who need a strong, lightweight, and comfortable back rest.
ADI seat back videos
- Quick Release Angle, Depth, Height & Width Adjustment
- ADI’s Quick Release On / Off
- Quick Release Angle, Depth, Height & Width Adjustment
- ADI’s Quick Release On / Off
- Quick Release Back Clamp Install 2012
http://adirides.com/seating-systems/carbon-fiber-back http://www.sportaid.com/carbon-series-back-support-by-adi.html
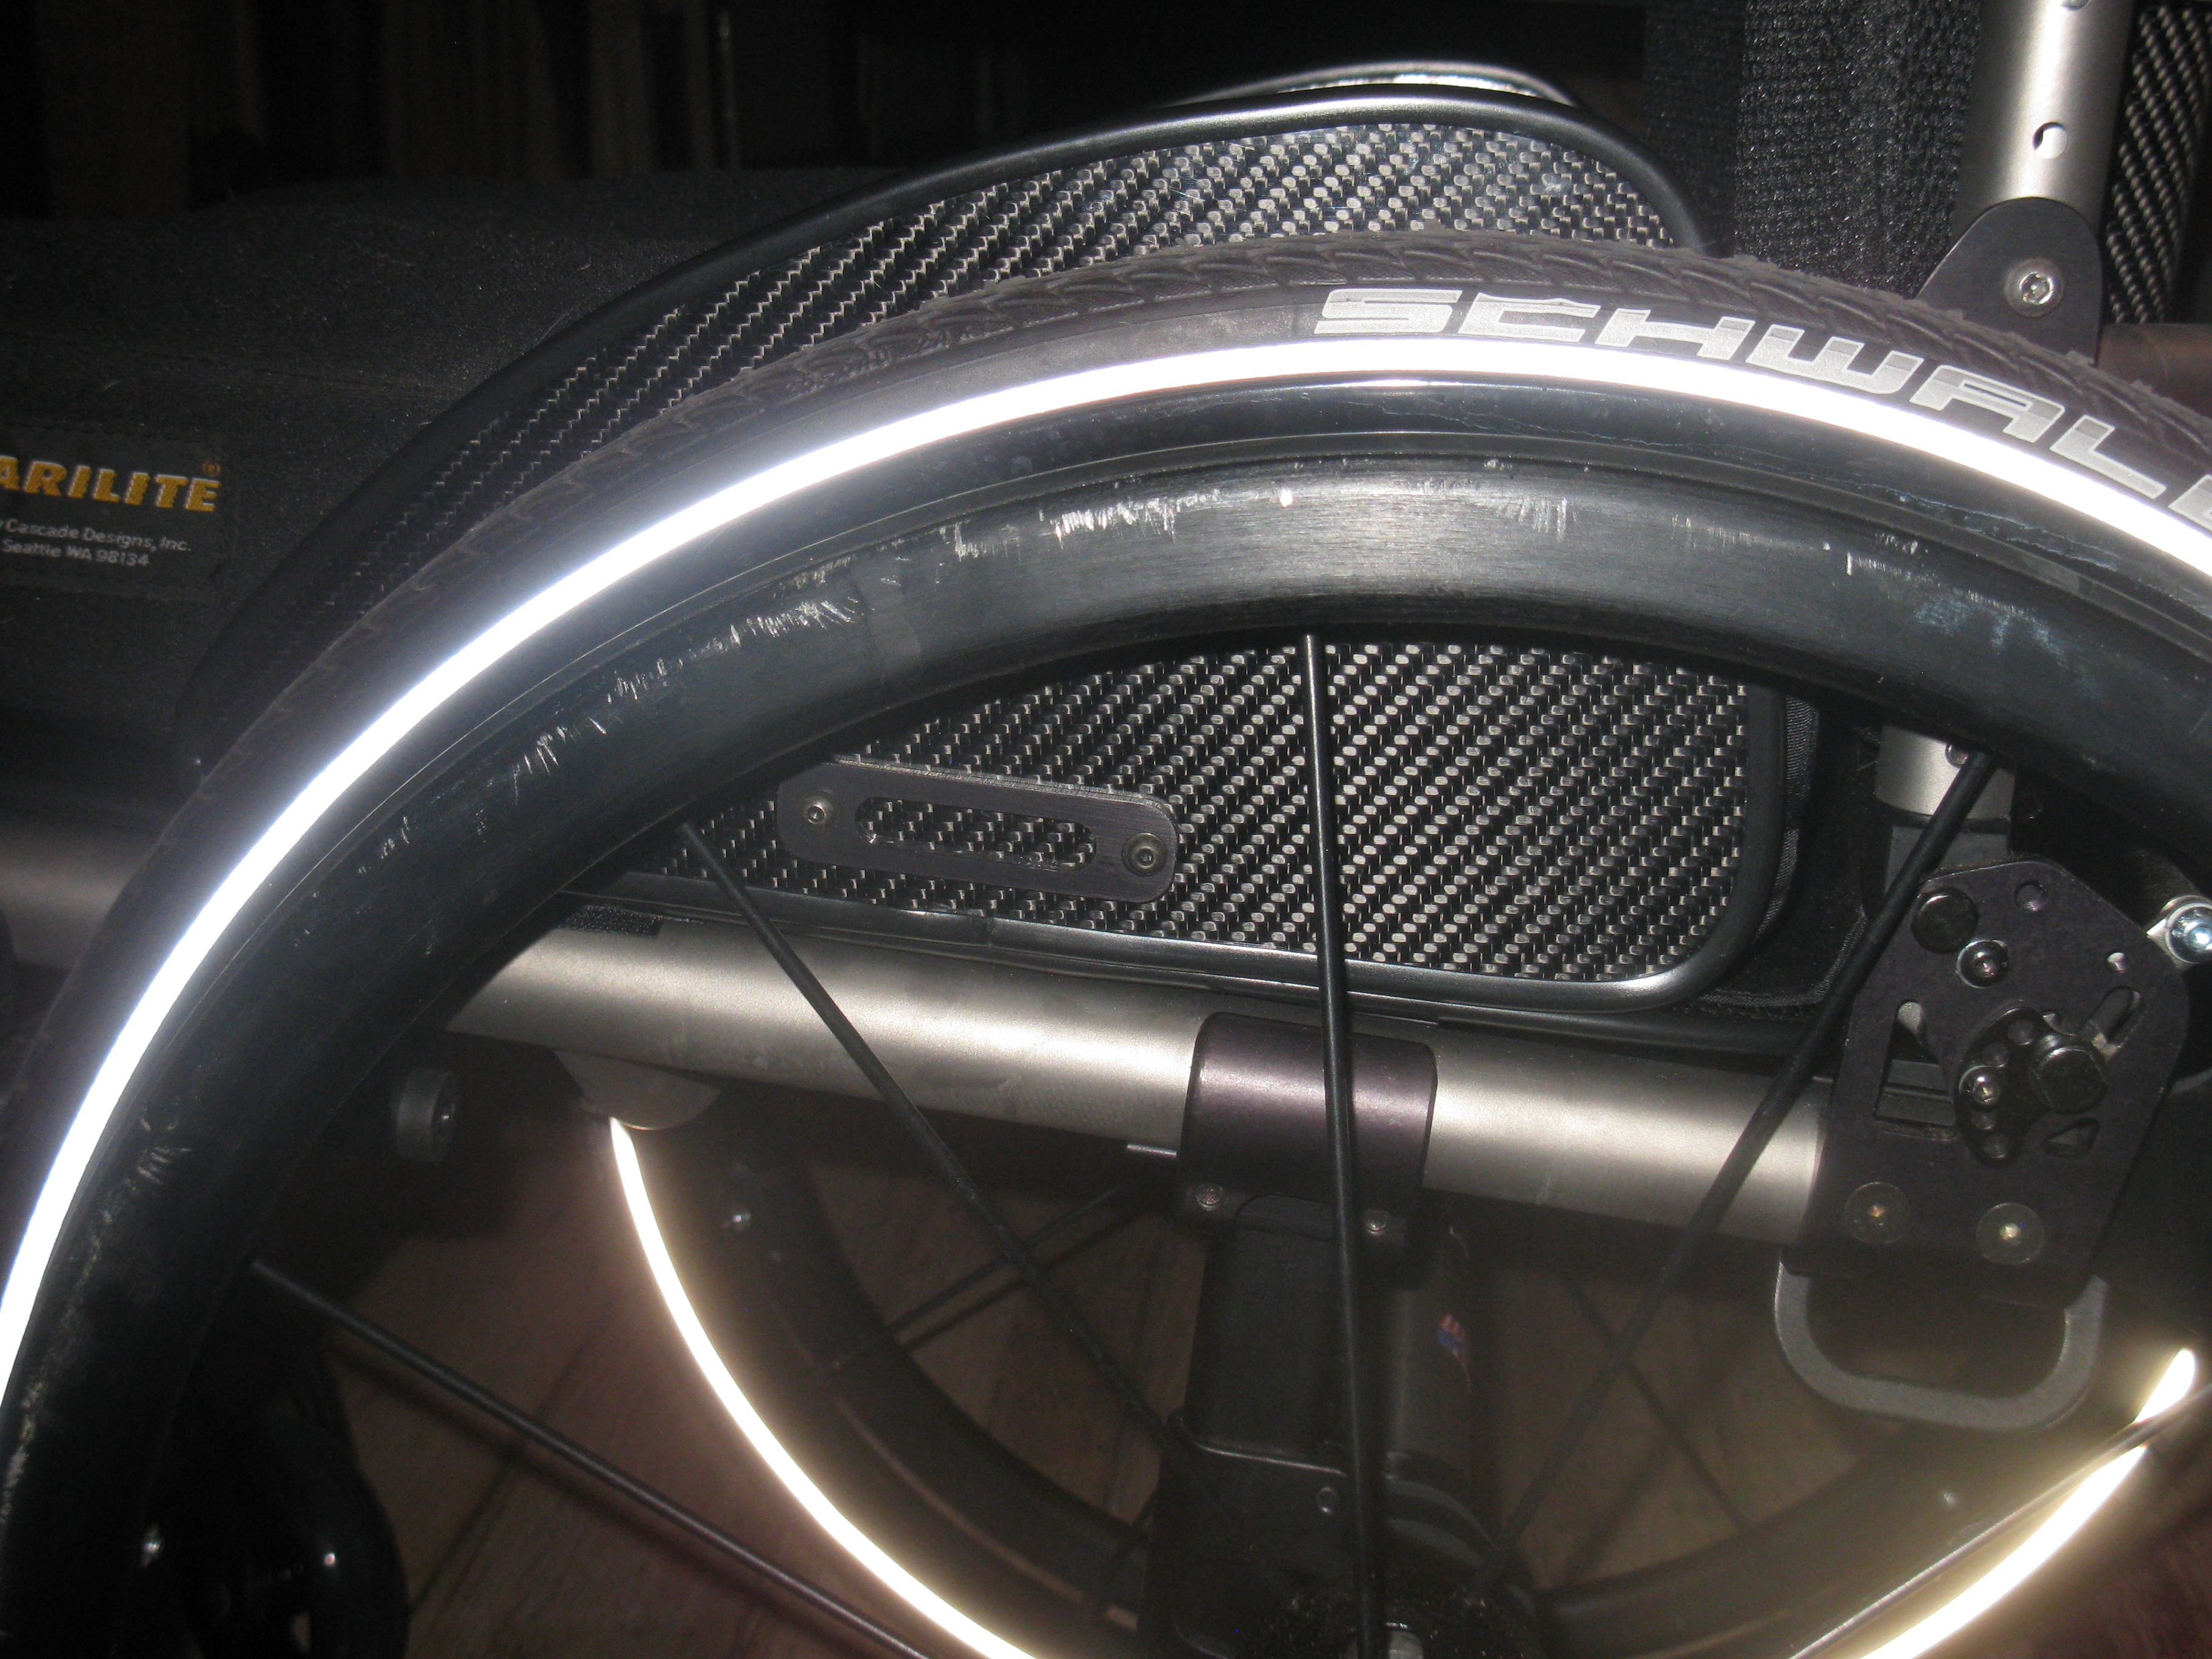
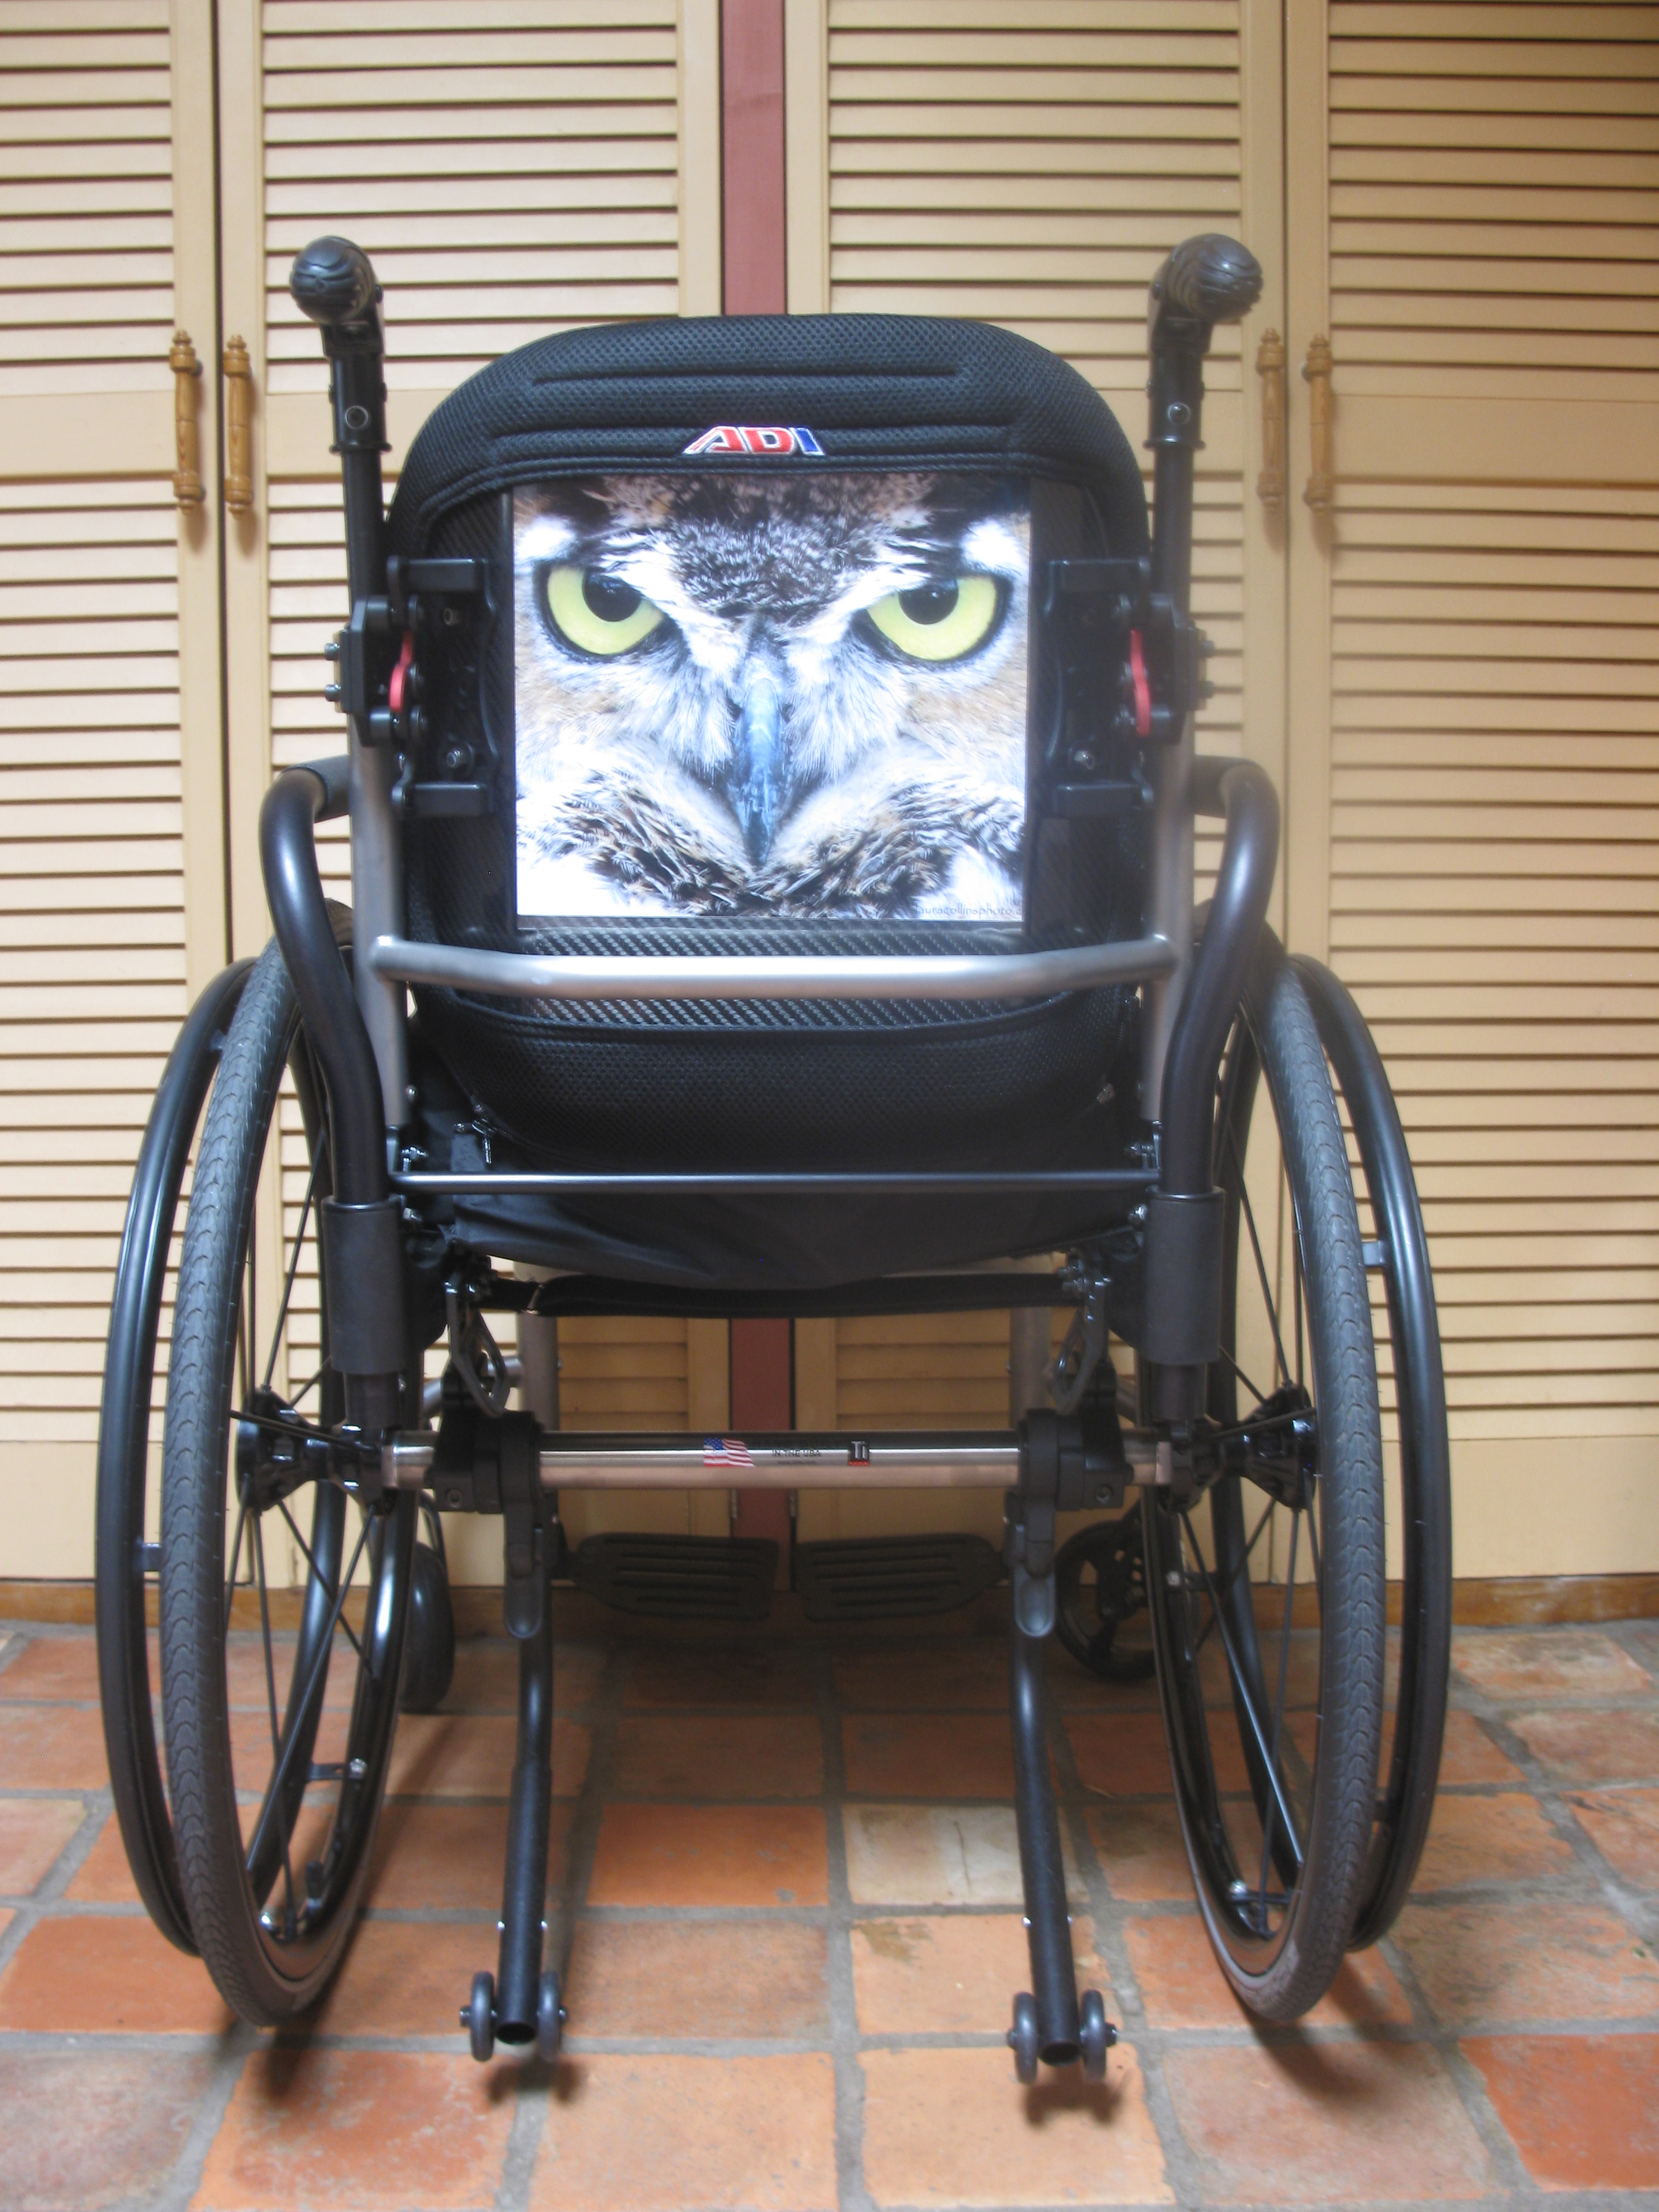
Note: We wanted to jazz up the ADI back a little. I used GBC Peel’n Stick Laminating Pouches, which are removable (I tested first). We hope to make more with designs depending on the situation or his mood, but these were our first tests. Stay tuned….


Swapping the Velcro Adjustable back upholstery on a 2GX
Swapping the ZRA standard Velcro back upholstery onto a 2GX with push handles turned out to be a lot more work than I thought. I needed to remove the Integrated Push Handles from an Adjustable Height Backrest and also partially remove the anti-tip receptacles in order to be able to put the back upholstery “ears” onto the posts. The critical piece was using screws that we had extra from the ADI back to be able to secure it under the push handles. Worked like a charm, and is so much better than the solid Jay Basic that always fell off and much safer too. It does not fold great, because the cushioning is thicker than is probably normal, but it works well enough.
Seat Upholstery replaced with ADI Carbon Fiber Seat base and ADI Carbon Fiber Folding Side Guards
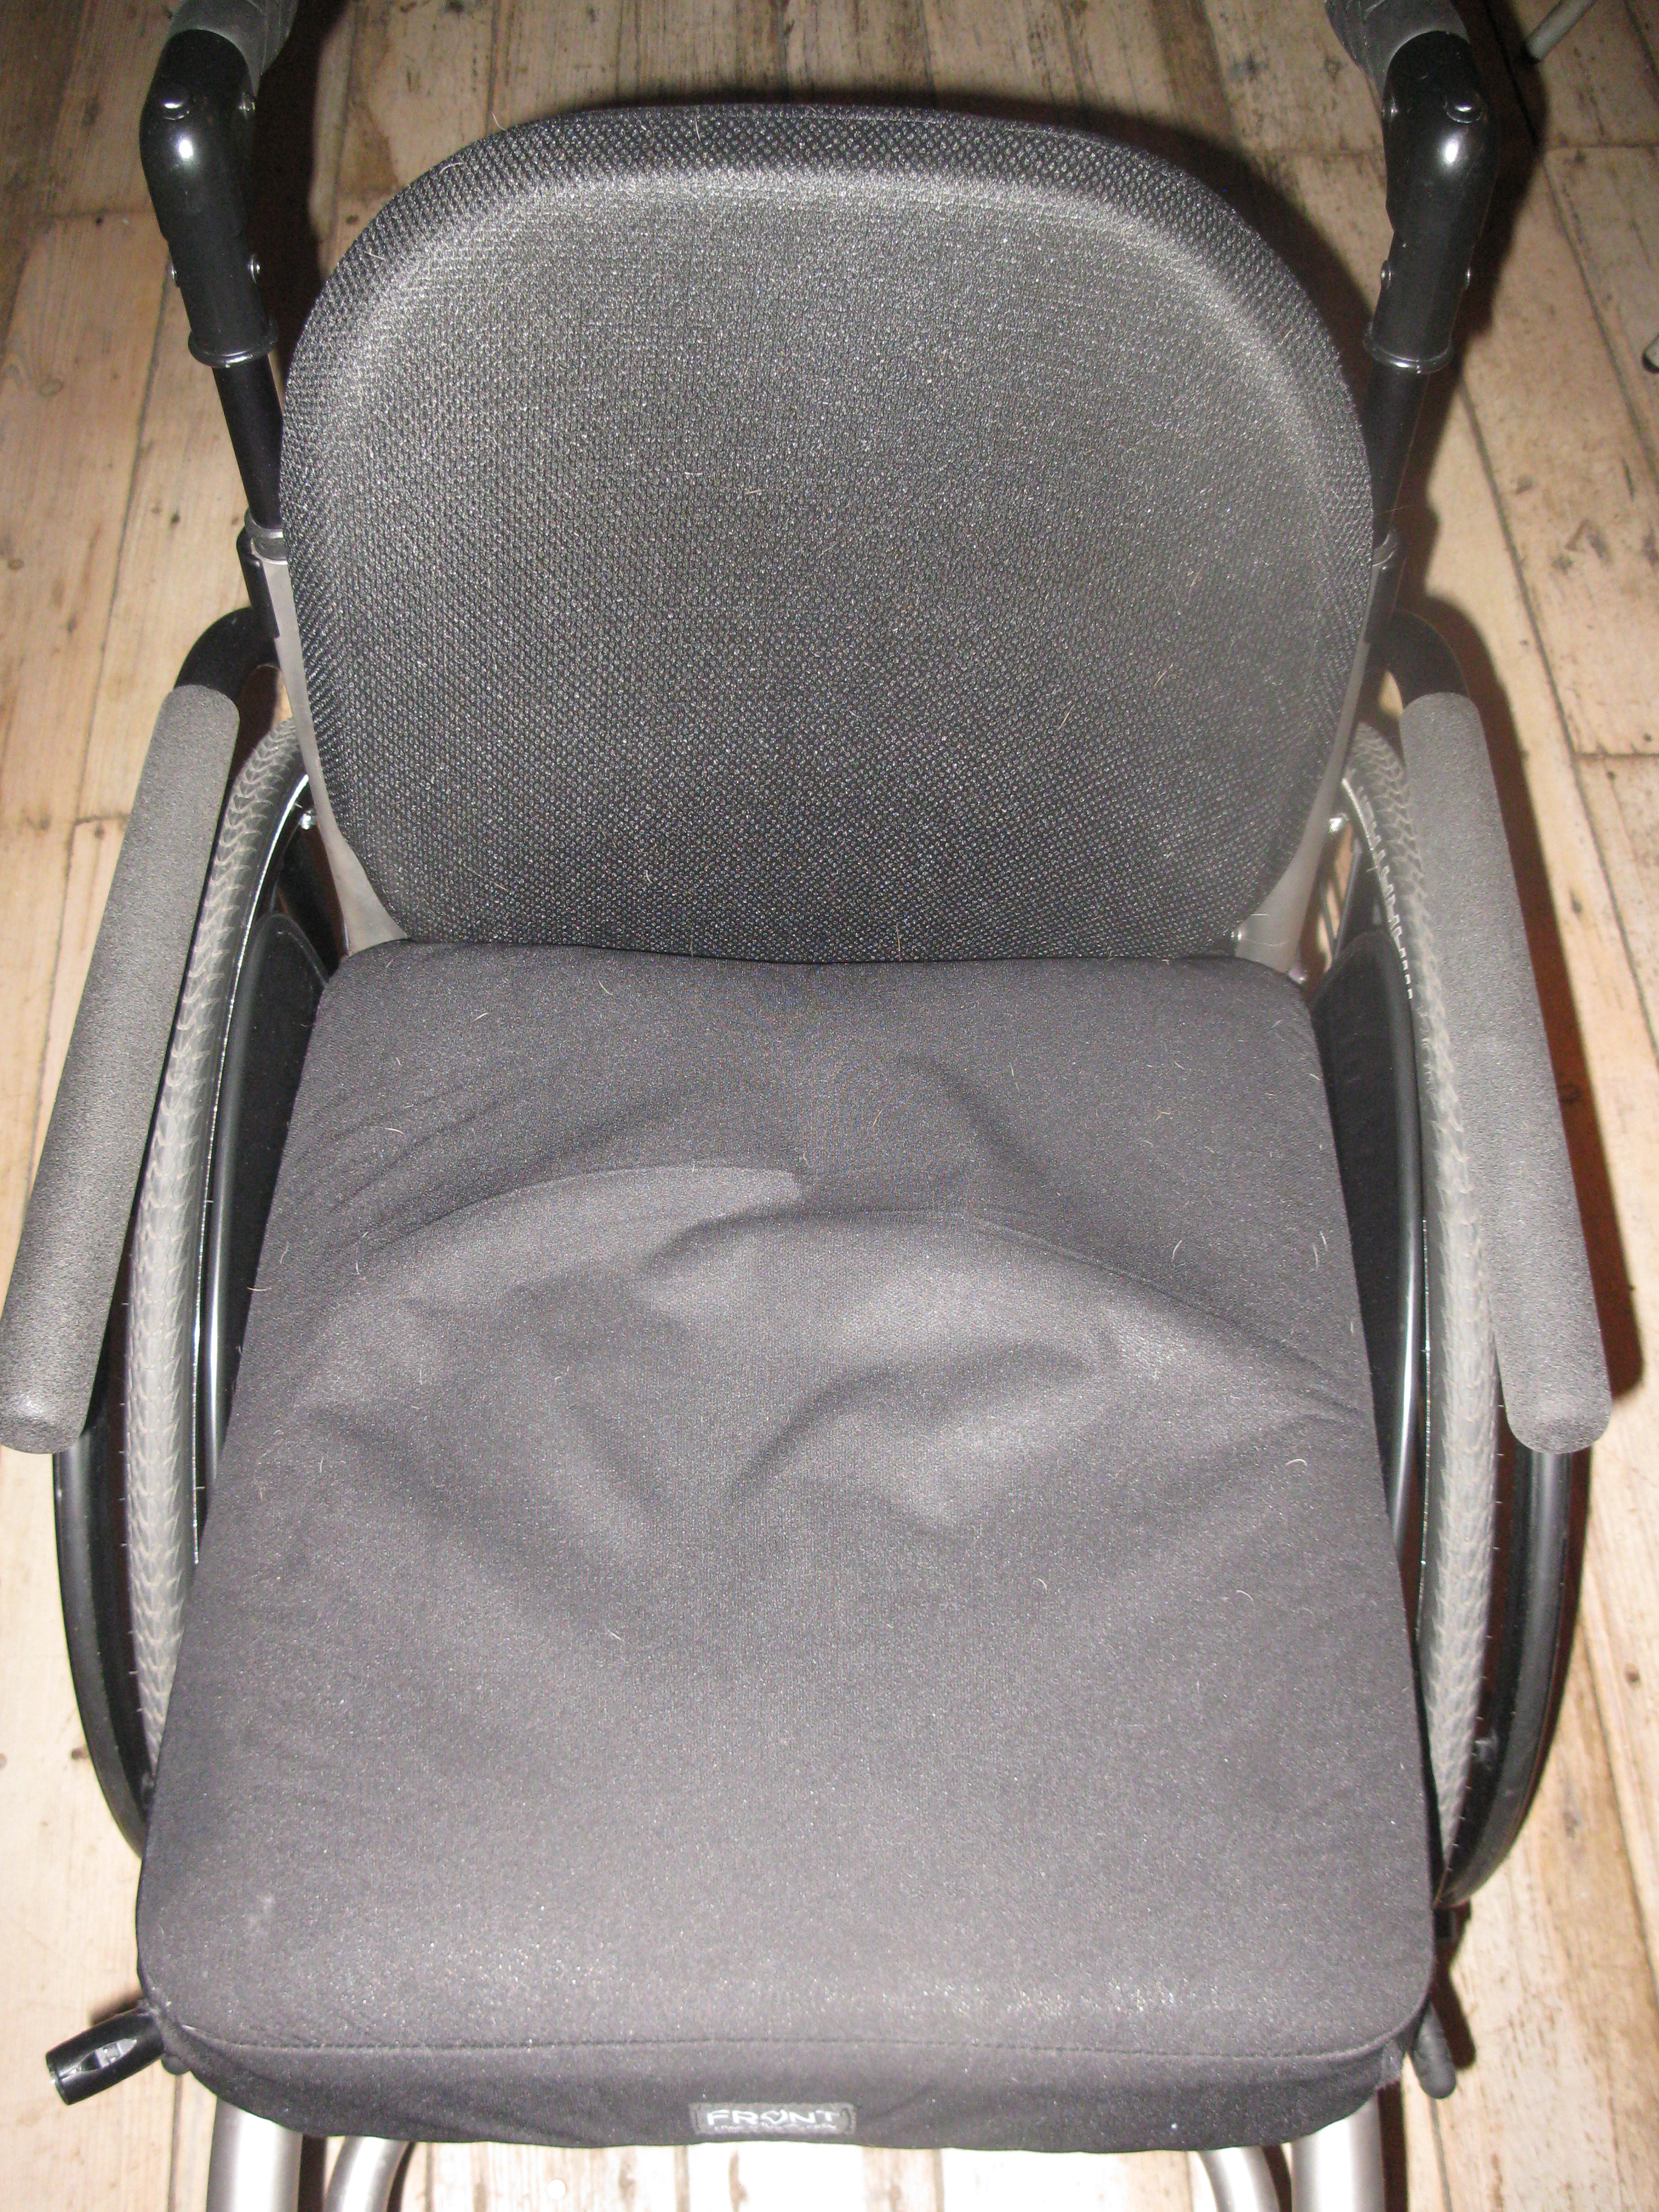
Seat Upholstery – Tension Adjustable by Straps
We ordered the ZRA with Tension Adjustable by Straps Seat Upholstery. We were lucky that our dealer used an old price list and this was considered a no charge option (normally $150). We knew that we would only be using it as a backup, but did not want the standard no charge Tension Adjustable Bolt On because we did not want the extra holes in the seat frame.
The dealer originally “forgot” to provide the Seat Upholstery, but I think this may have been because they realised they were charged for it by TiLite, but had not charged us for it. As you can guess, I asked for them to send it to us, because we want it as a backup should anything happen to the ADI Carbon Fiber Seat base. Also, the government would not approve us for the ADI Carbon Fiber Seat base, and in fact, forgot to approved us for any kind of seating upholstery. Pretty funny if we would have had a wheelchair that could not be sat on!
ADI Carbon Fiber Seat base
We ordered an ADI Carbon Fiber Seat base for a 16″ x 18″ chair, with mounting hardware. The actual seat base is a little narrower and a bit longer in depth including the trim. In our case this works well with a 16″ x 18″ Varilite air cushion, but we also have a 16″ x 18″ Supracor Stimulite (Silver), and it is a tight squeeze with that. Here are the specs:
- Carbon fiber laminate with a Nomex honeycomb core “sandwich panel”
- Thickness: 1/8″ / 0.1250mm
- Trim: 5/16″ / 7.93mm
- Width: 39.5 cm / 15.5″ (including trim)
- Depth: 46.5 cm / 18.3″ (including trim)
- Aluminum CnC machines mounting hardware
- Weight seat base w/ mounting hardware: approx. 1.5 lbs / 678 grams
- Weight mounting hardware: 0.8 lbs / 360 grams
- Weight seat base: 0.7 lbs / 318 grams
- Weight limit: 200 lbs.
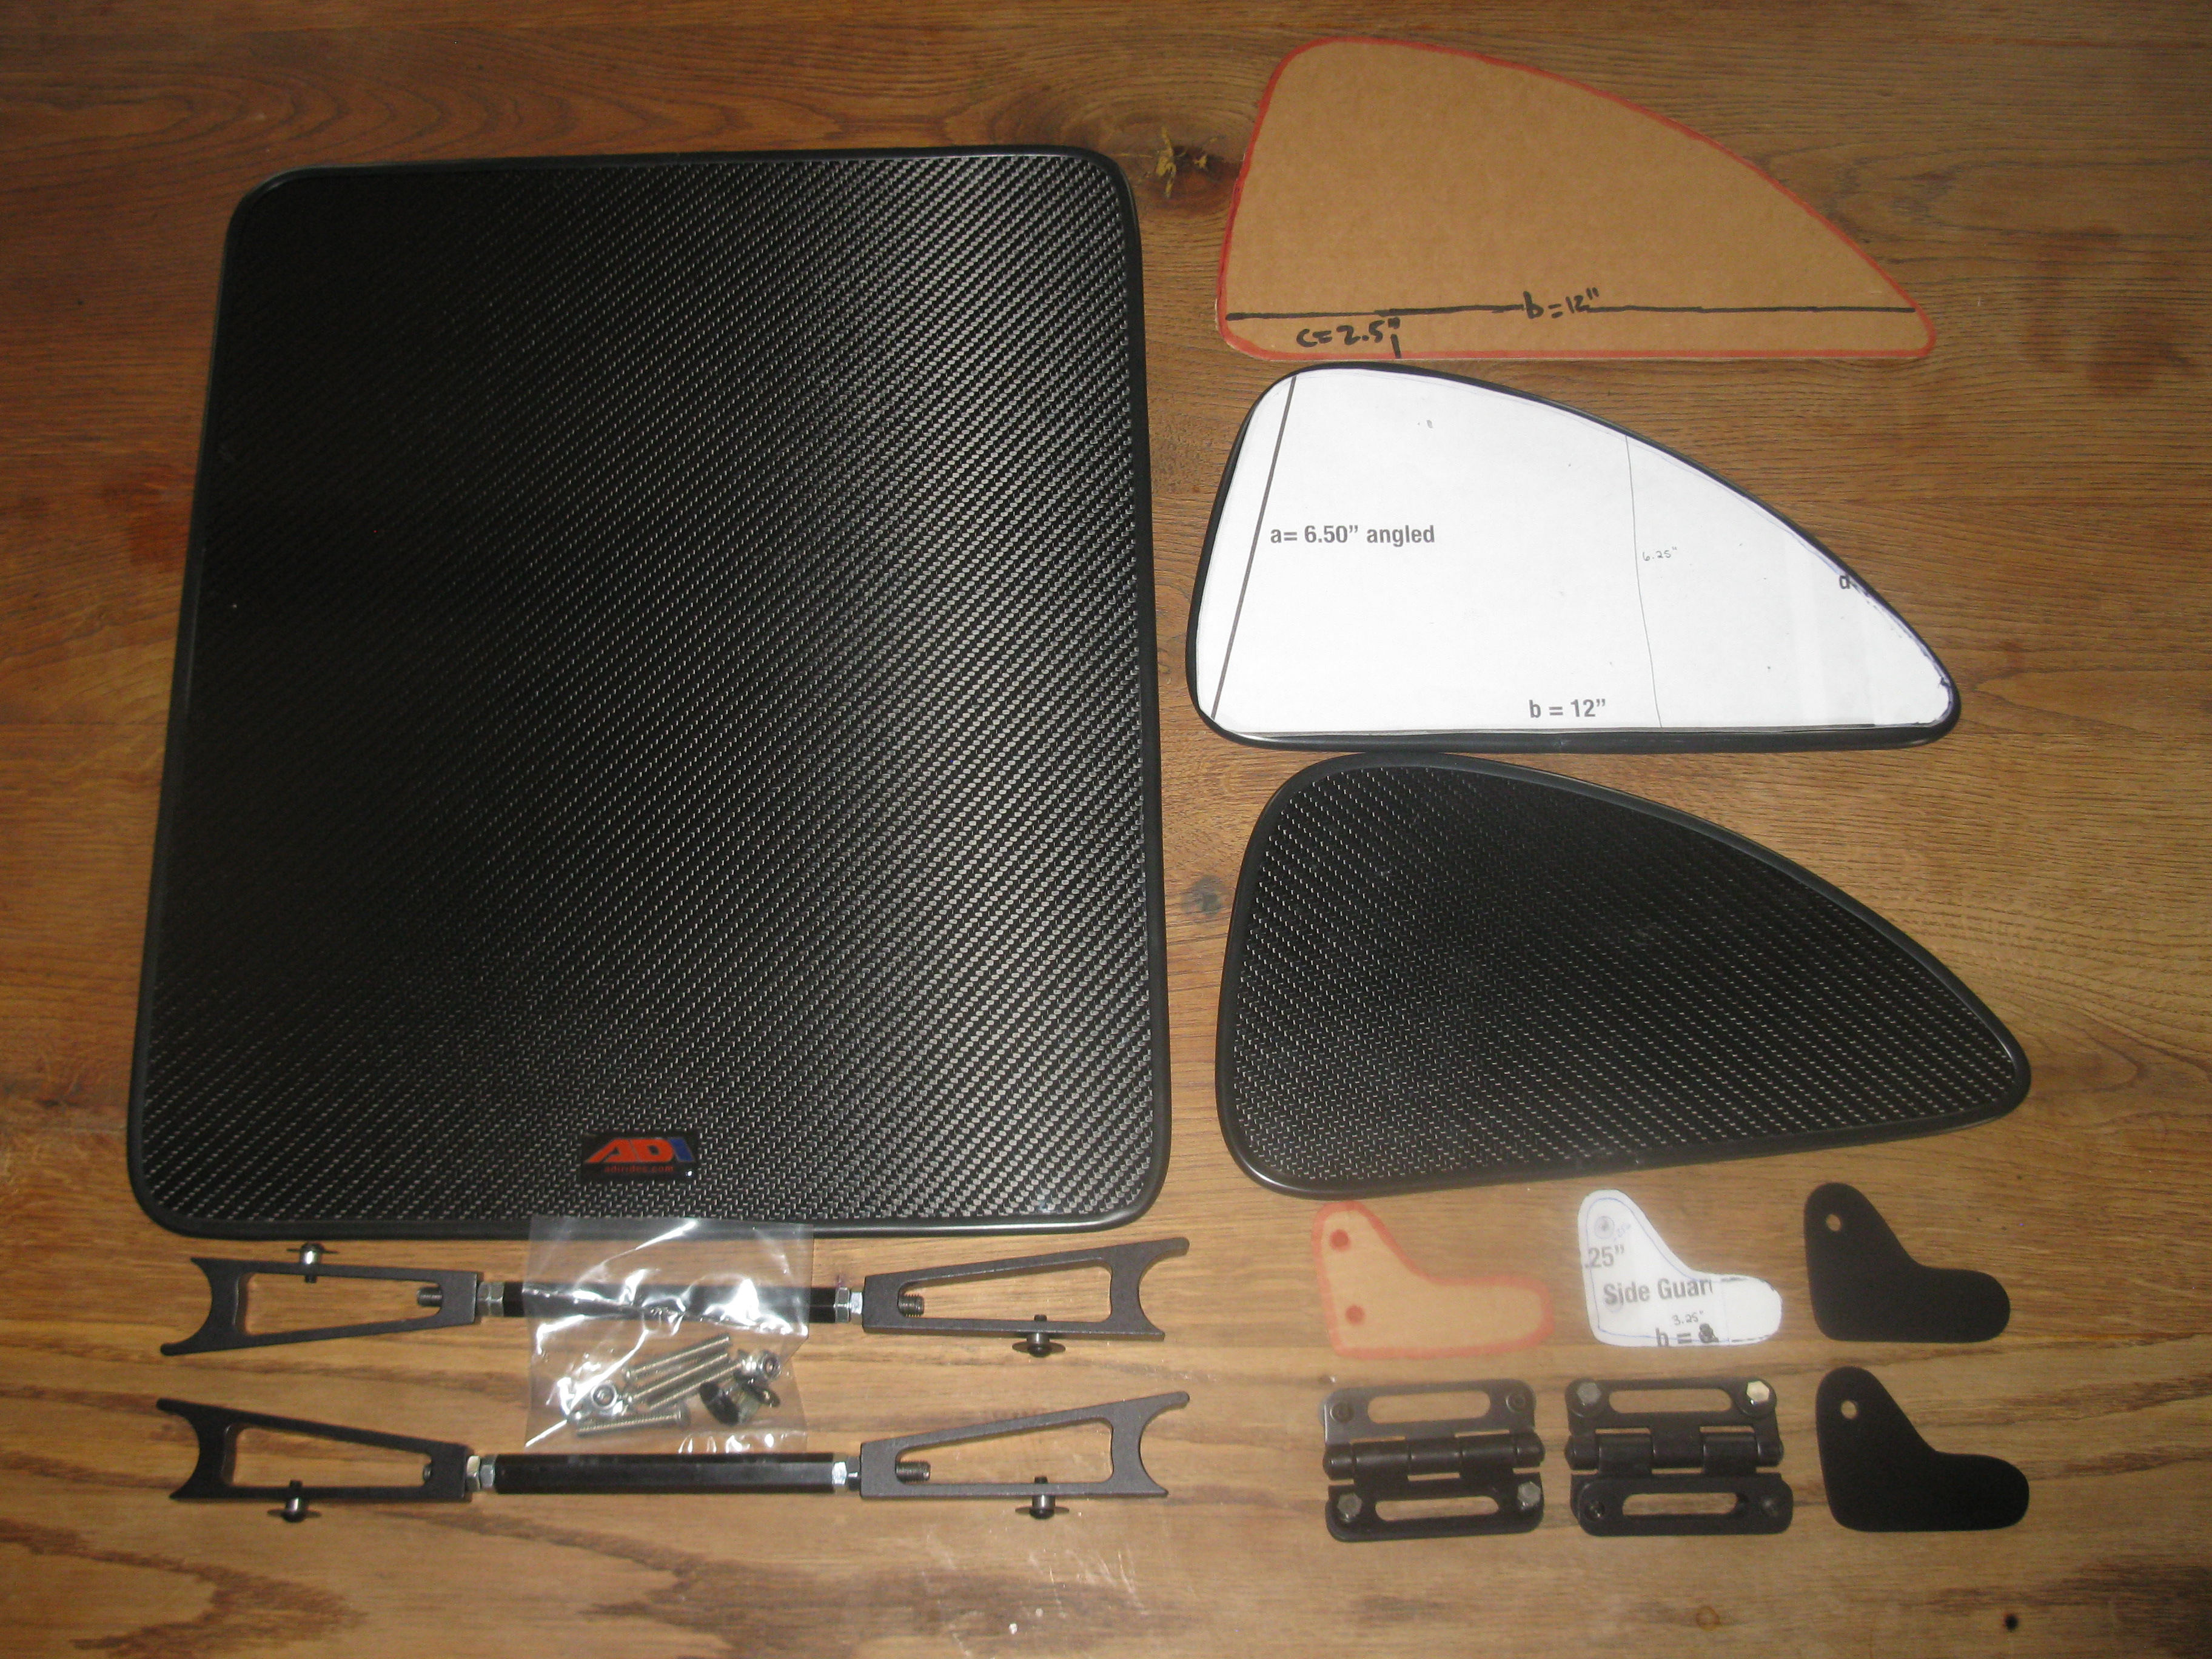
The seat base came later because we needed to make a template for the side guards and have them fitted to the seat base (see below). The seat base is really well made and we are very happy with it. All hardware and fasteners are very good. It was well packaged with excellent documentation.
We were not sure if we would use the mounting hardware, but ordered it to be safe. I had visions of a broken seat pan and only the rigidizer bar to keep from falling through. The seat base was $300 and the mounting hardware was an extra $200. See this thread for information about not using the mounting hardware, and using Velcro only. Overall, I can see why others are doing this, and think it would work well also.
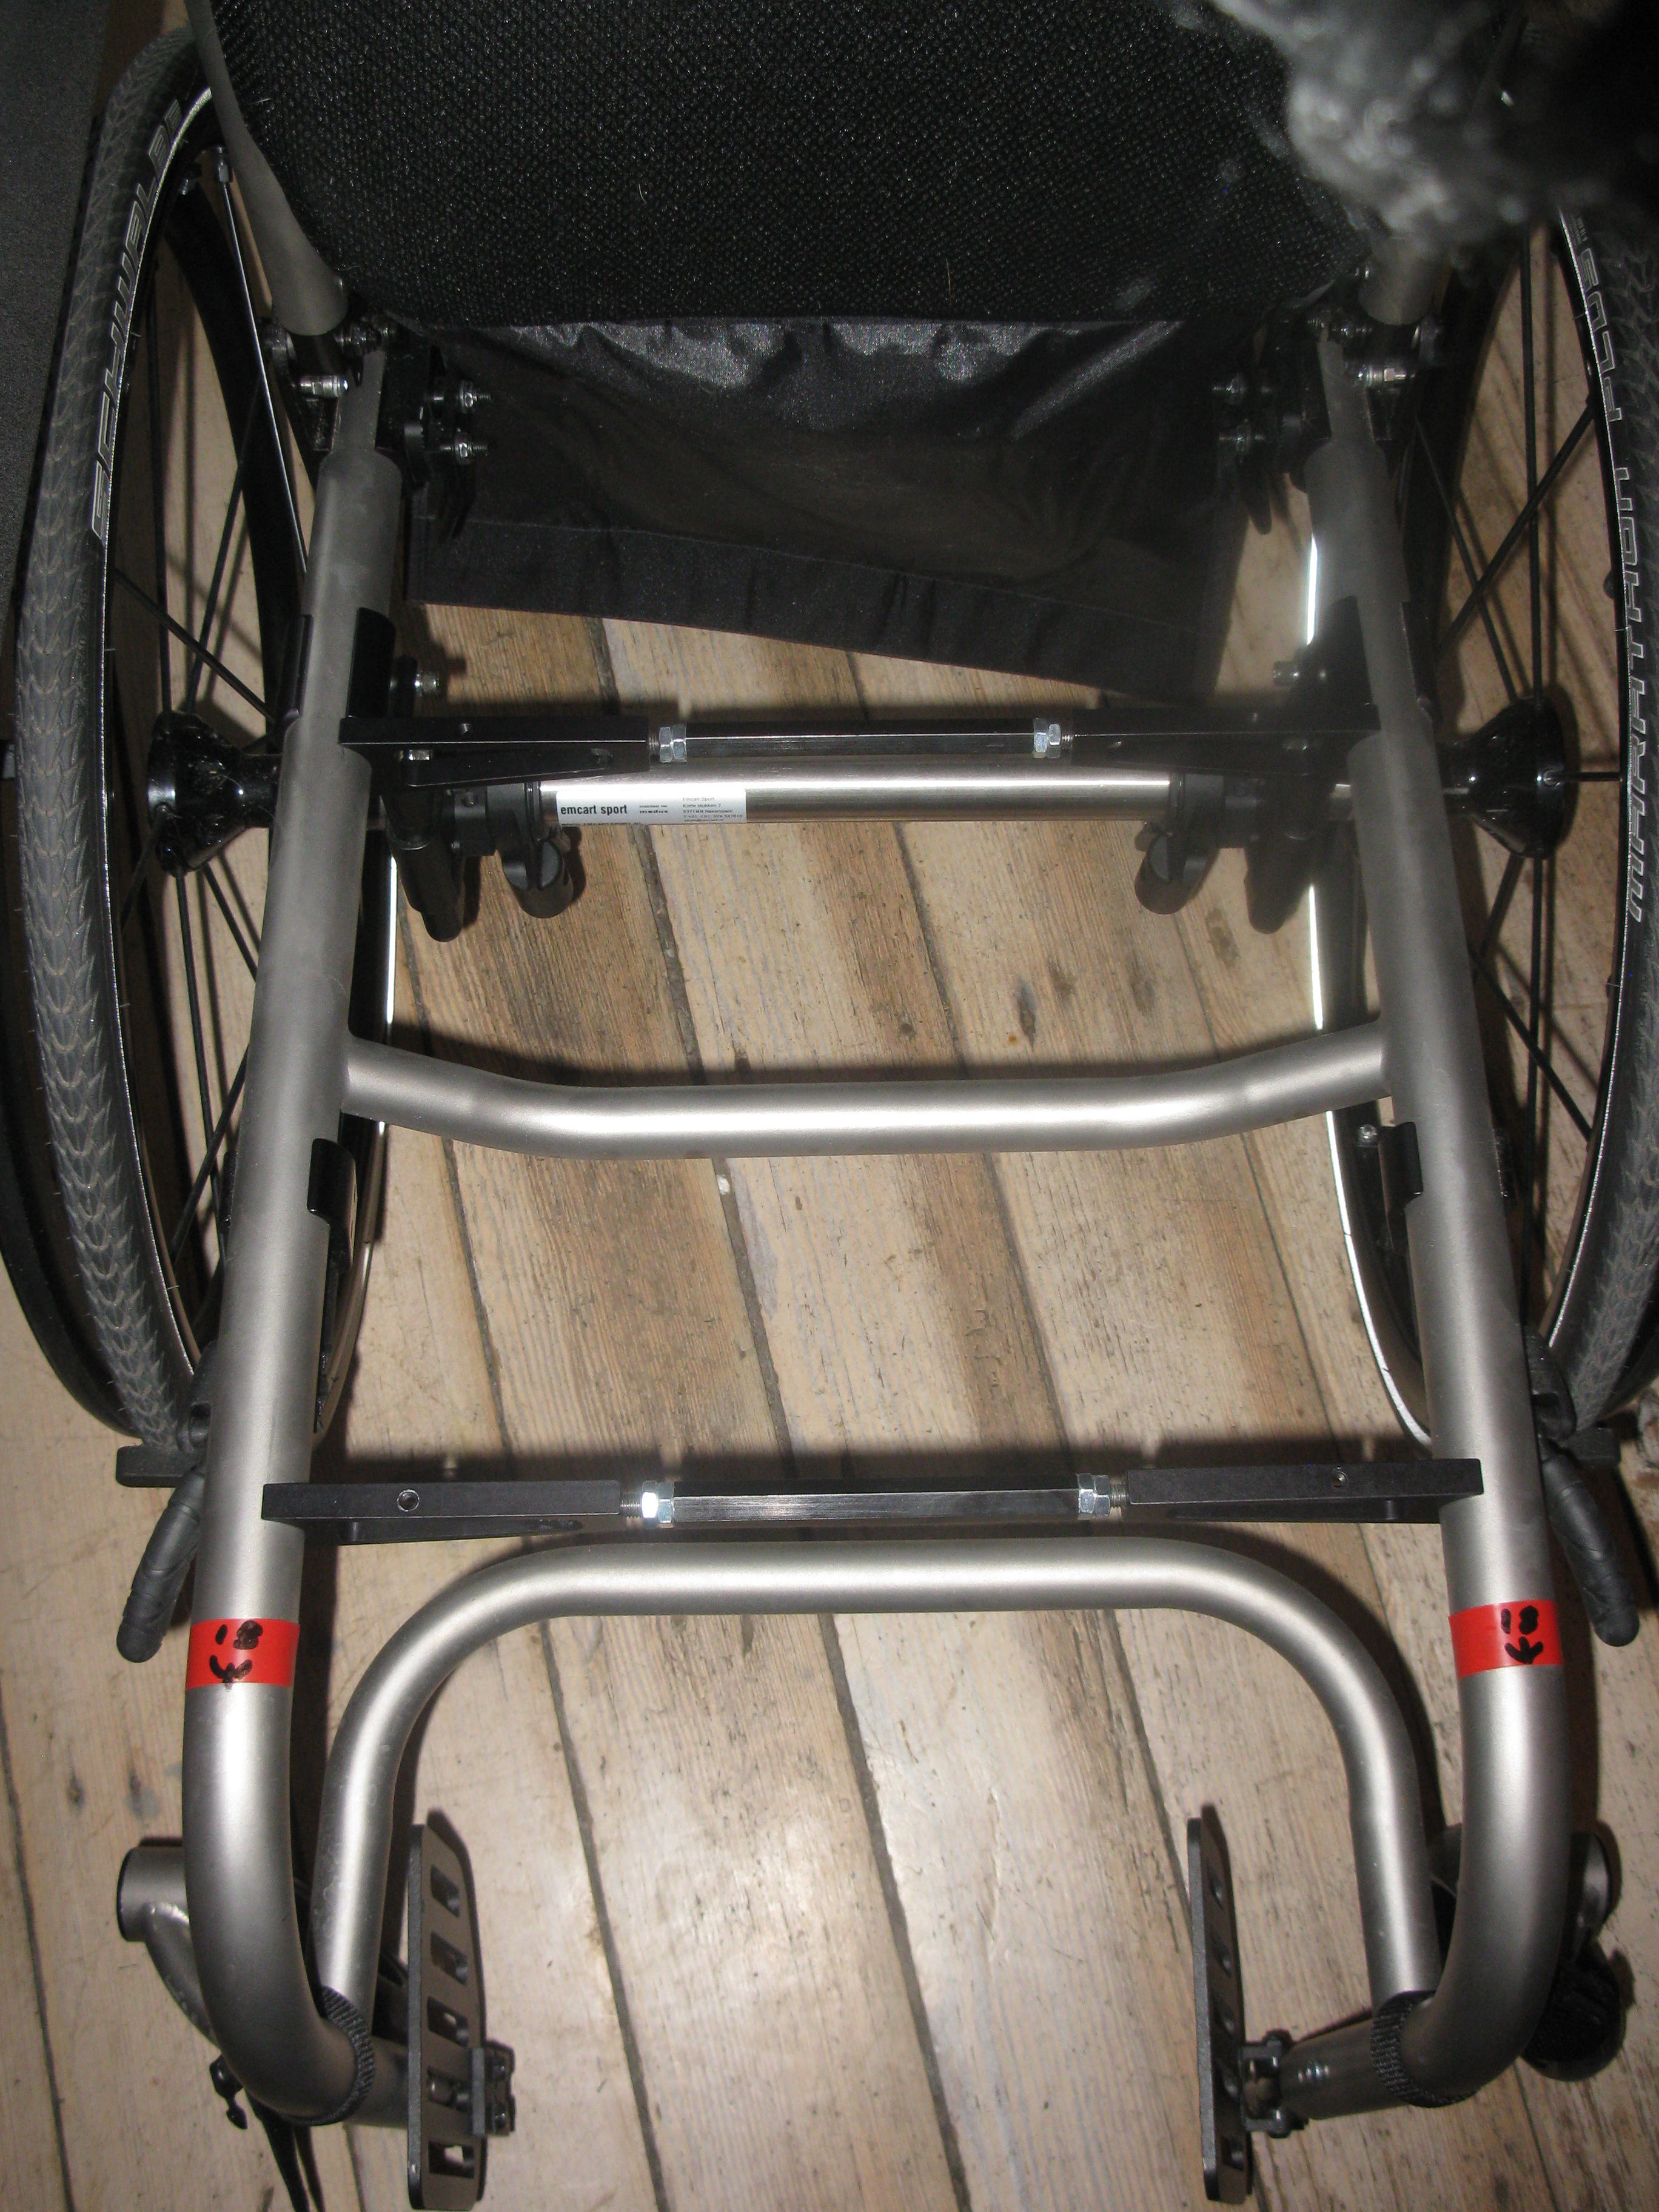
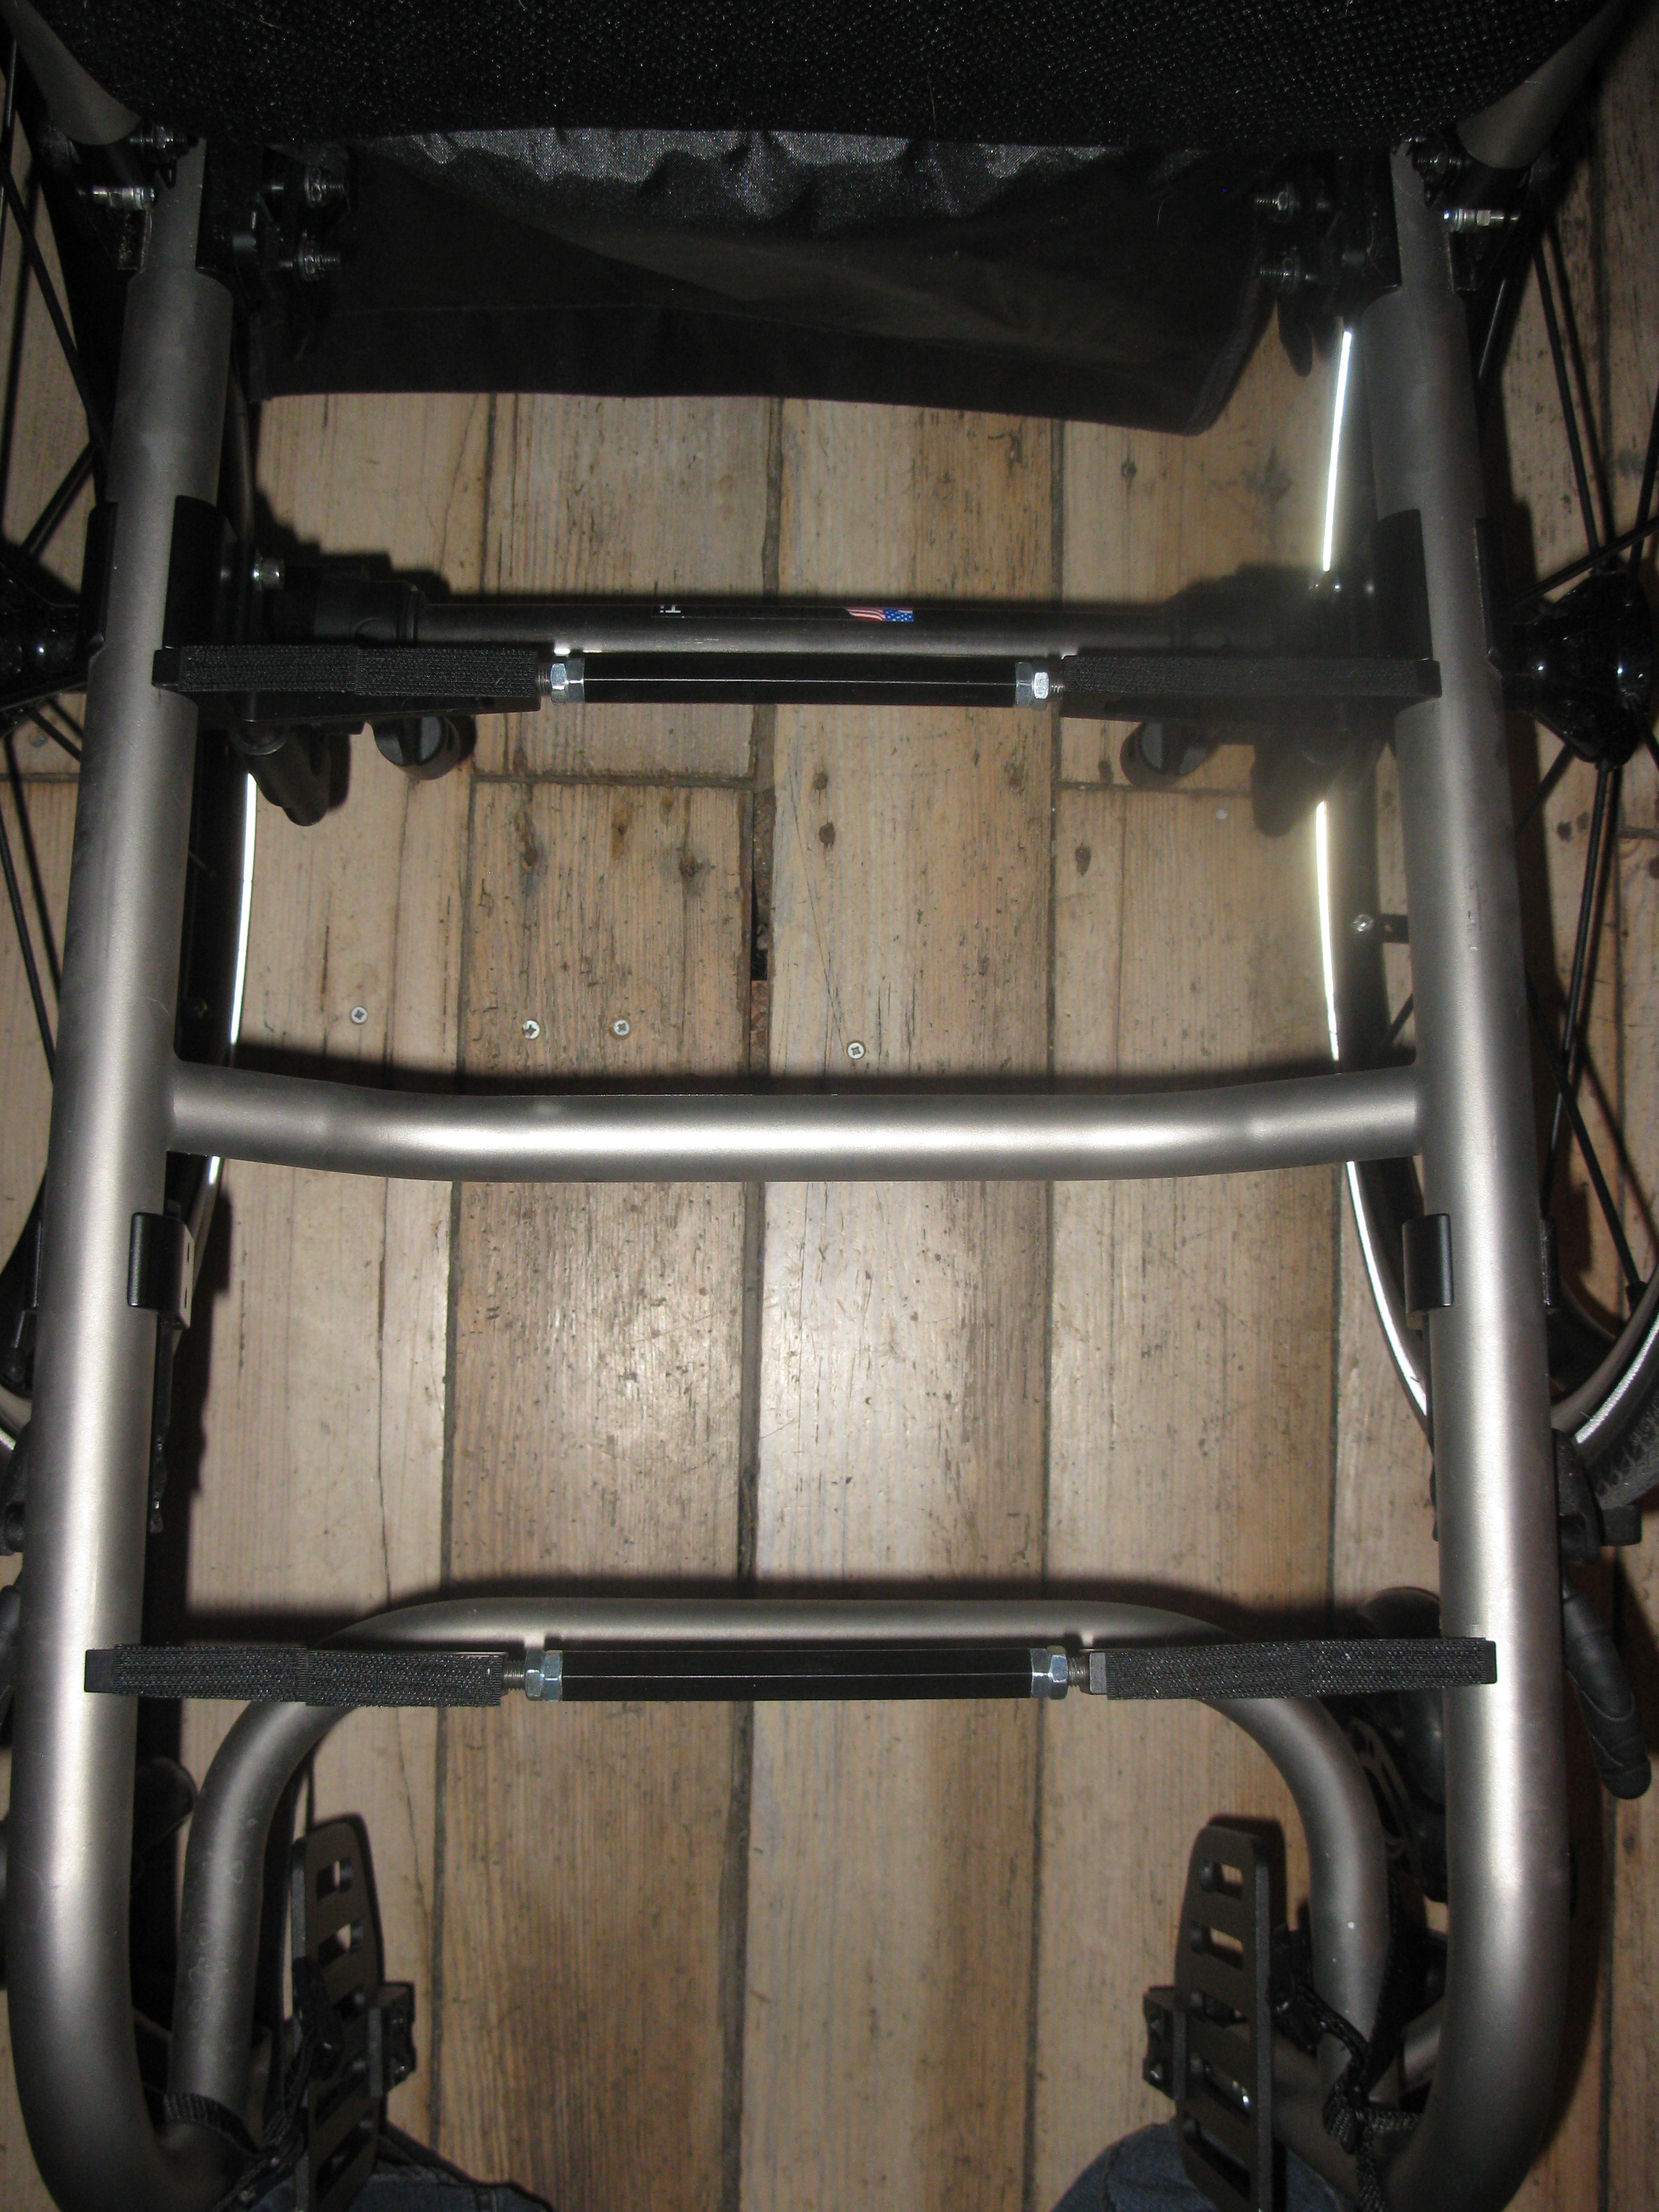
We decided to use the mounting hardware and attach Velcro to the support mounts where normally it would be screwed in. This will make it easy to remove for maintenance, or if we do not want the seat base and side guards left on while traveling. Installing the support mounts took about 10 minutes minutes. We may need to add more Velcro later, but so far, it seems to work well with only a small amount of Velcro.
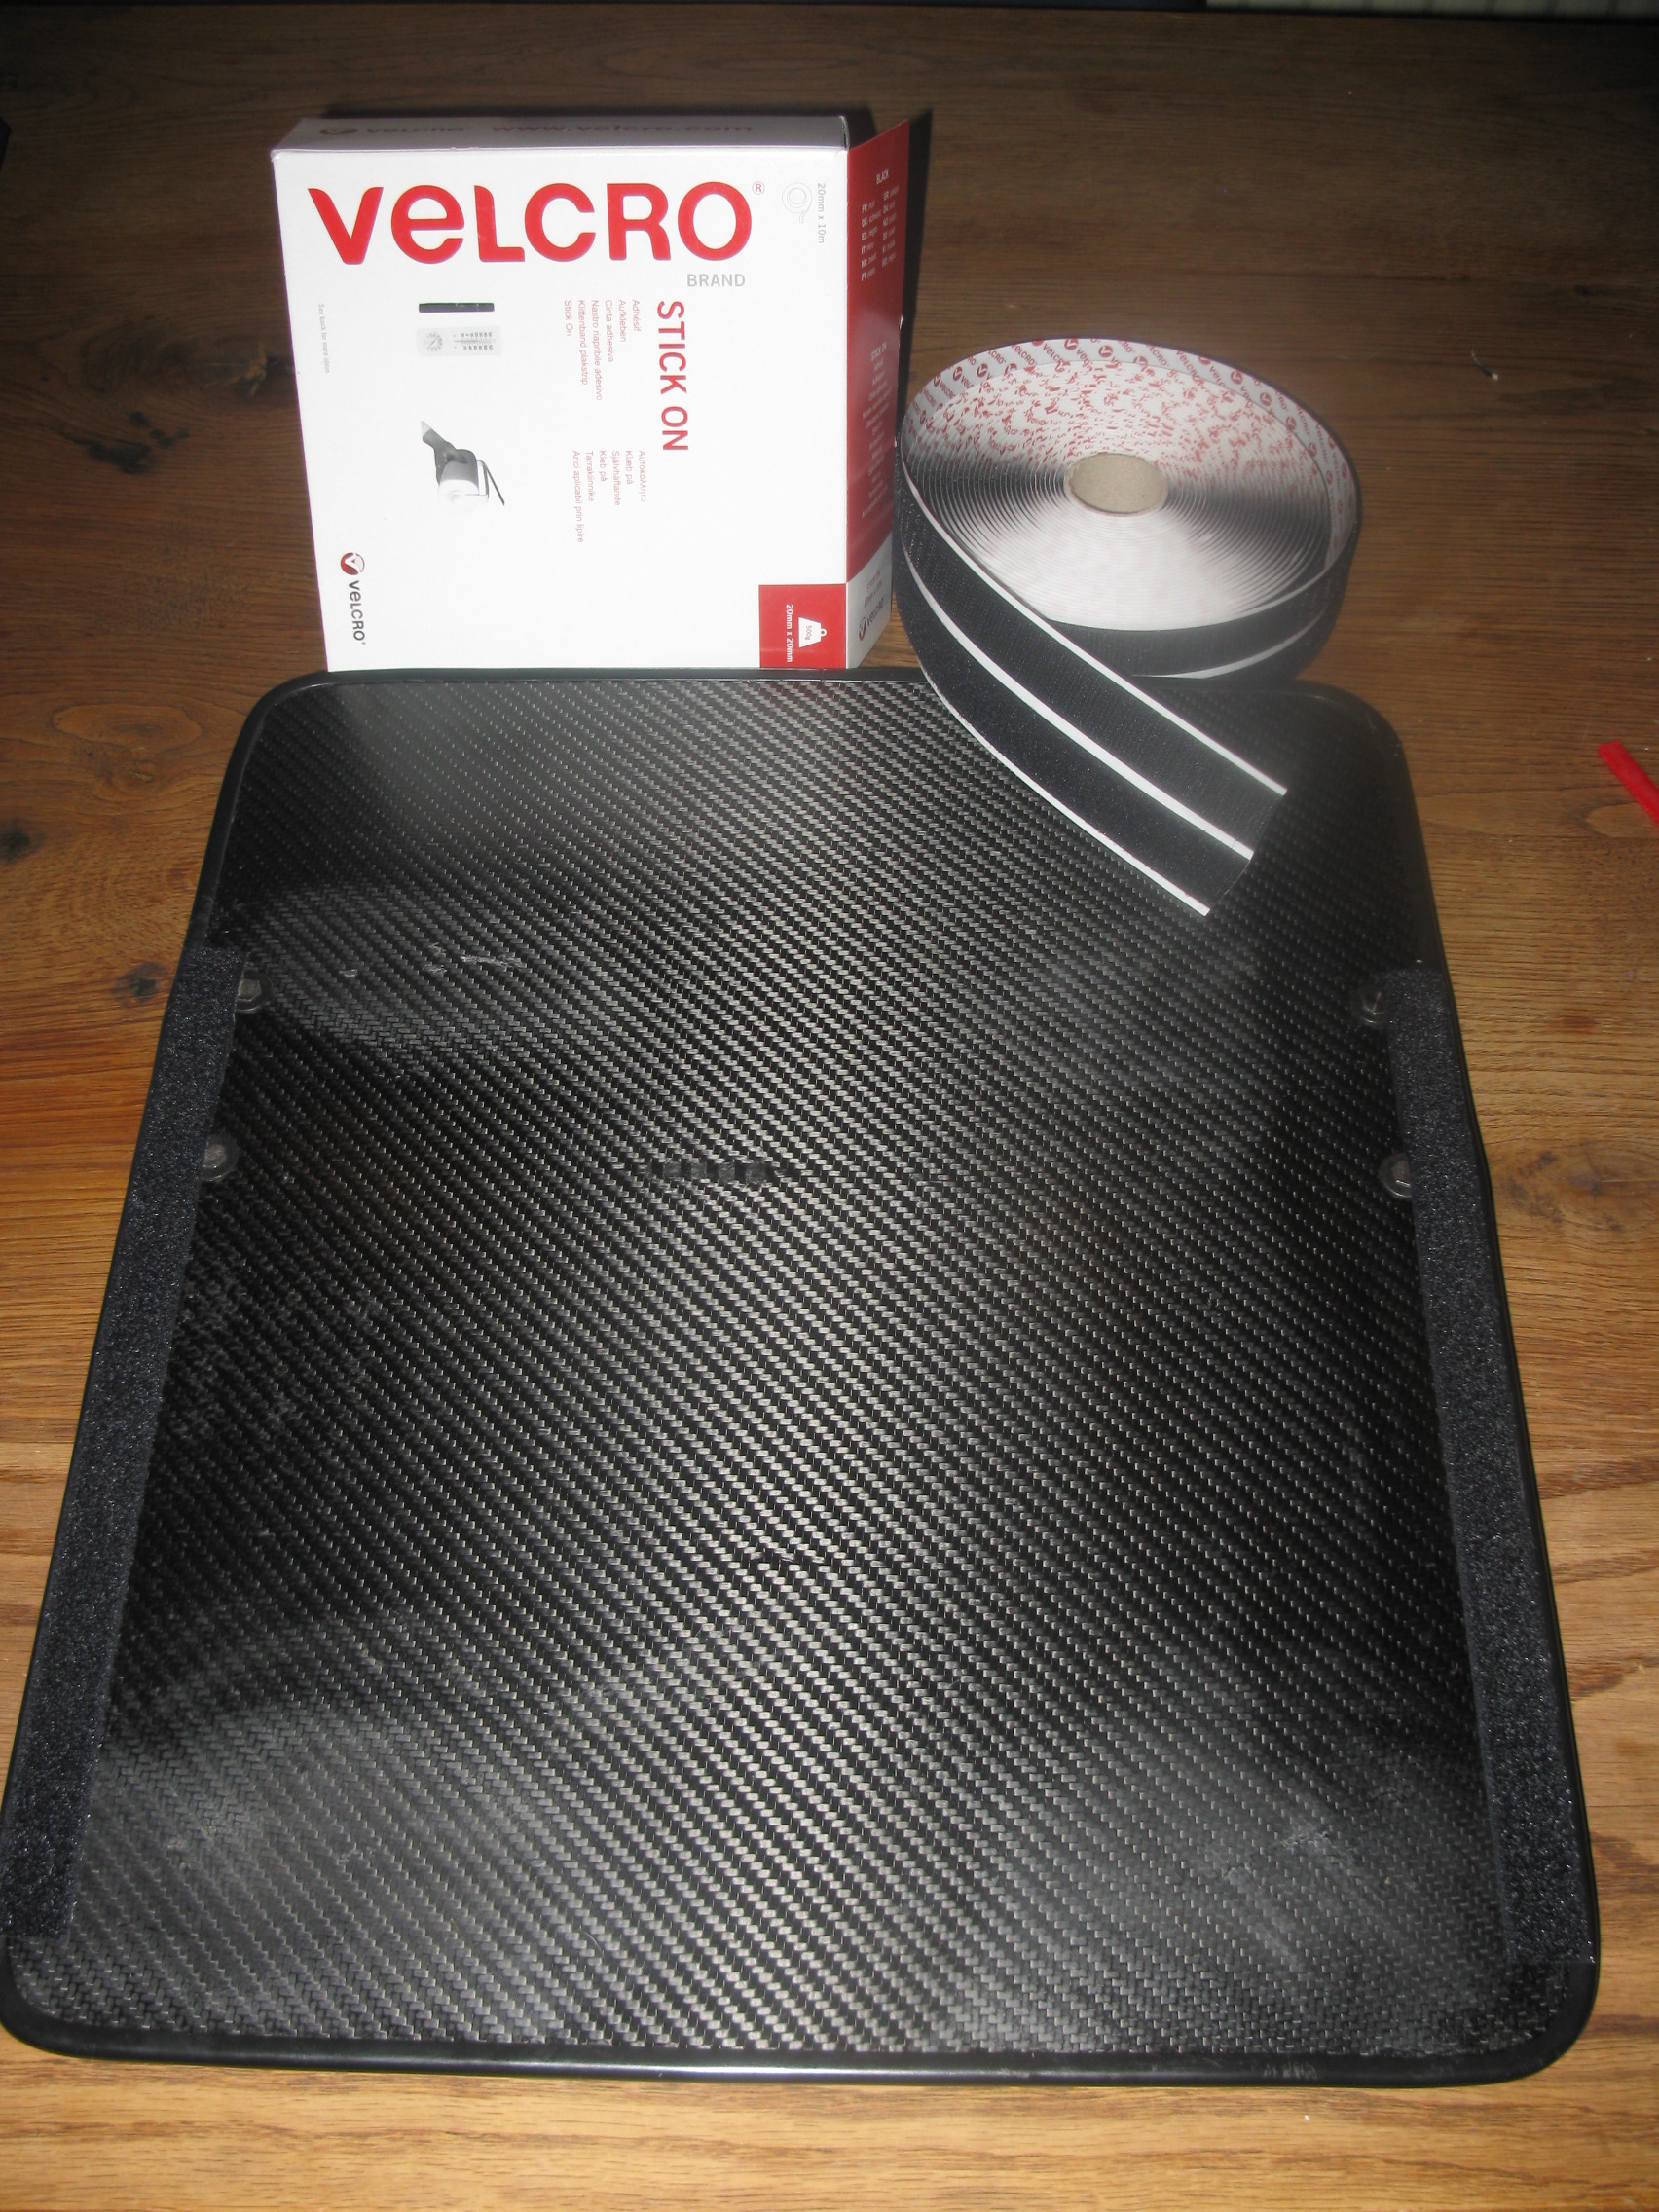
Later I realised that it was not strong enough with Velcro only on the support mounts. I took off the previous Velcro, and installed new Velcro vertically on the tubes and seat base. It did not take long to install the new Velcro, but getting the adhesive off the old Velcro took quite a lot of work. I used acetone (nail polish remover) and steel wool. It did take off the surface finish on the carbon fiber, but the anodizing on the ADI support mounts held up well. Now it is very firmly in place, and I can tip the chair and the seat base stays on.
For anyone wanting to do this, we used Velcro brand 20mm / .75″ wide “Stick On” tape. We bought a large 10 meter roll because we use it for a lot of equipment, but only needed about 30 cm / 12″ on each side.

http://adirides.com/seating-systems/seatbases http://www.sportaid.com/adi-carbon-solid-seat-base.html
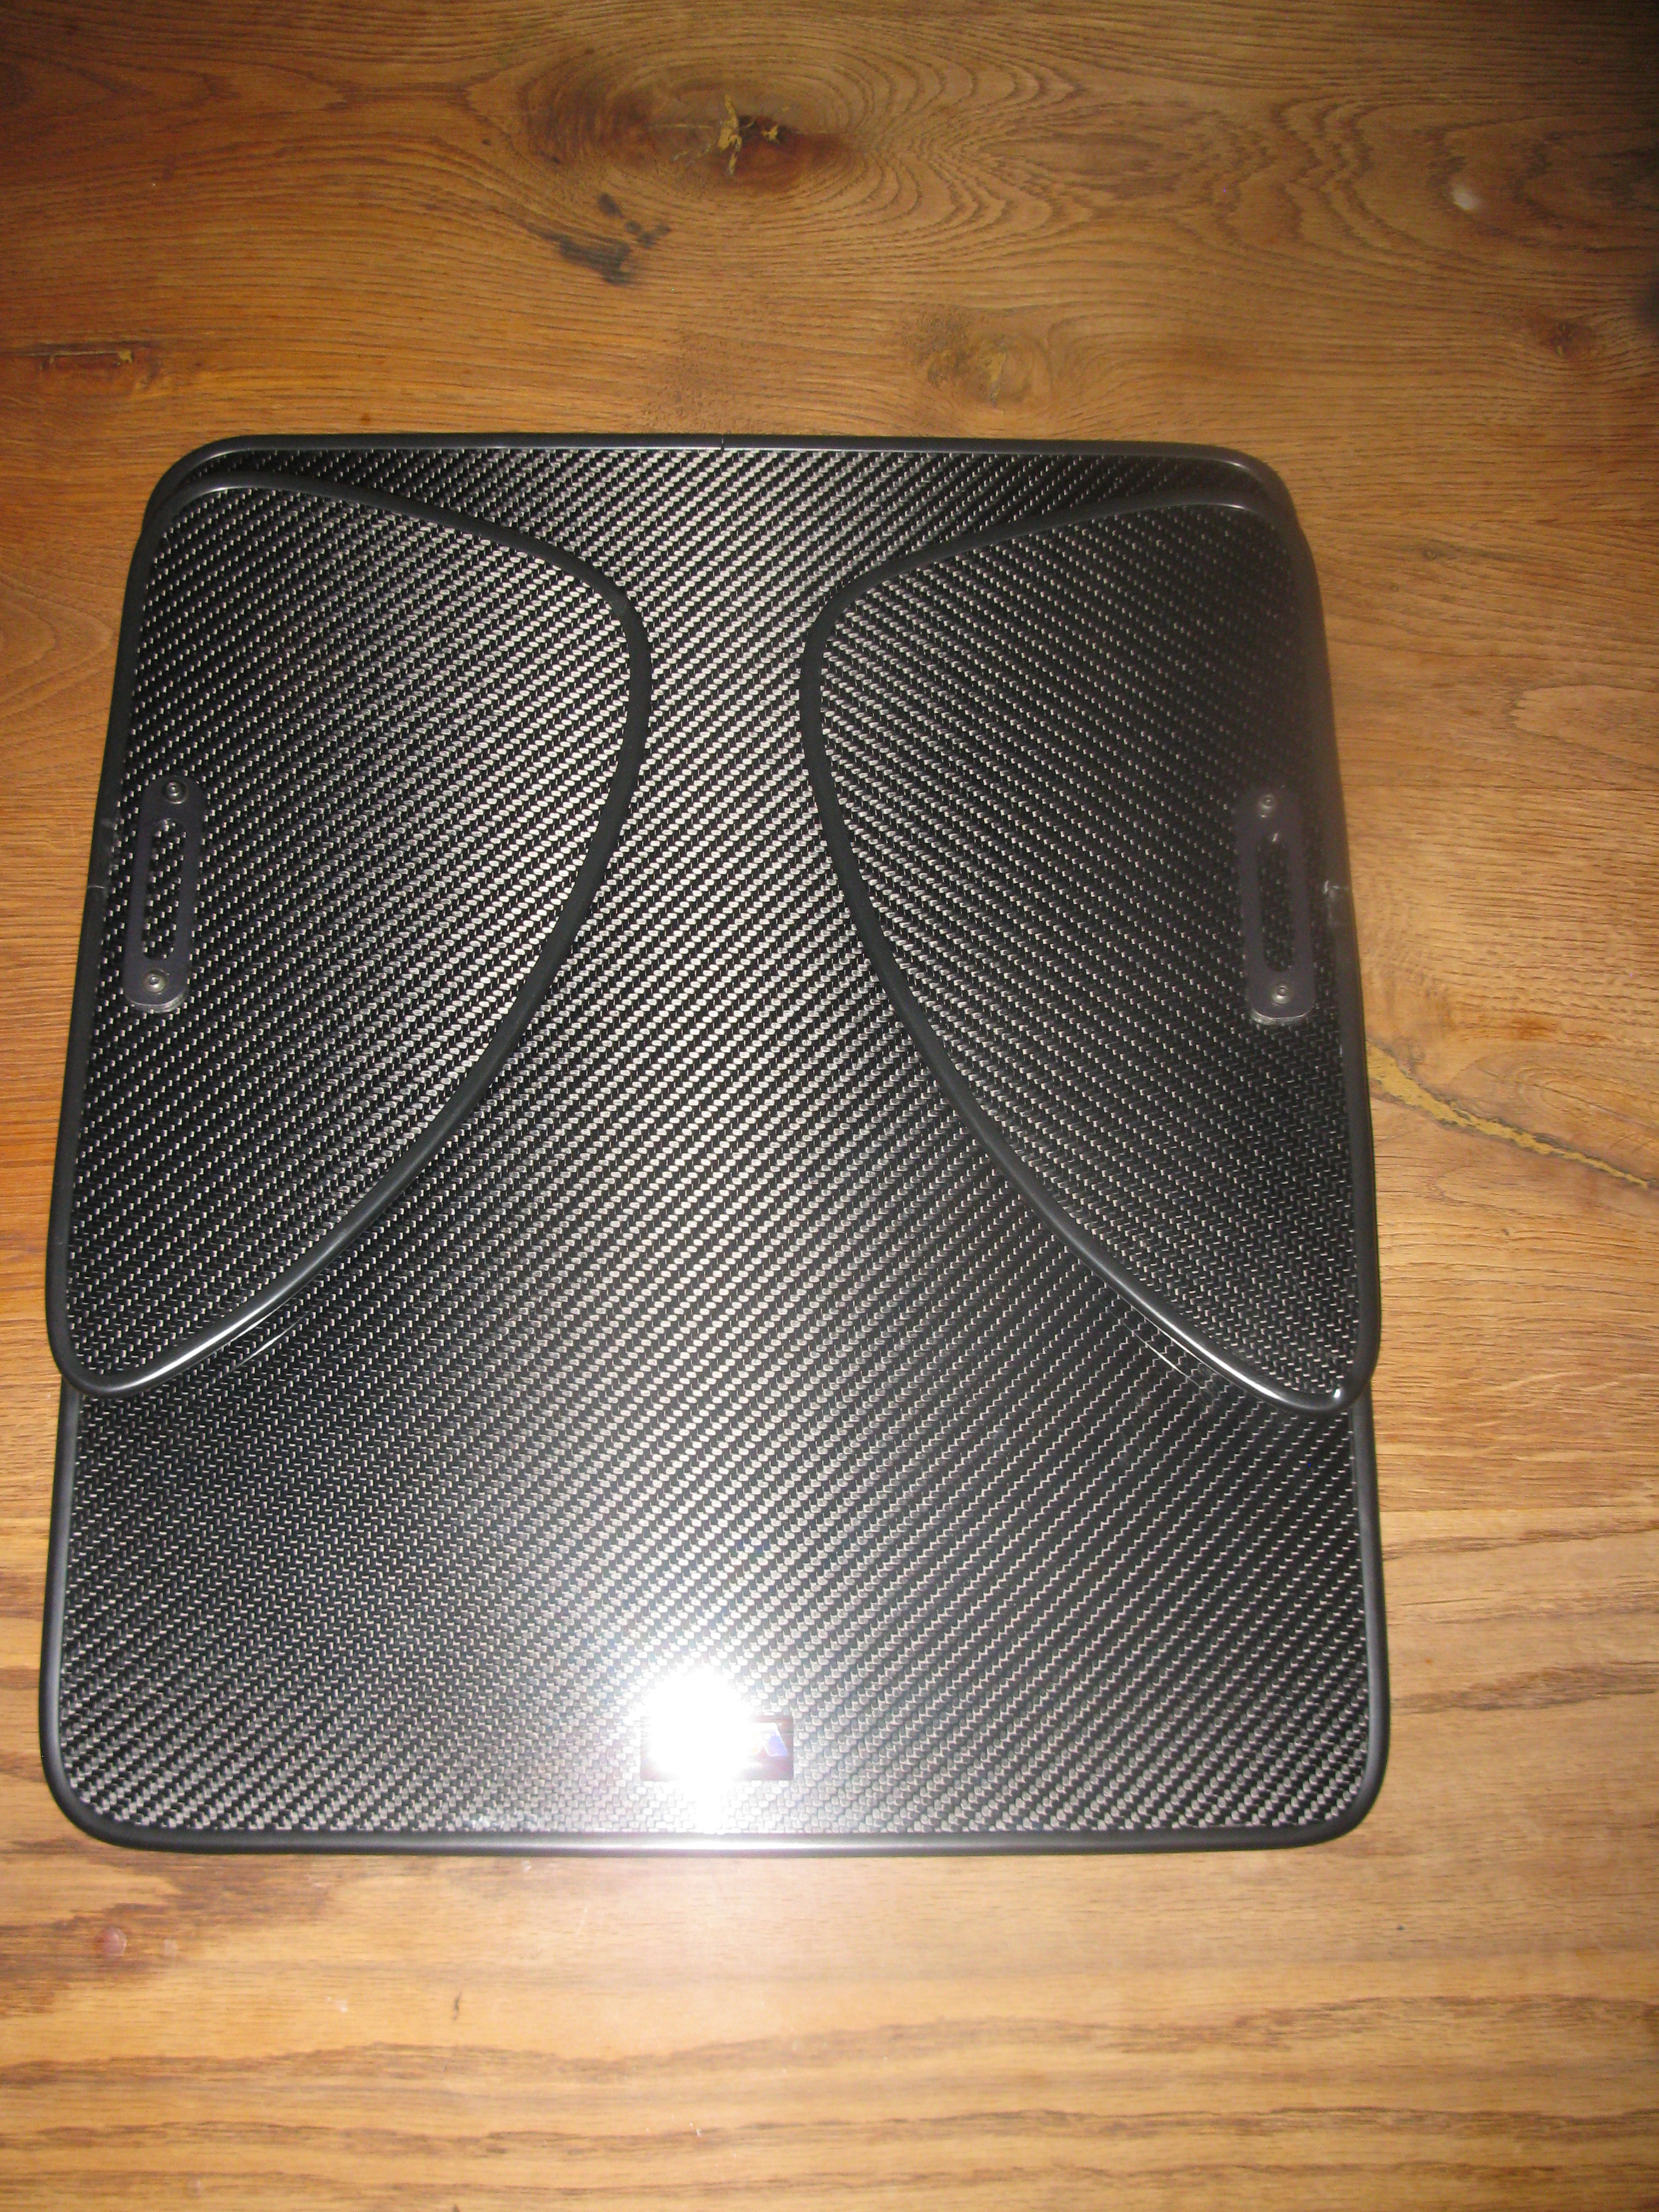
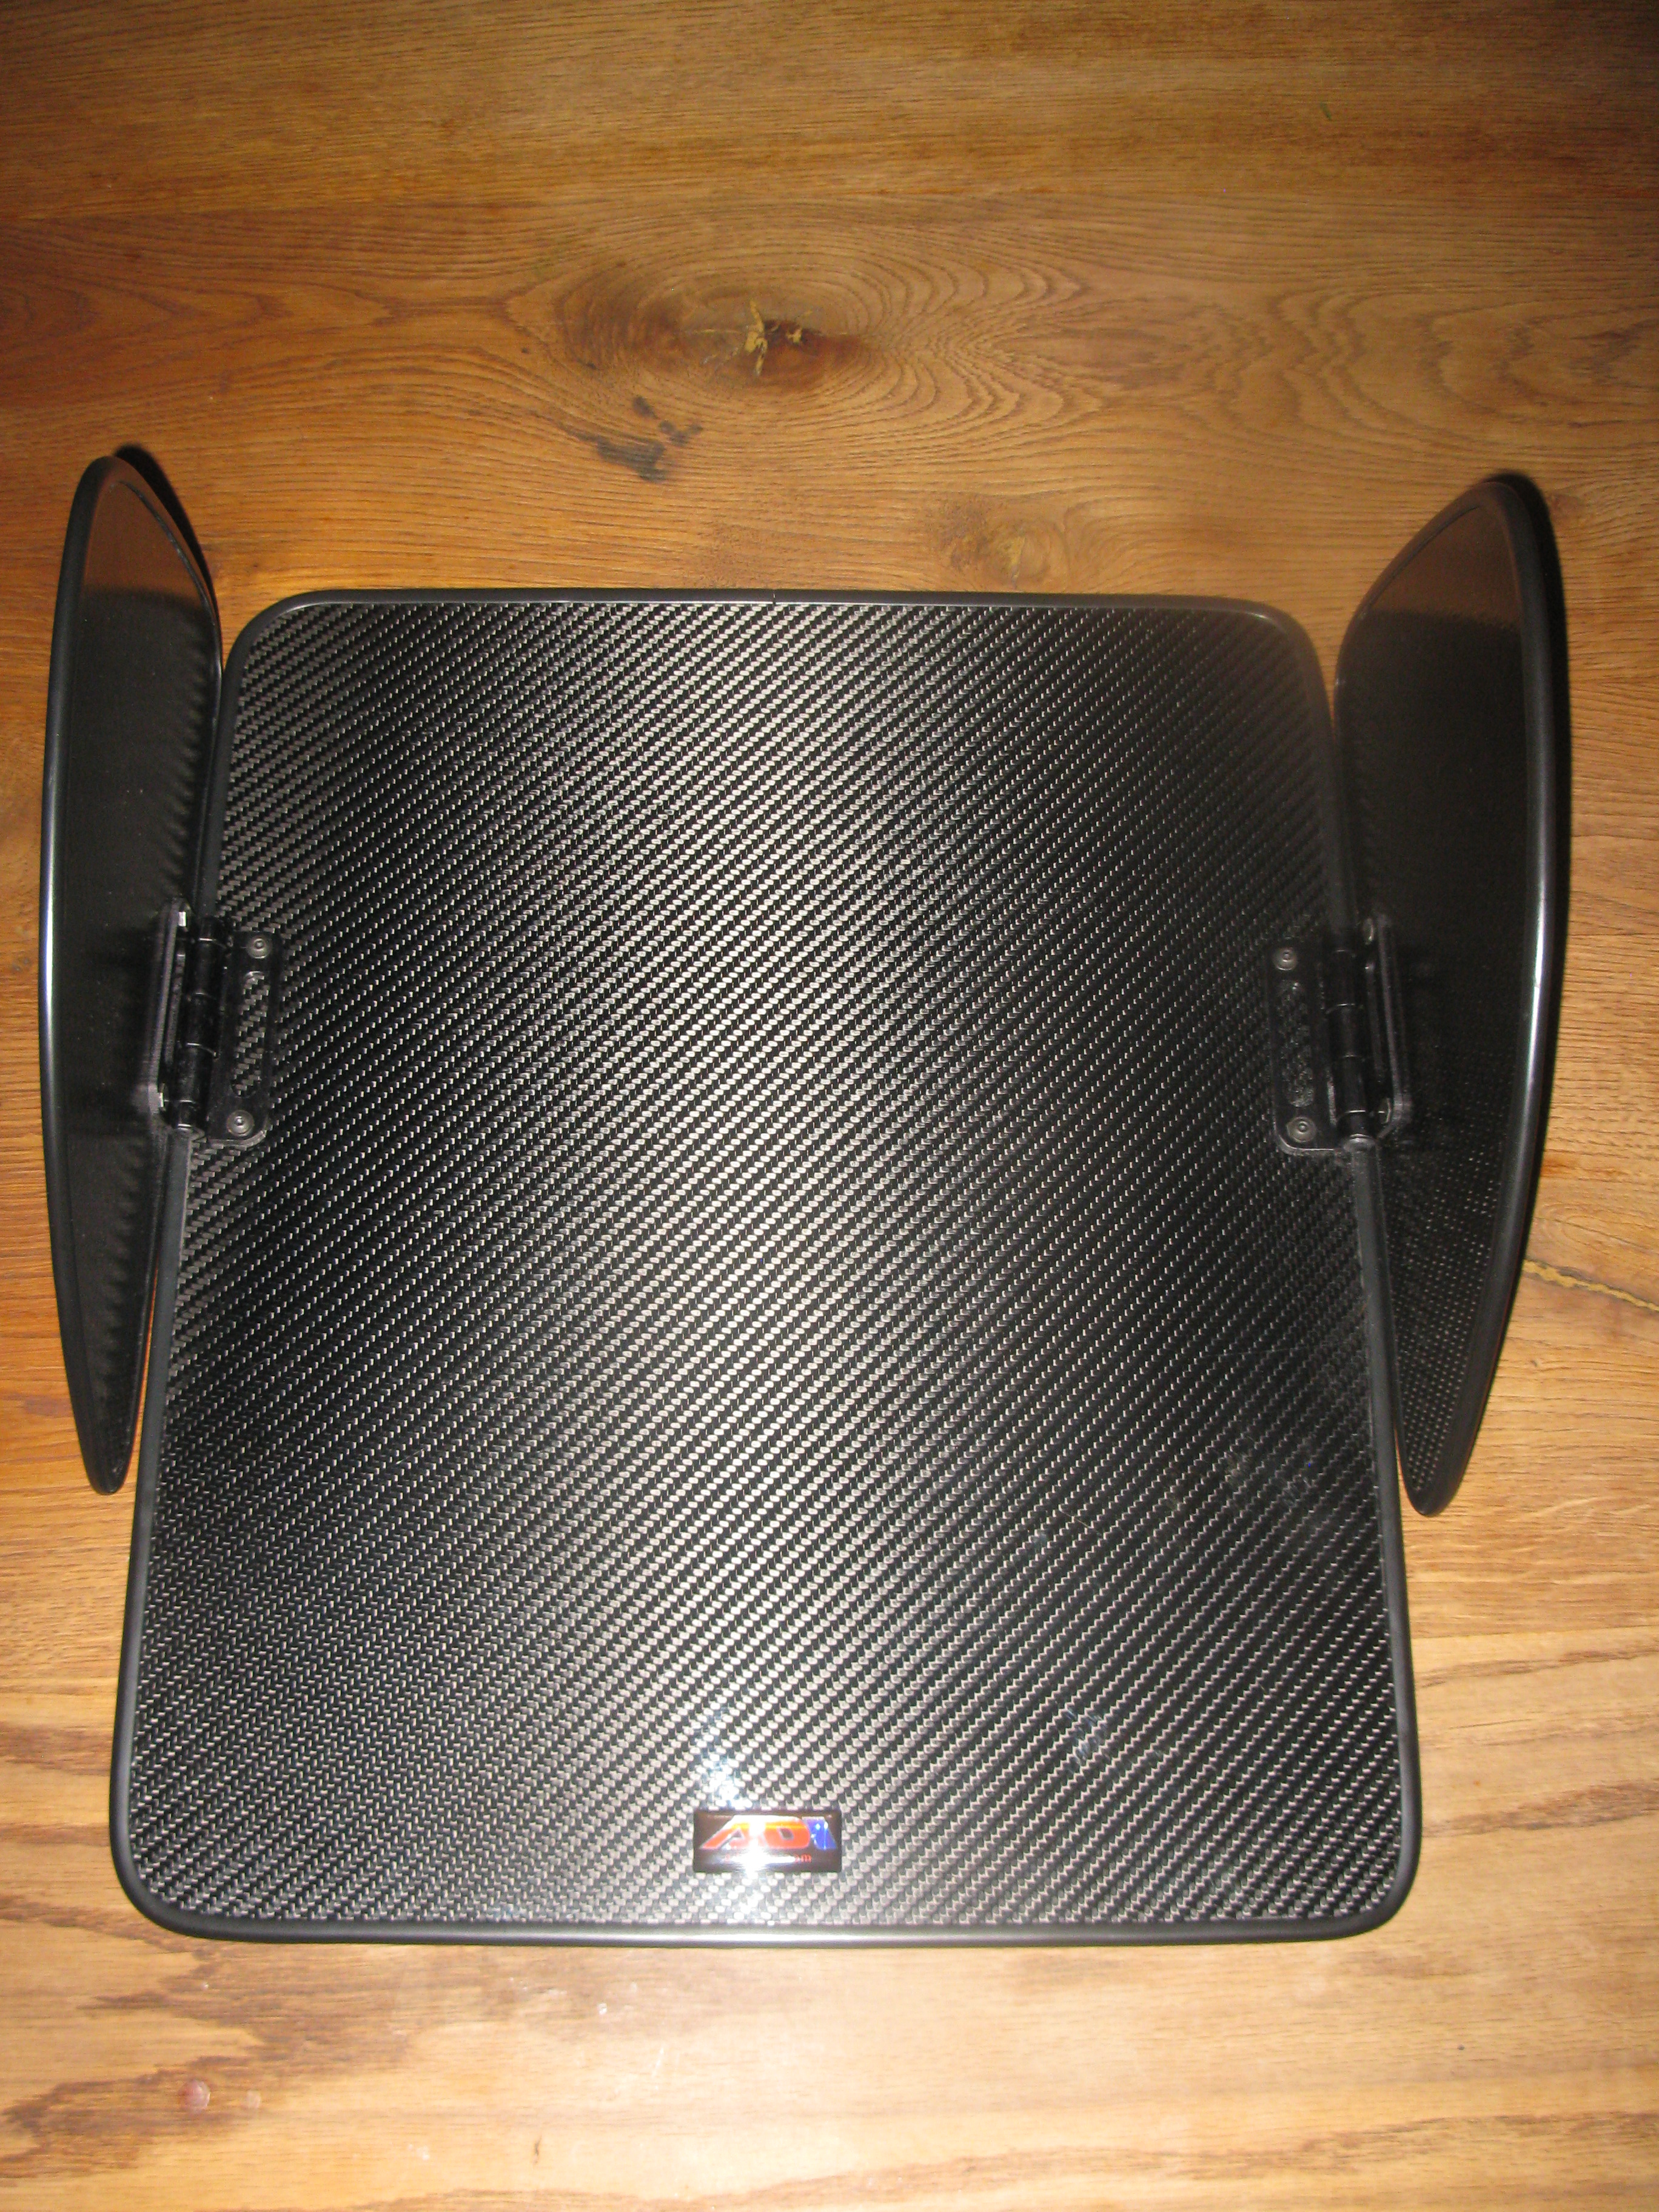
ADI Carbon Fiber Folding Side Guards
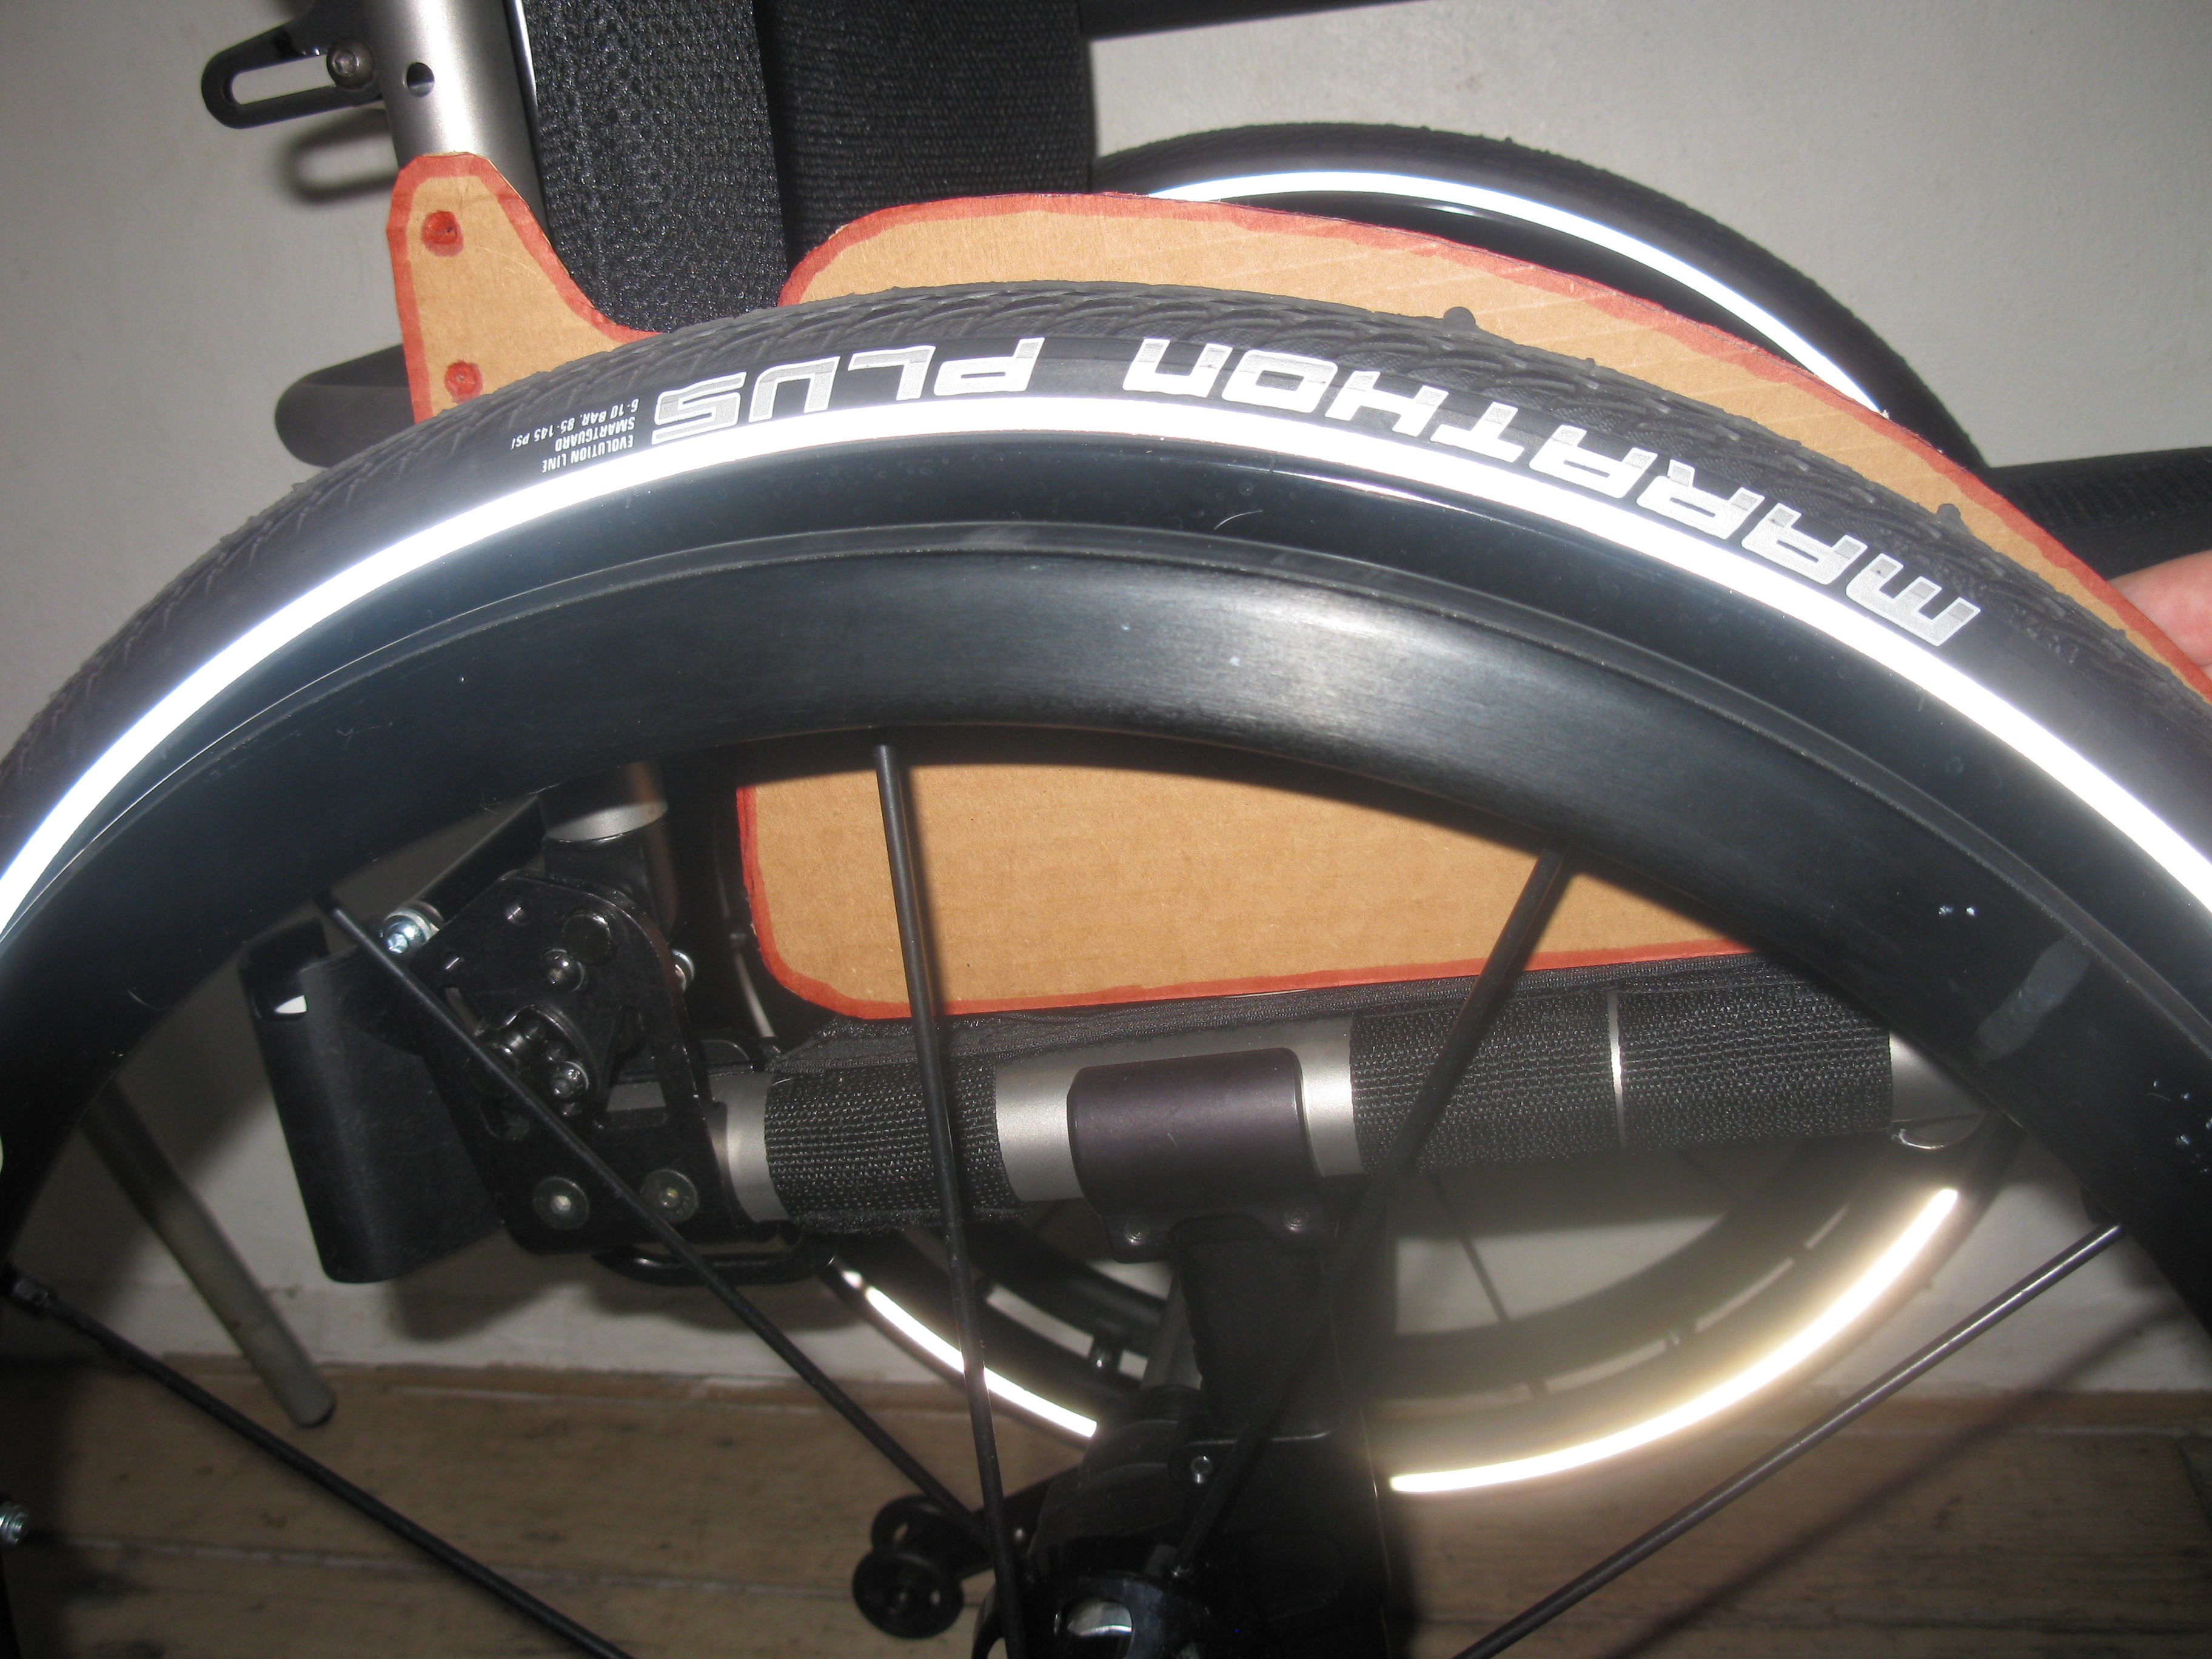
We did not order any side guards with the ZRA originally, because TiLite did not have any that are no-charge options and they did not have the type we wanted. Although TiLite has carbon fiber folding side guards, they attach to the frame, and we really wanted to have them attached to the seat base so they could be taken off as a single unit. We also wanted them to fit the exact the contour of the wheels so they did not get in the way for transfers or interfere with the arm rests.
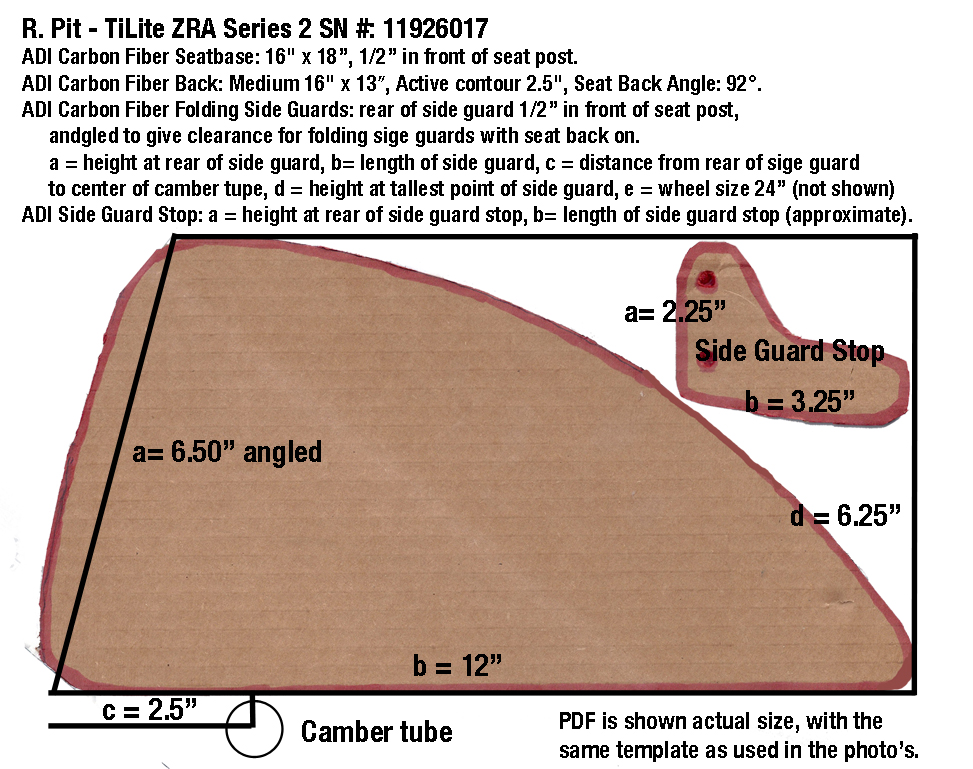
They were measured by us with a template we made to fit the ADI carbon fiber back along with the ADI carbon fiber seat base and the contour of the wheels. It was a bit difficult to make the template, because we did not have a lot of information to go by, especially the side guard stop, because ADI did not provide much information about what is possible.
Luckily, we had our very kind father/father-in-law visiting, and we made a nice project out of it to figure it out. We wanted to make sure the side guards can fold down with the seat back on and we wanted the side guards only slightly larger than the contour of the wheels for easier transfers. Although we have a quick release seat back, we prefer only to use it when really needed (we only get funding every 7 years).
They are very well made and appear to be identical without any flaws. All hardware and fasteners are very good too. It was well packaged but the documentation was lacking (unlike for the seat back and seat base). It was only a sheet of paper with 3 images and did not give any information about measurements.
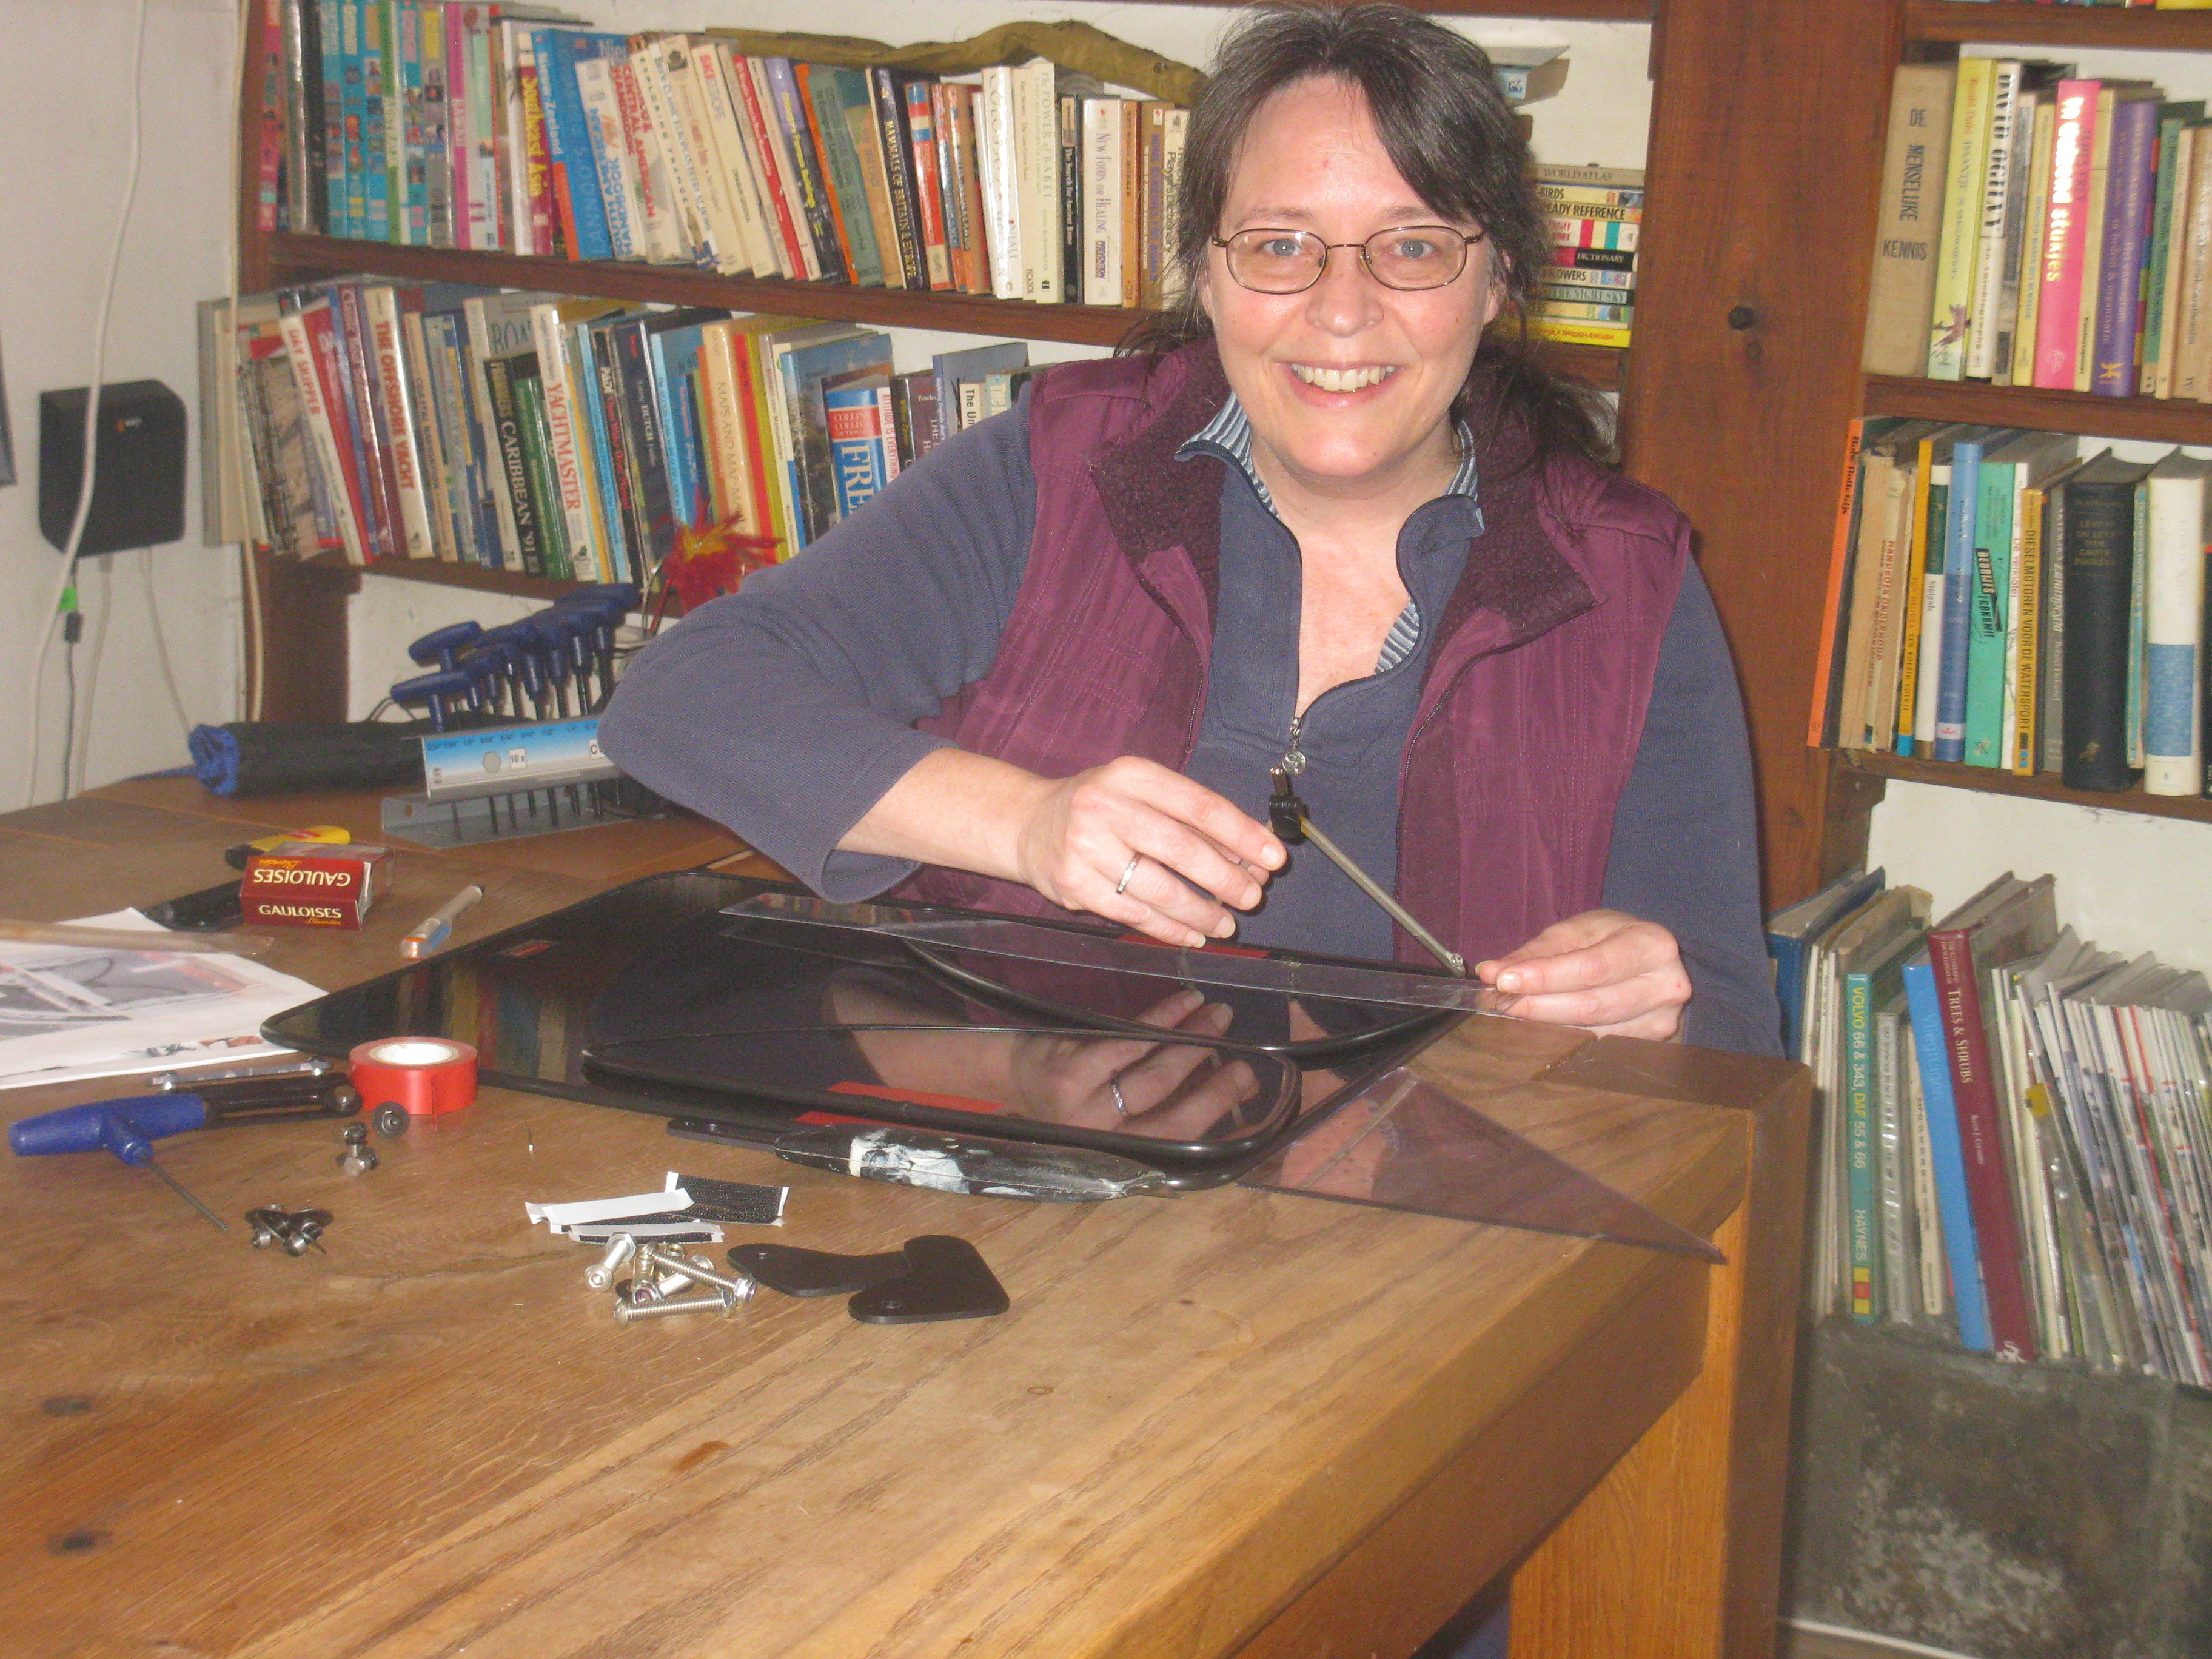
ADI Carbon Fiber Folding Side Guard Template
We made the template for the side guards out of cardboard and then I scanned them and made a PDF at 100% for ADI to use when making them. You can see in the photo with all the parts that they definitely used the templates (in white) and they were almost a perfect match, with the exception of the trim. The only thing different is that I had made 2 holes for each side guard stop, but they only did one on the top. I don’t think that this is going to be a problem, assuming that one hole is strong enough.
Note: For anyone else making a template, be aware that the trim is about 5/16″ and it makes the side guards about 1/4″ larger than the template. In our case this was okay, but if you want them to the exact contour of your wheels you will need to factor this in.
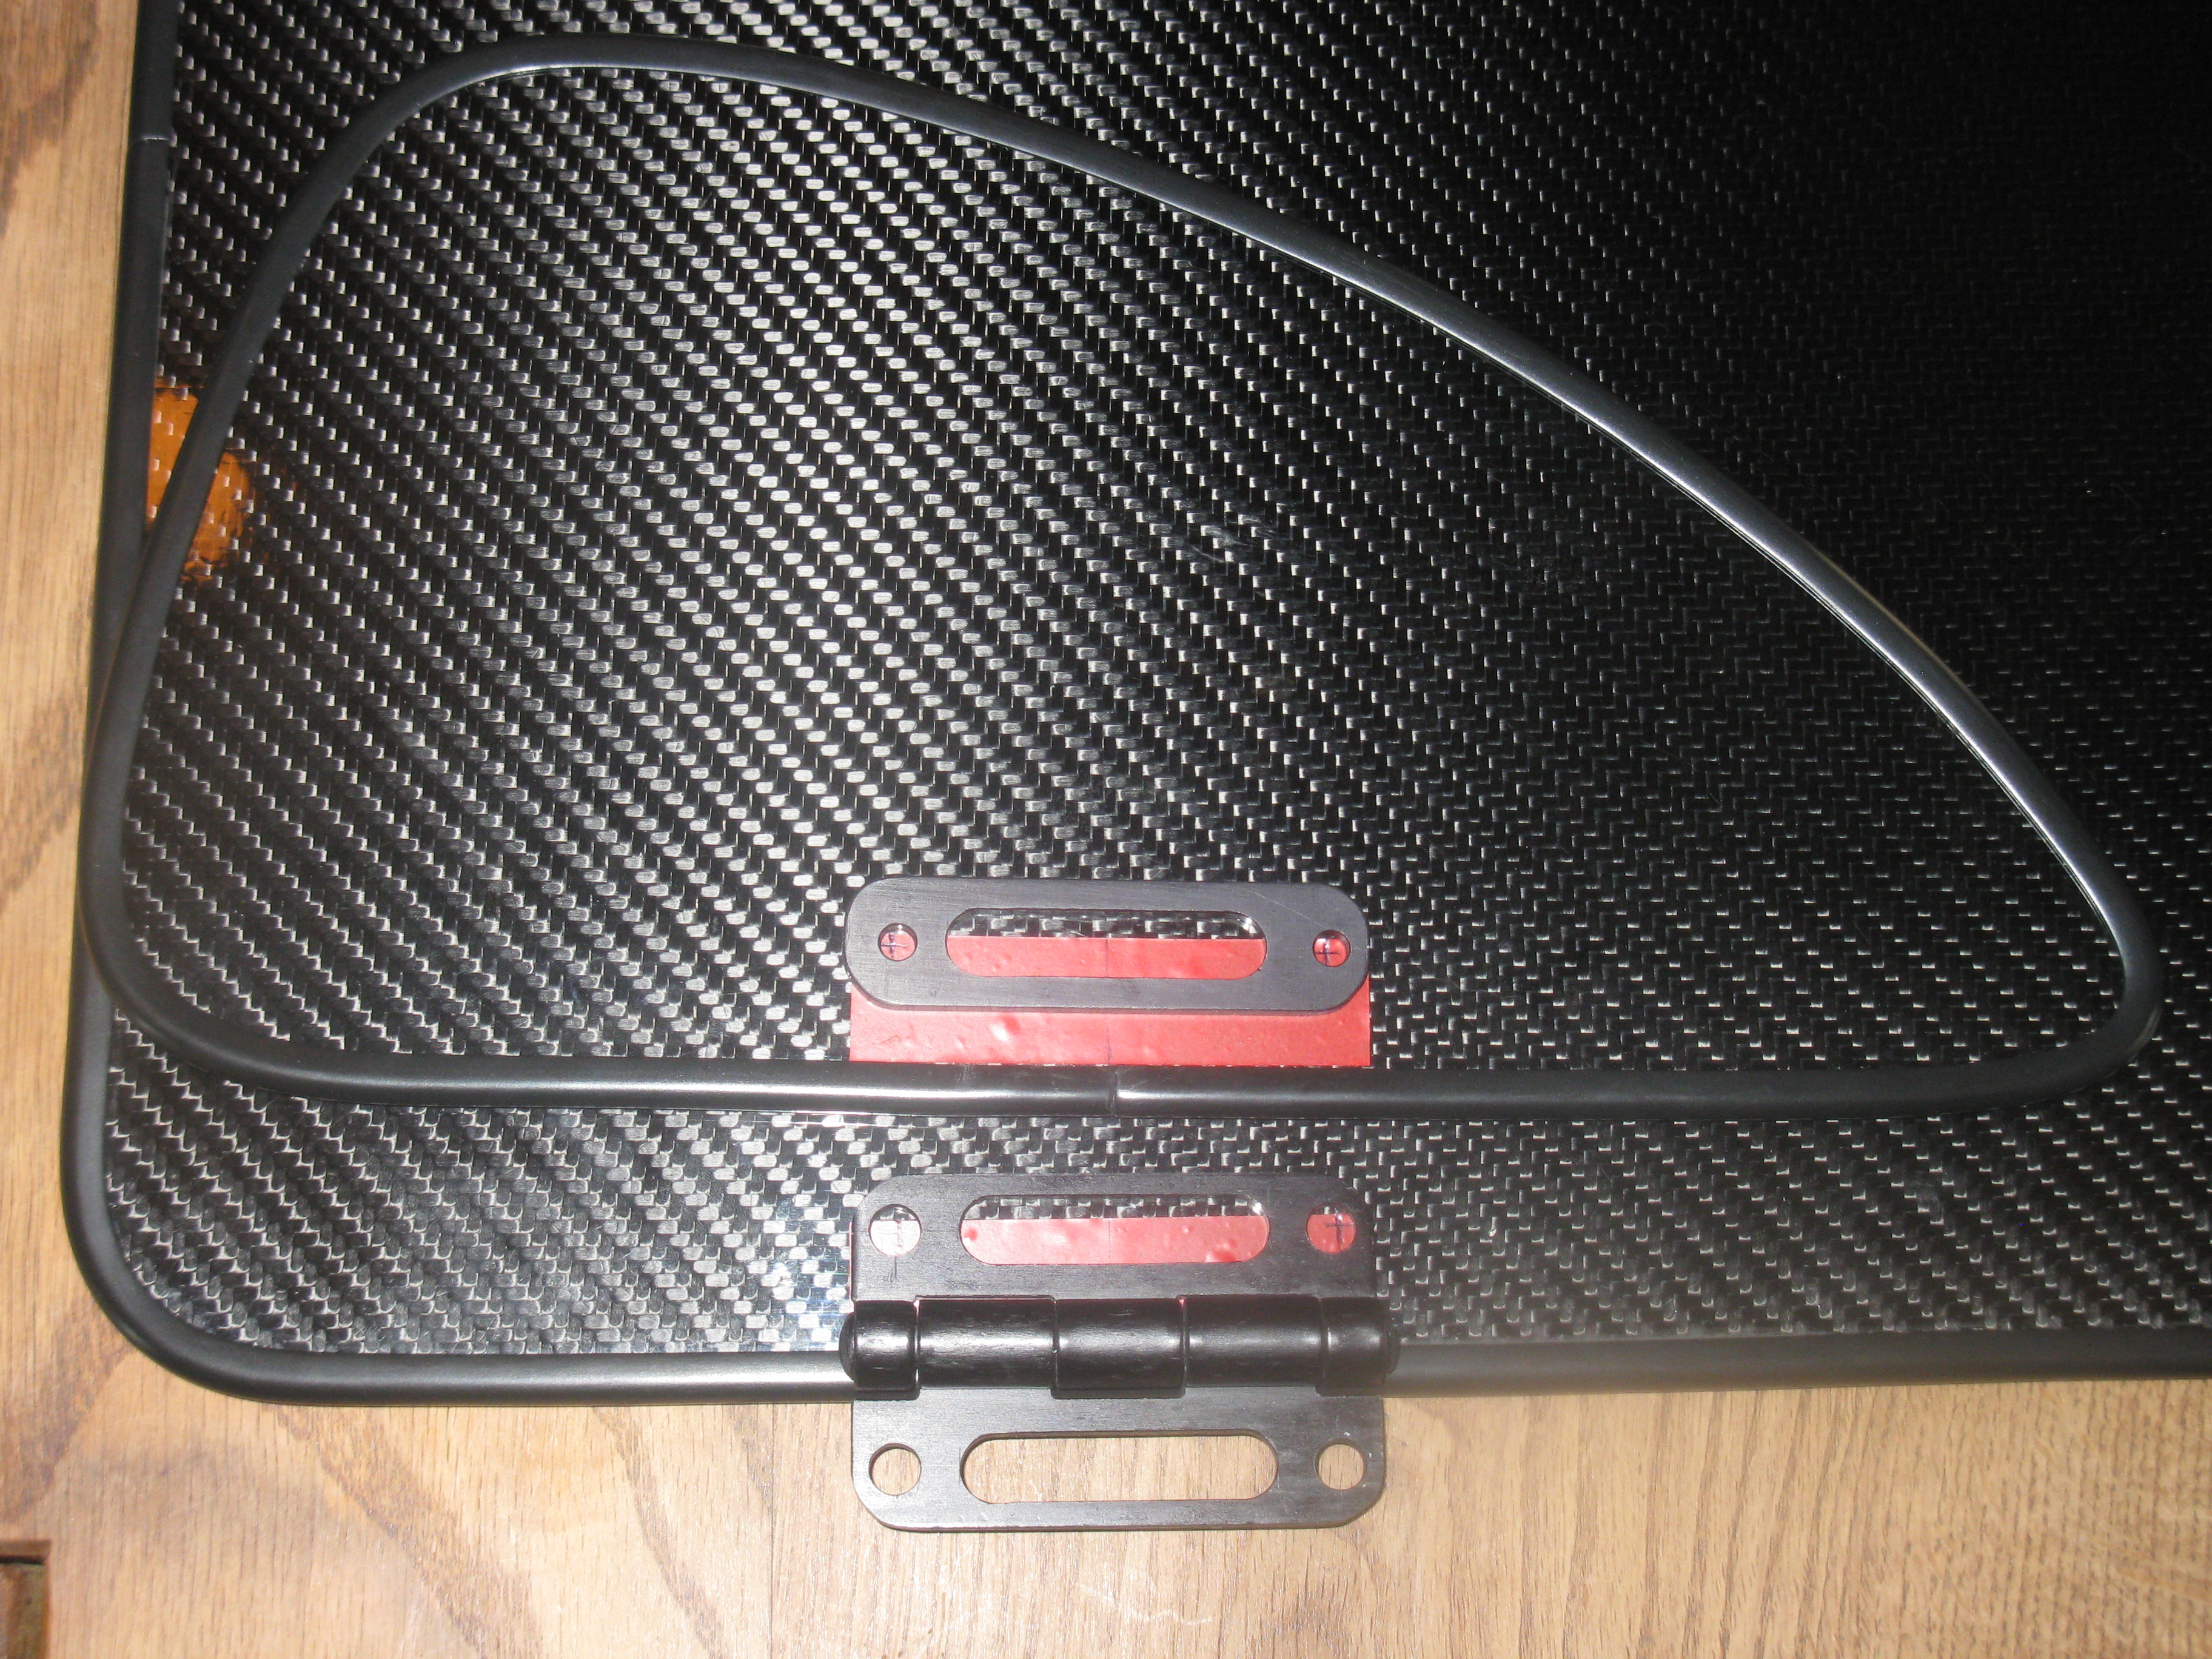
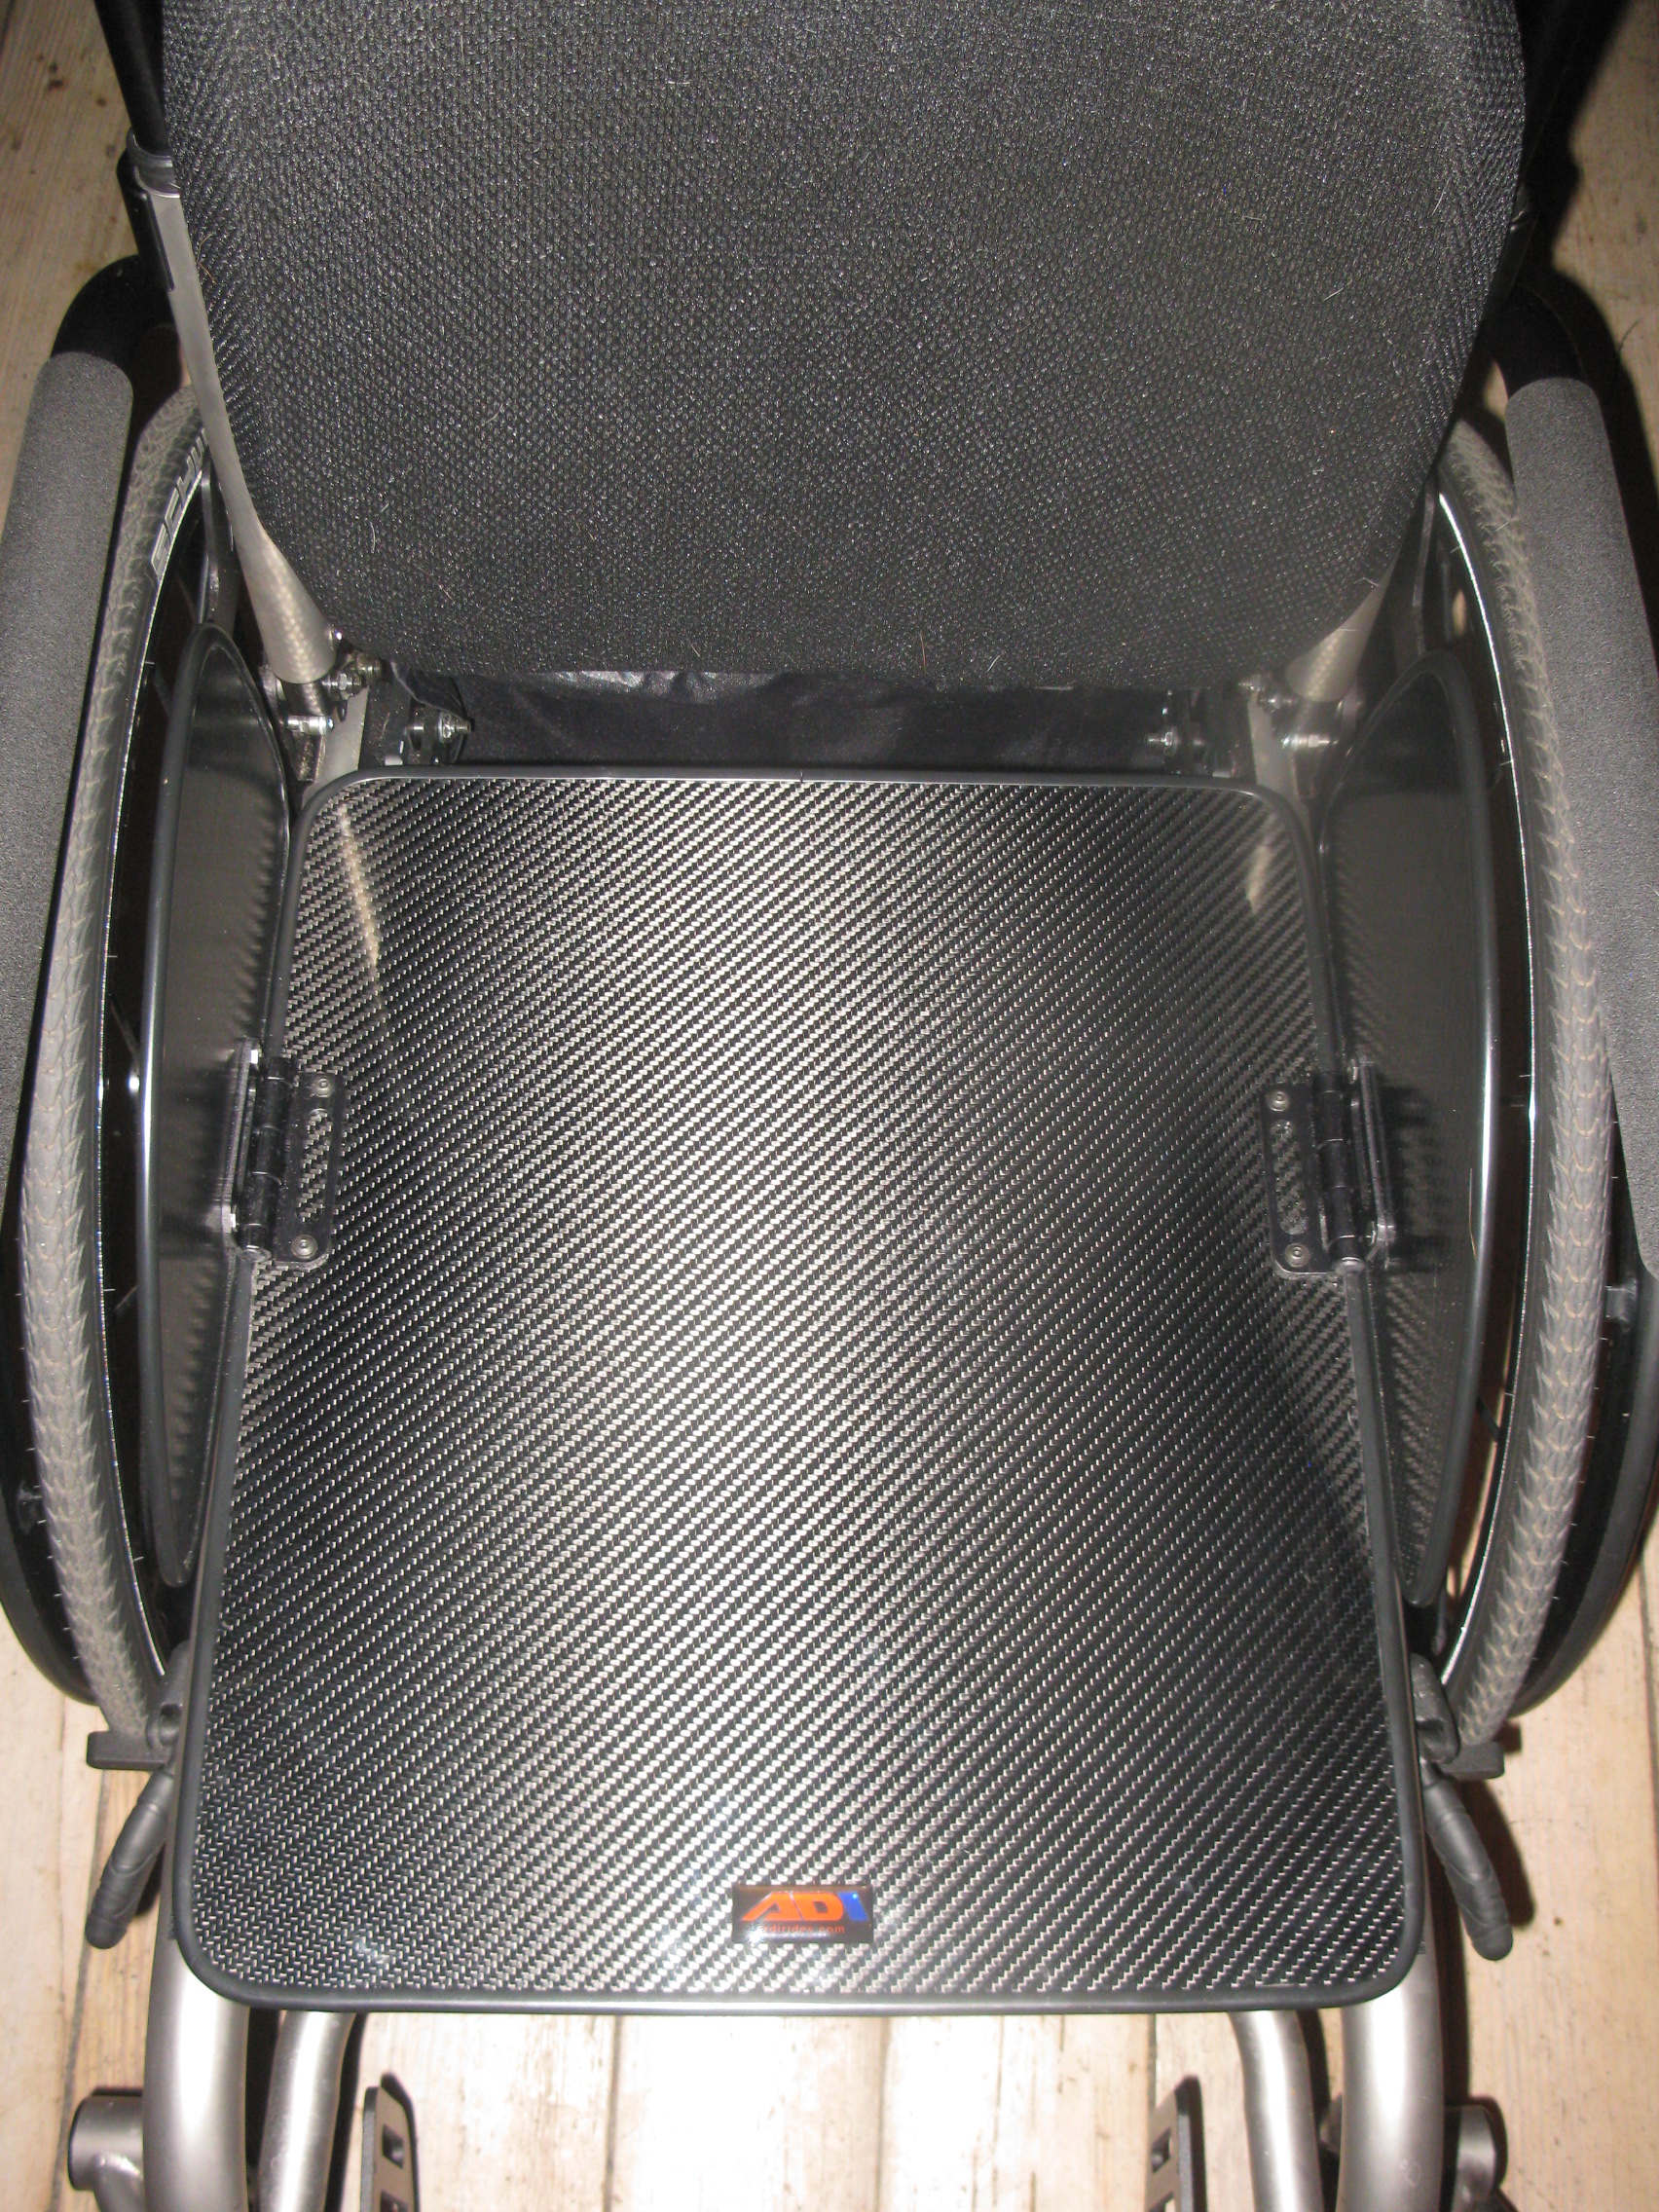
Installing the ADI Carbon Fiber Folding Side Guards
Because documentation was lacking, I really spent a lot of time measuring and testing before drilling holes. I used electrical tape to mark the placement of the holes, because otherwise there is no way to see it easily. It also removes easily for making changes. Masking tape would probably work just as well. We only had 3/4″, but you would be better off with 1″ or more.
The butt hinge is 3″ wide by 2″ high and has an extra bracket that goes on the outside of the side guards. Because the seat base is only 15.5″ wide, including the trim, we wanted to make sure there was enough room for a 16″ wide cushion, which meant placing them a bit outside of the seat base. Because the trim is rounded it is difficult to get the measurements right, and I found that dividers (caliper) helped.
It might be an idea for ADI to provide a template for the hinge using something removable with markings for the holes, so that measuring is not so challenging. [Note: ADI are now providing instructions for how to make a Sideguard Template on their website.]
The drilling was very easy, but the assembly is more difficult with the extra bracket. This is definitely not a task for people without good hand dexterity to hold all the parts together and get them aligned right to screw in.
I found that using the electrical tape as a guide made it easier so I could measure from the inside of the trim and easily change the markings, which I did many times. Just in case it helps anyone else to know, we ended up making the hinges for both the seat base and the side guards 11/16″ from the inside of the trim, and it’s perfect. I left the electrical tape on when drilling, and it also helped to protect the carbon fiber. I could see the difference on the one hole I did not do that with.
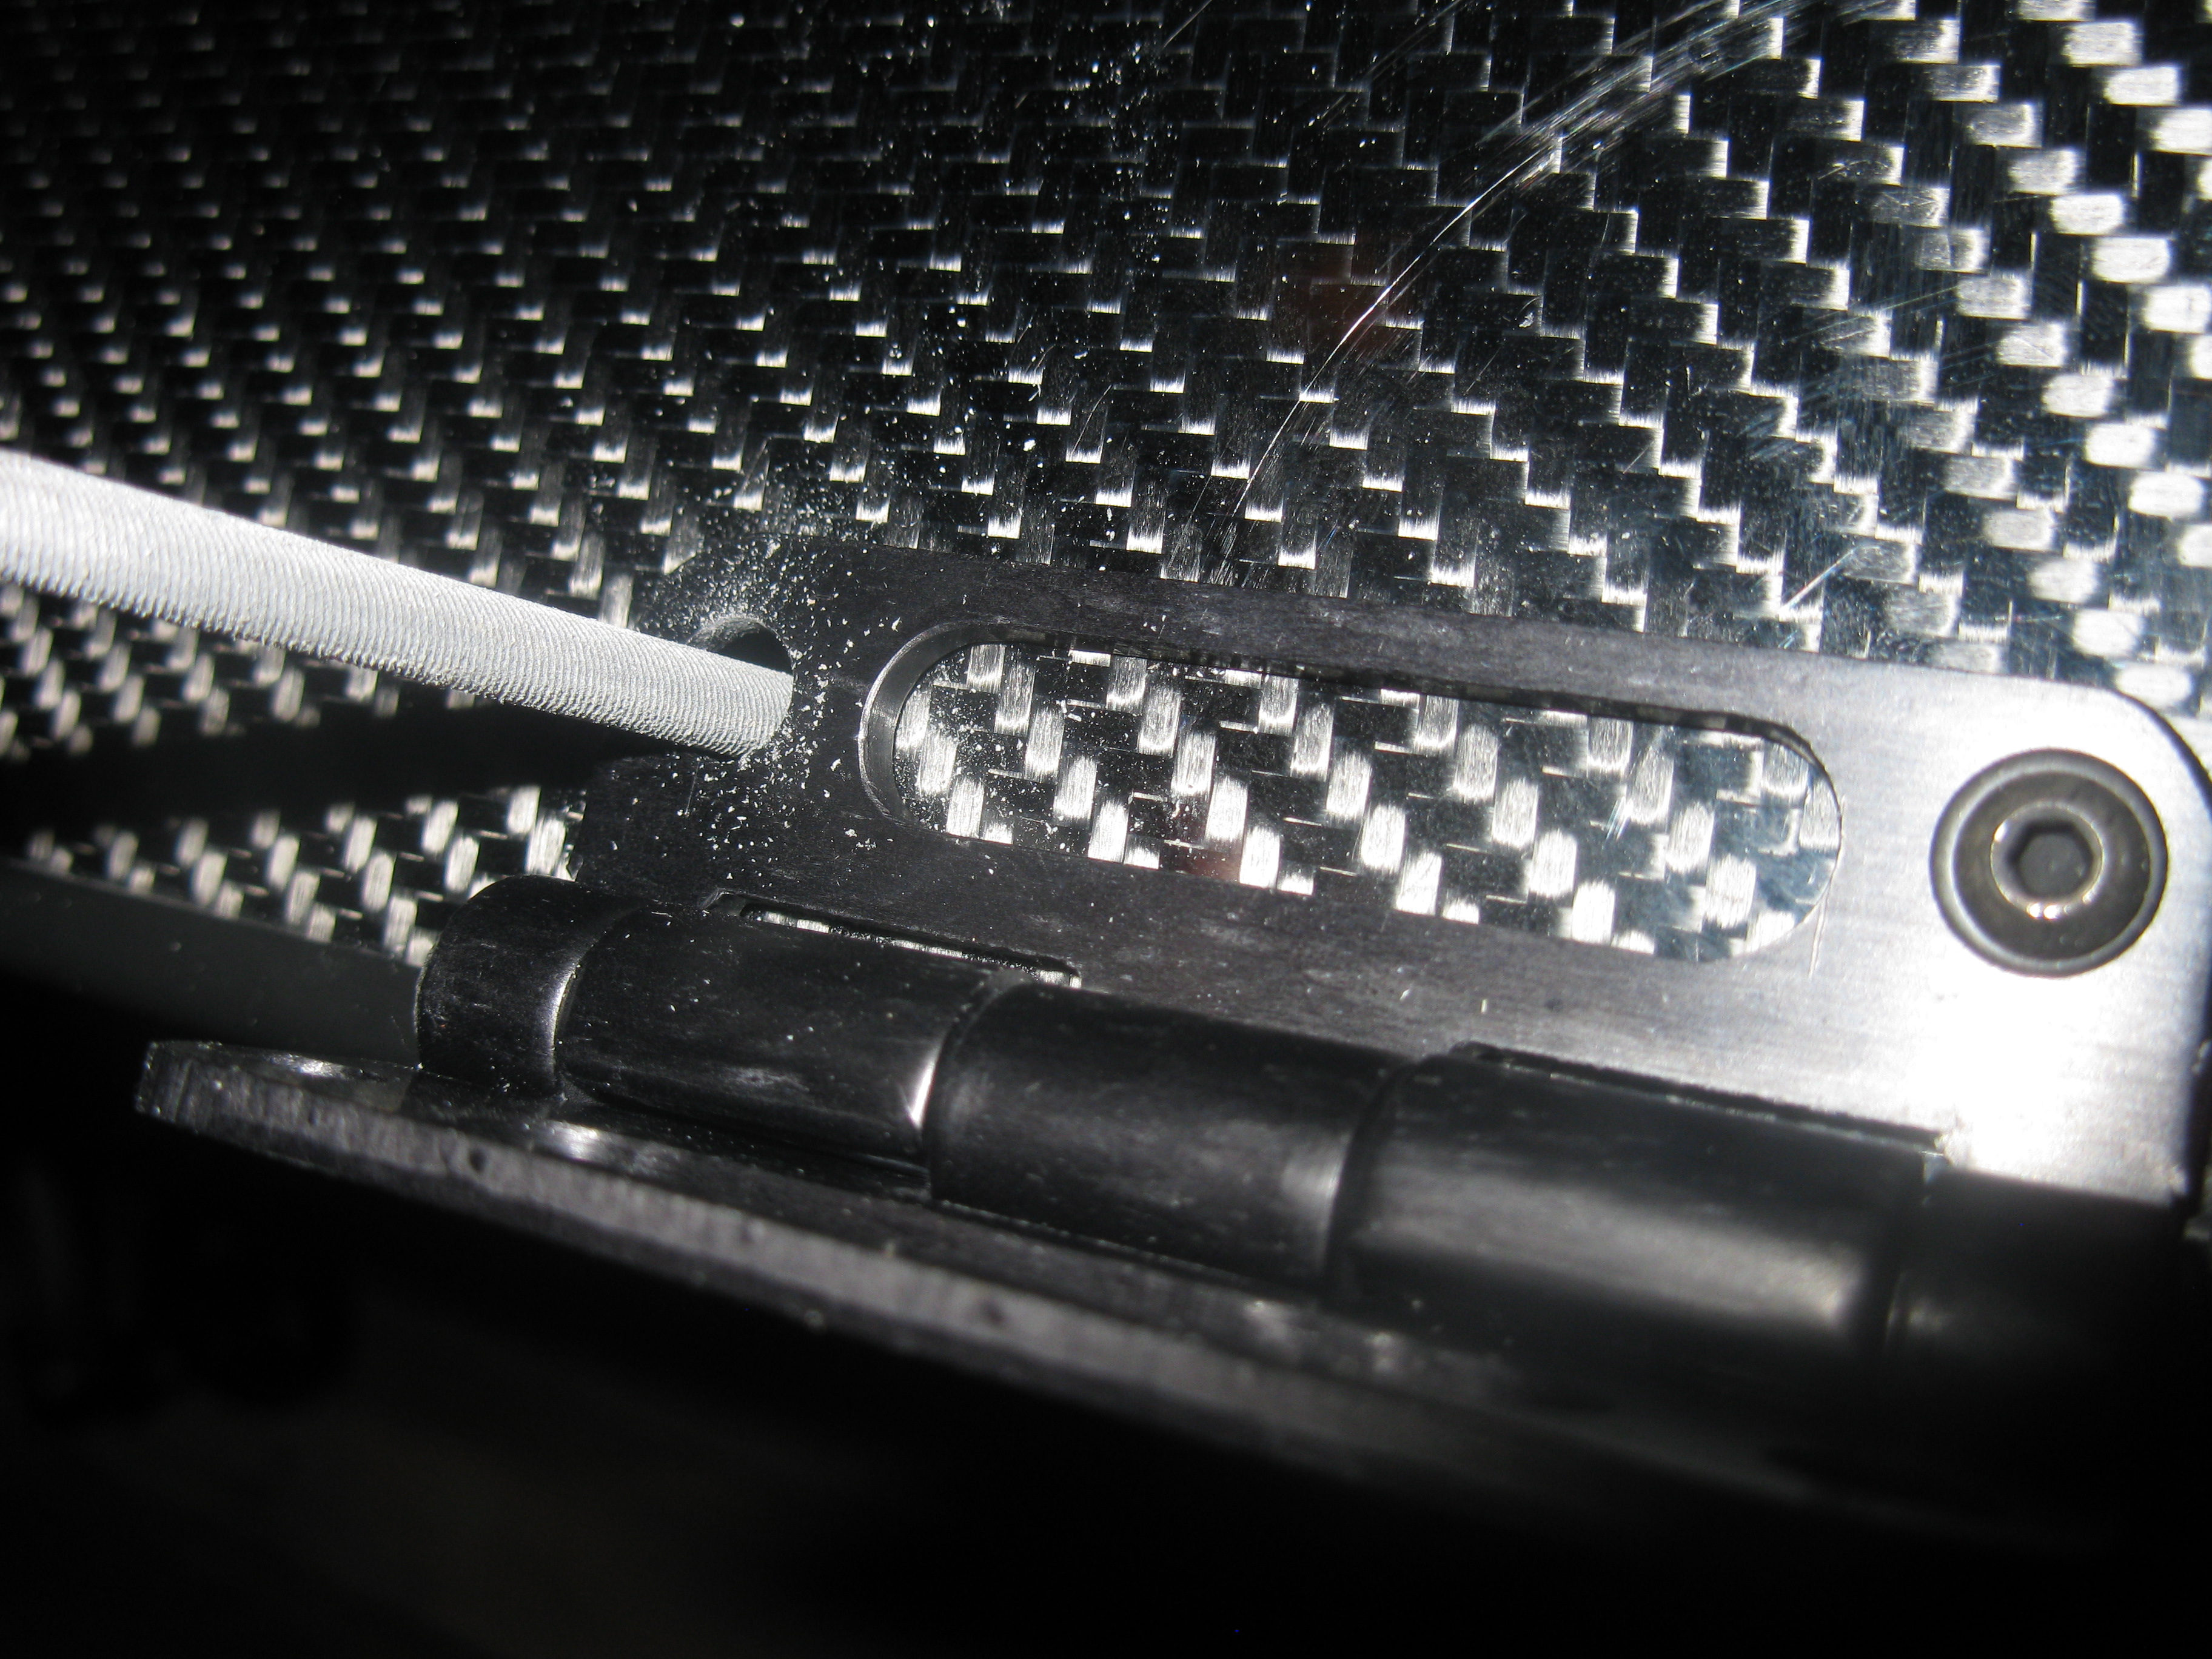
For drilling, I started with a small 3mm drill bit (about 7/64″) and then used a larger 7mm drill bit (between 17/64″ and 9/32″). Although I thought I had done the drilling quite well, I struggled with a few of the combination screws/spacers to get them to align in the holes with the bracket. The screws need a 3/32 hex wrench. Because some of the washers are not very large, it’s good that I opted for the smaller drill bits, because I could then use a round file to tweak the exact hole. This also took off any rough edges from the carbon fiber.
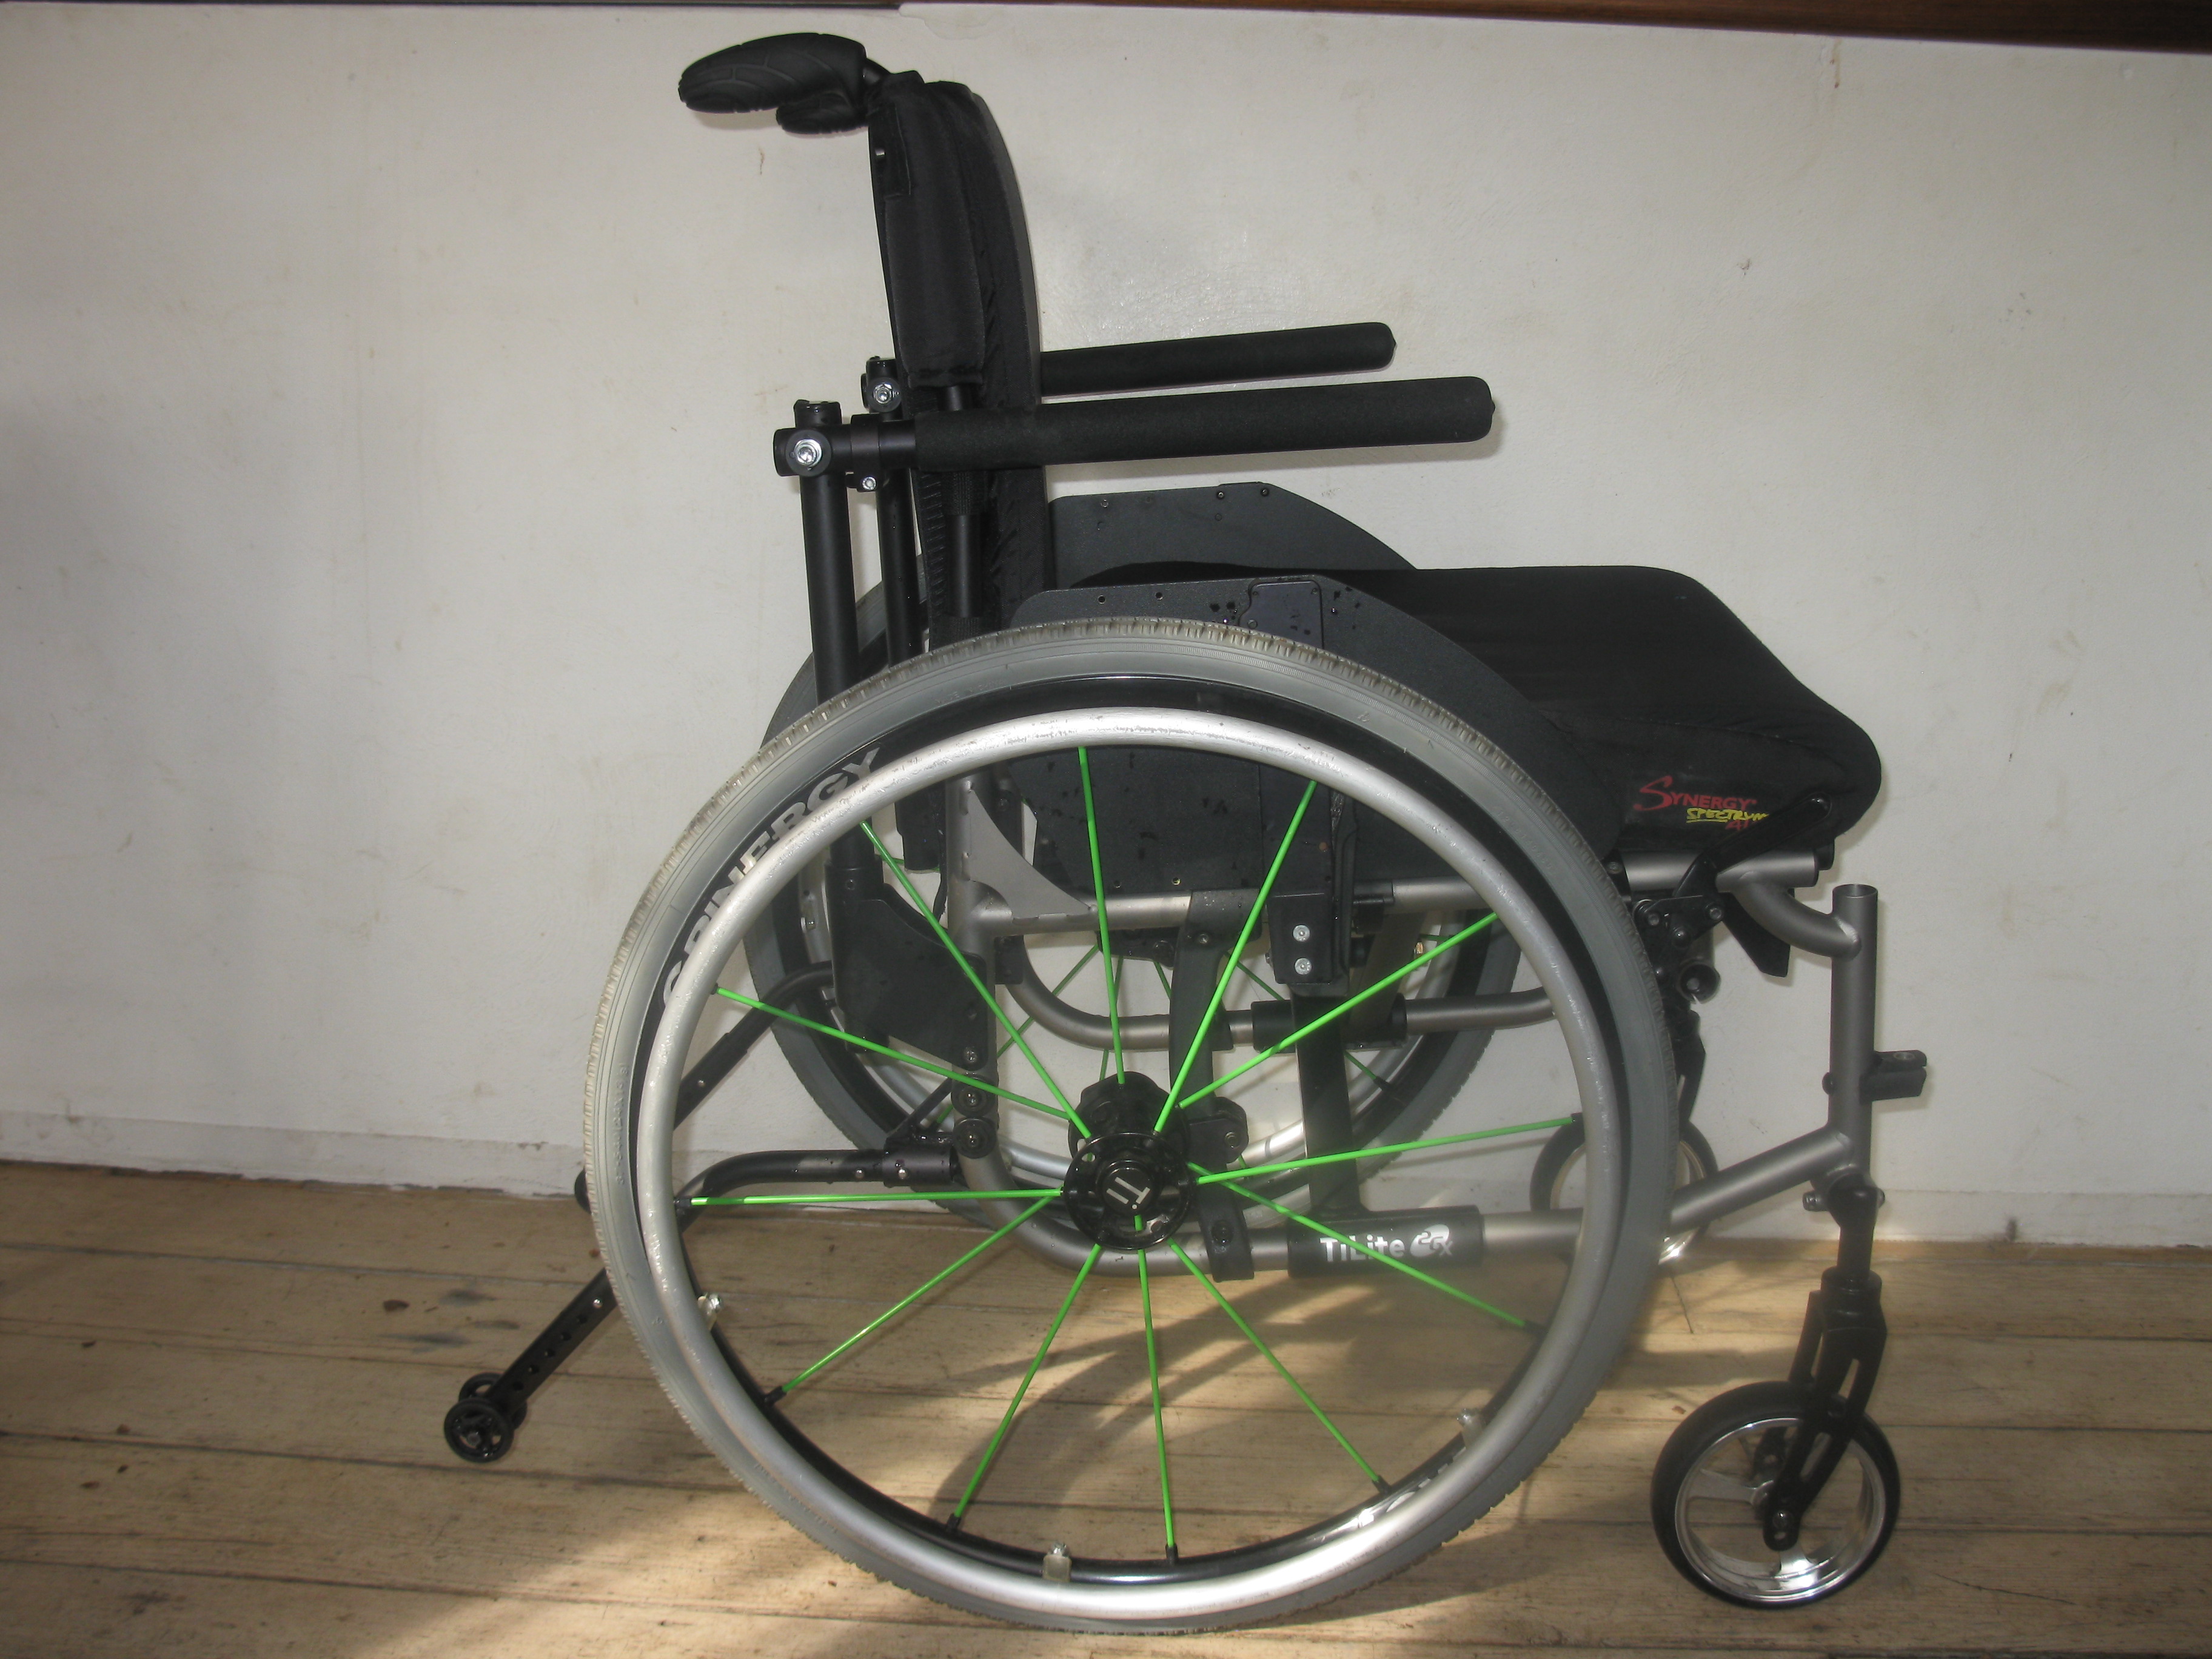
We made the back of the side guards 1″ from the back of the seat base. Originally we had spec’d this out at .5″ from the back of the seat base, but because of the trim we needed to increase it (the photo below does not show this, it was one of my many changes). We did that so that we could fold the side guards down with the ADI seat back on. Because we used Velcro to attach the seat base, we can modify the positioning slightly if we decide to put the seat back more upright, which is currently at 92°, the same as the seat back angle.
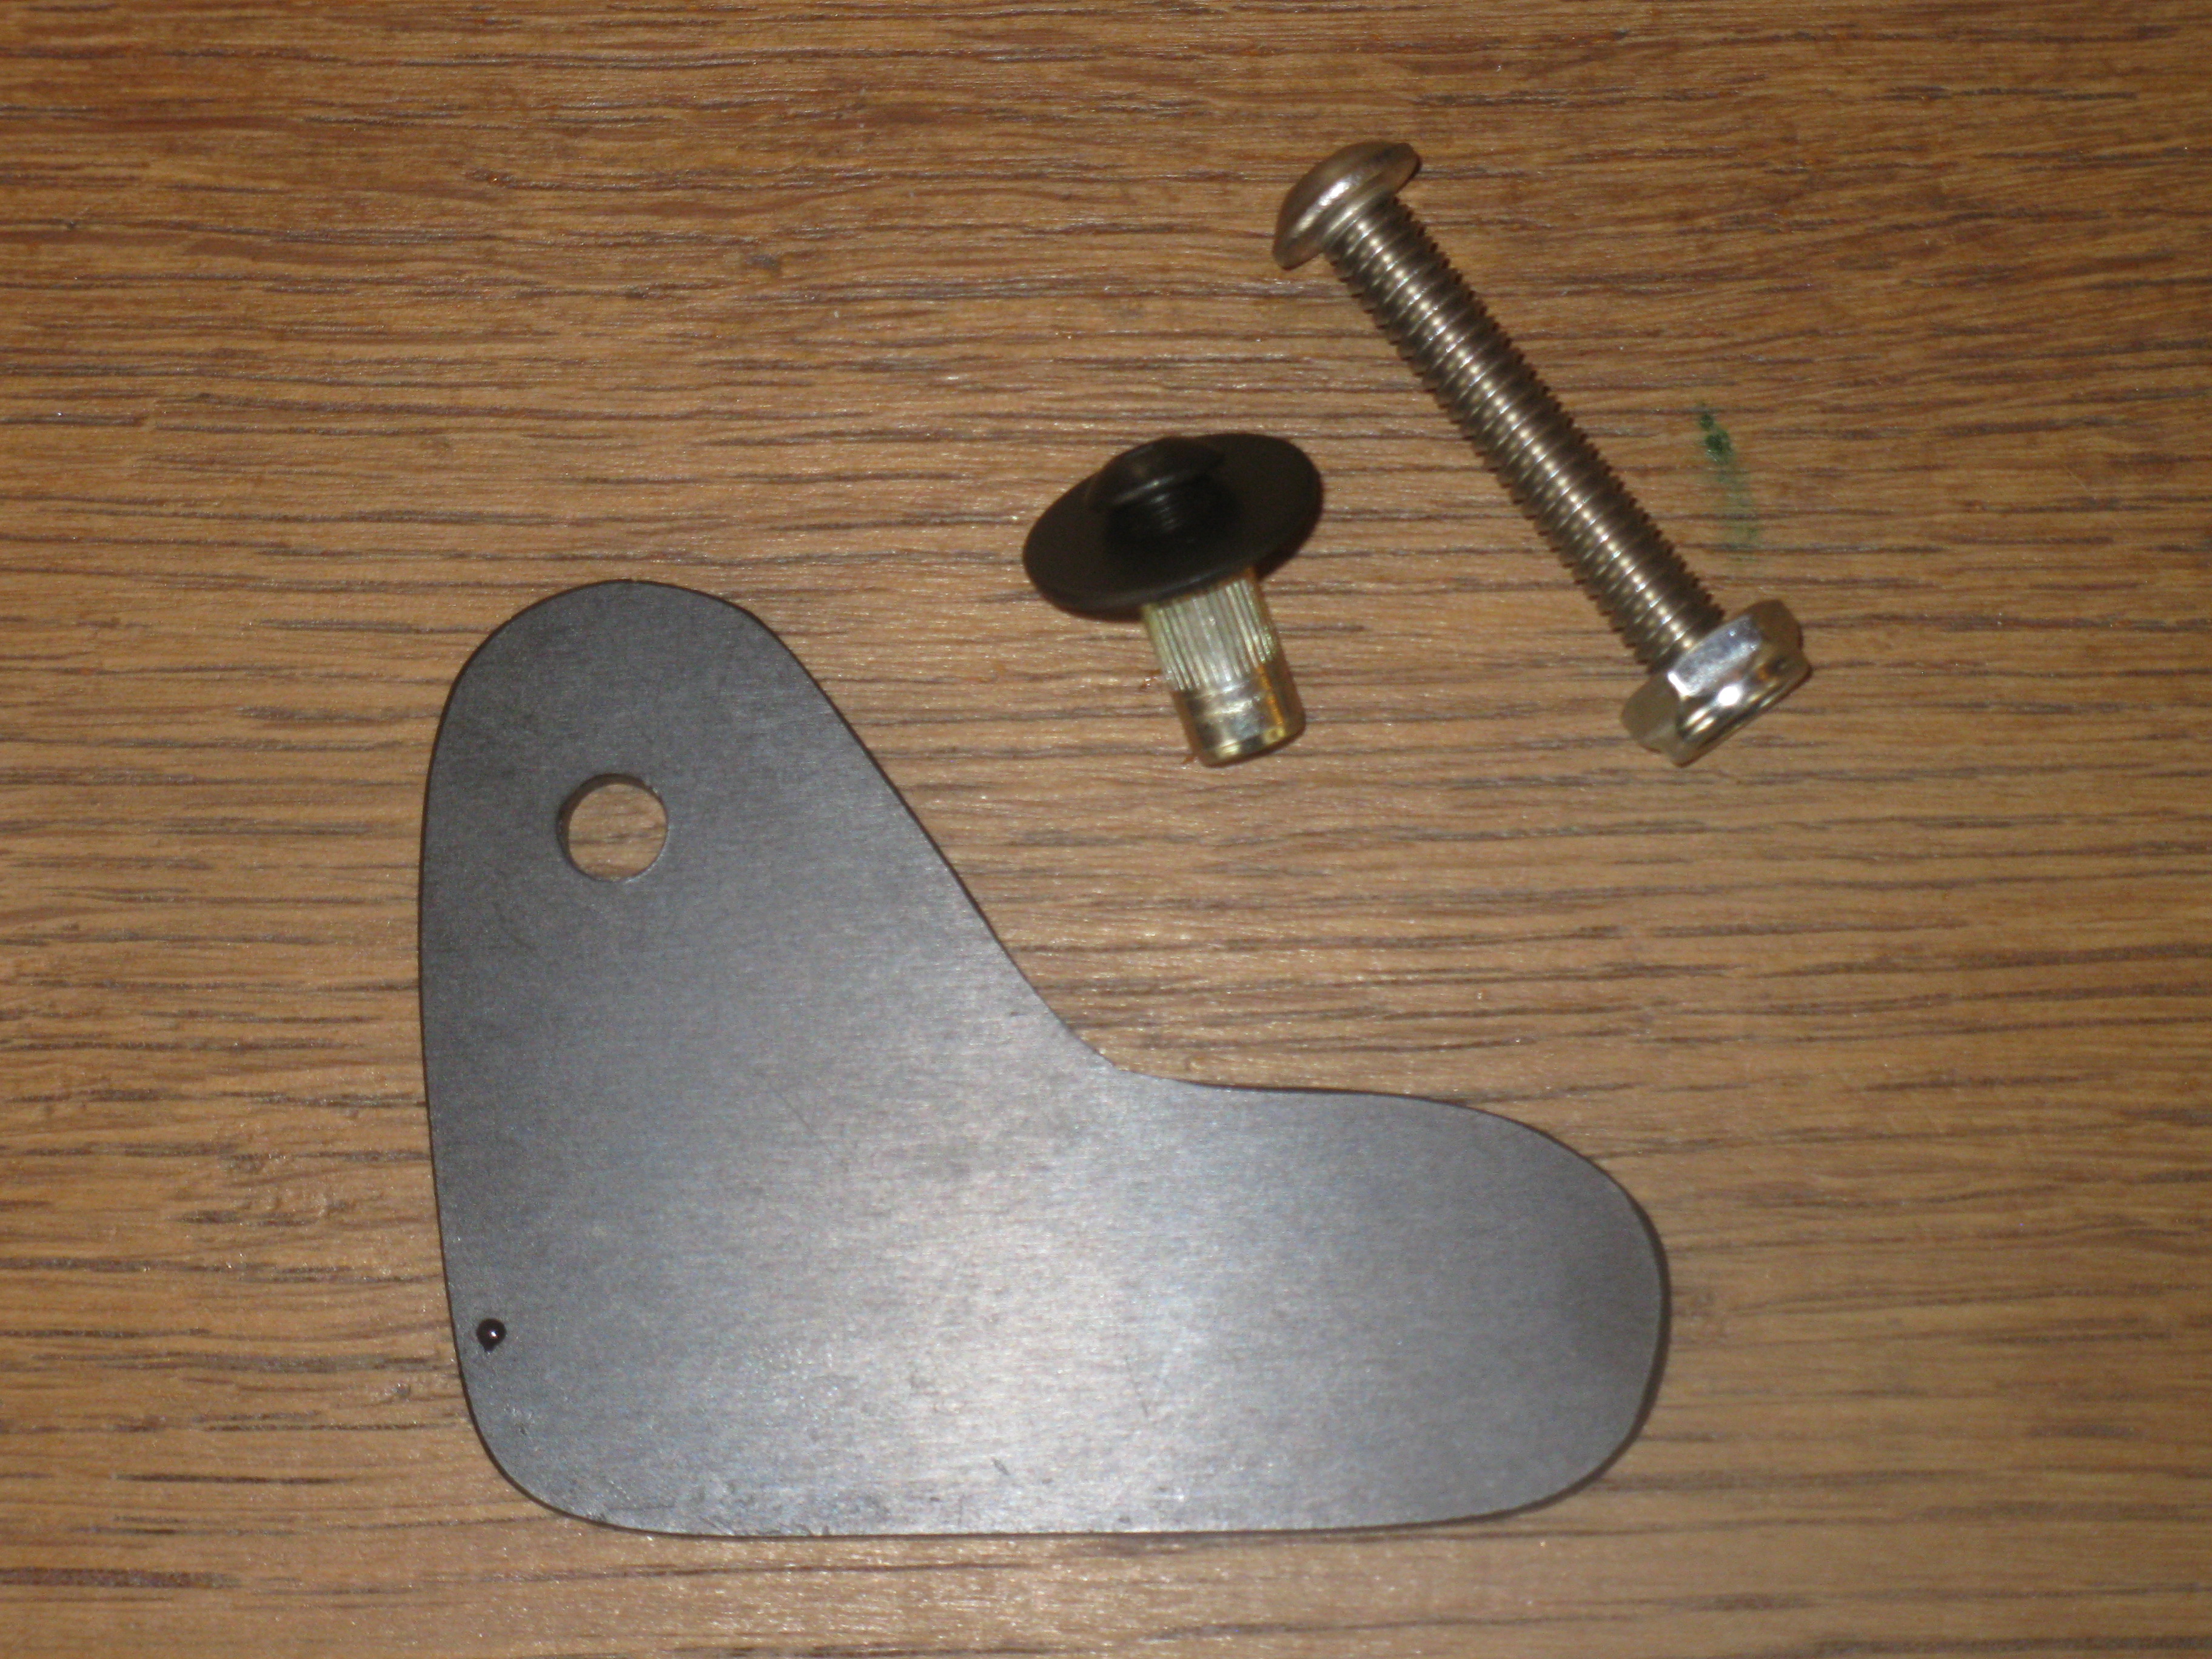
I waited to install the side guard stops because I had some questions for ADI about them.In the template we sent to ADI we had marked 2 holes to attach to the bottom holes in the backrest.I was a bit confused when we got them that they only had one hole in the top, and I was not sure how the screws were intended to be used. I was told:
We were able to make the profile of the side guard and the stop very close to the template but the holes on the template were too blurry and did not match a normal measurement i.e. (1” ,1 ½” ,2”) common to a chair back post. So I drilled just one hole to let you drill the second hole in the correct location.
What I do not understand is why they did not contact us about this in advance. It took approximately 1 month to receive them (they had a delay because raw carbon was on back order), and surely there was enough time to ask questions. I had also sent the CAD drawing with the template, and would have thought they had enough experience of ZRA’s to know what the hole spacing is on the backrest.
I decided to go ahead and install the side guard stops using only the one hole at the top. With the ¼-20 bolt with a Nyloc nut I was able to get them very tight, and it looks like having just one hole may be enough. They are not at exactly 90° because of the narrower seat base width, but they are at an acceptable angle.
Initial Review of the ADI Carbon Fiber Seat base and Folding Side Guards
ADI should really provide more information to customers when ordering custom side guards, especially the fold-down’s which are more integrated. The only information that we received, which we had to ask for, was a rough template for the side guards, but no information about the side guard stops.
I have found this all to be a big project, and it would have been much better to have information in advance. For example, knowing options for the side guard stops, being told that the seat base would be 15.5″ wide although we specified 16″ (difficult for some cushions), and that the measurements for the side guards did not include the trim.
I had also thought that ADI would be attaching the folded side guards to the seat base rather than us needing to do all of the drilling. That was the reason we waited to have the seat base shipped, because it would have been easier to measure and cheaper on international shipping charges to have the seat base in advance with the other things we ordered at the same time like the ADI seat back. I paid an extra $150 for a separate international shipment that would have been much cheaper if it was only the side guards that could have been sent in a padded A4 envelope.
I inquired about why they had not attached the side guards to the seat base and received the following reply. Again, I don’t know why they did not just ask and I could have provided that information very quickly if I would have had any idea about what size the brackets were to begin with.
Due to not knowing what type of chair and the back cane and back support angles for the specific char, we cannot know exactly where to mount the side guards to ensure they will match up to the stops on the back canes and not get in the way of the back support.
I would have probably done the whole project myself with DragonPlate, at a much lower cost, if I knew it was going to be this much work. Even if you order through a dealer, make sure you contact ADI to make sure they understand your template. I had checked with Sportaid after I sent the template to make sure there were not any questions, and they had also not been asked any questions, and also thought ADI would be assembling the side guards to the seat base.
Overall, we are very happy with the results. As the care partner who lugs the chair in/out of the car, I’m happy that I don’t have to think about losing the side guards, because they are attached. I tend to misplace smaller parts if we are in a rush, and the plan will be to pack the seat base, side guards and wheels together when we travel. It’s also nice when I need to take the seat base, side guards and cushion off, I can do it in one easy movement, which is great for maintenance.
A few other options are available from Dagger Components (affiliated with Icon I think), Carbolife or Apex Composites, but I don’t know if you can provide a template for a custom fit.
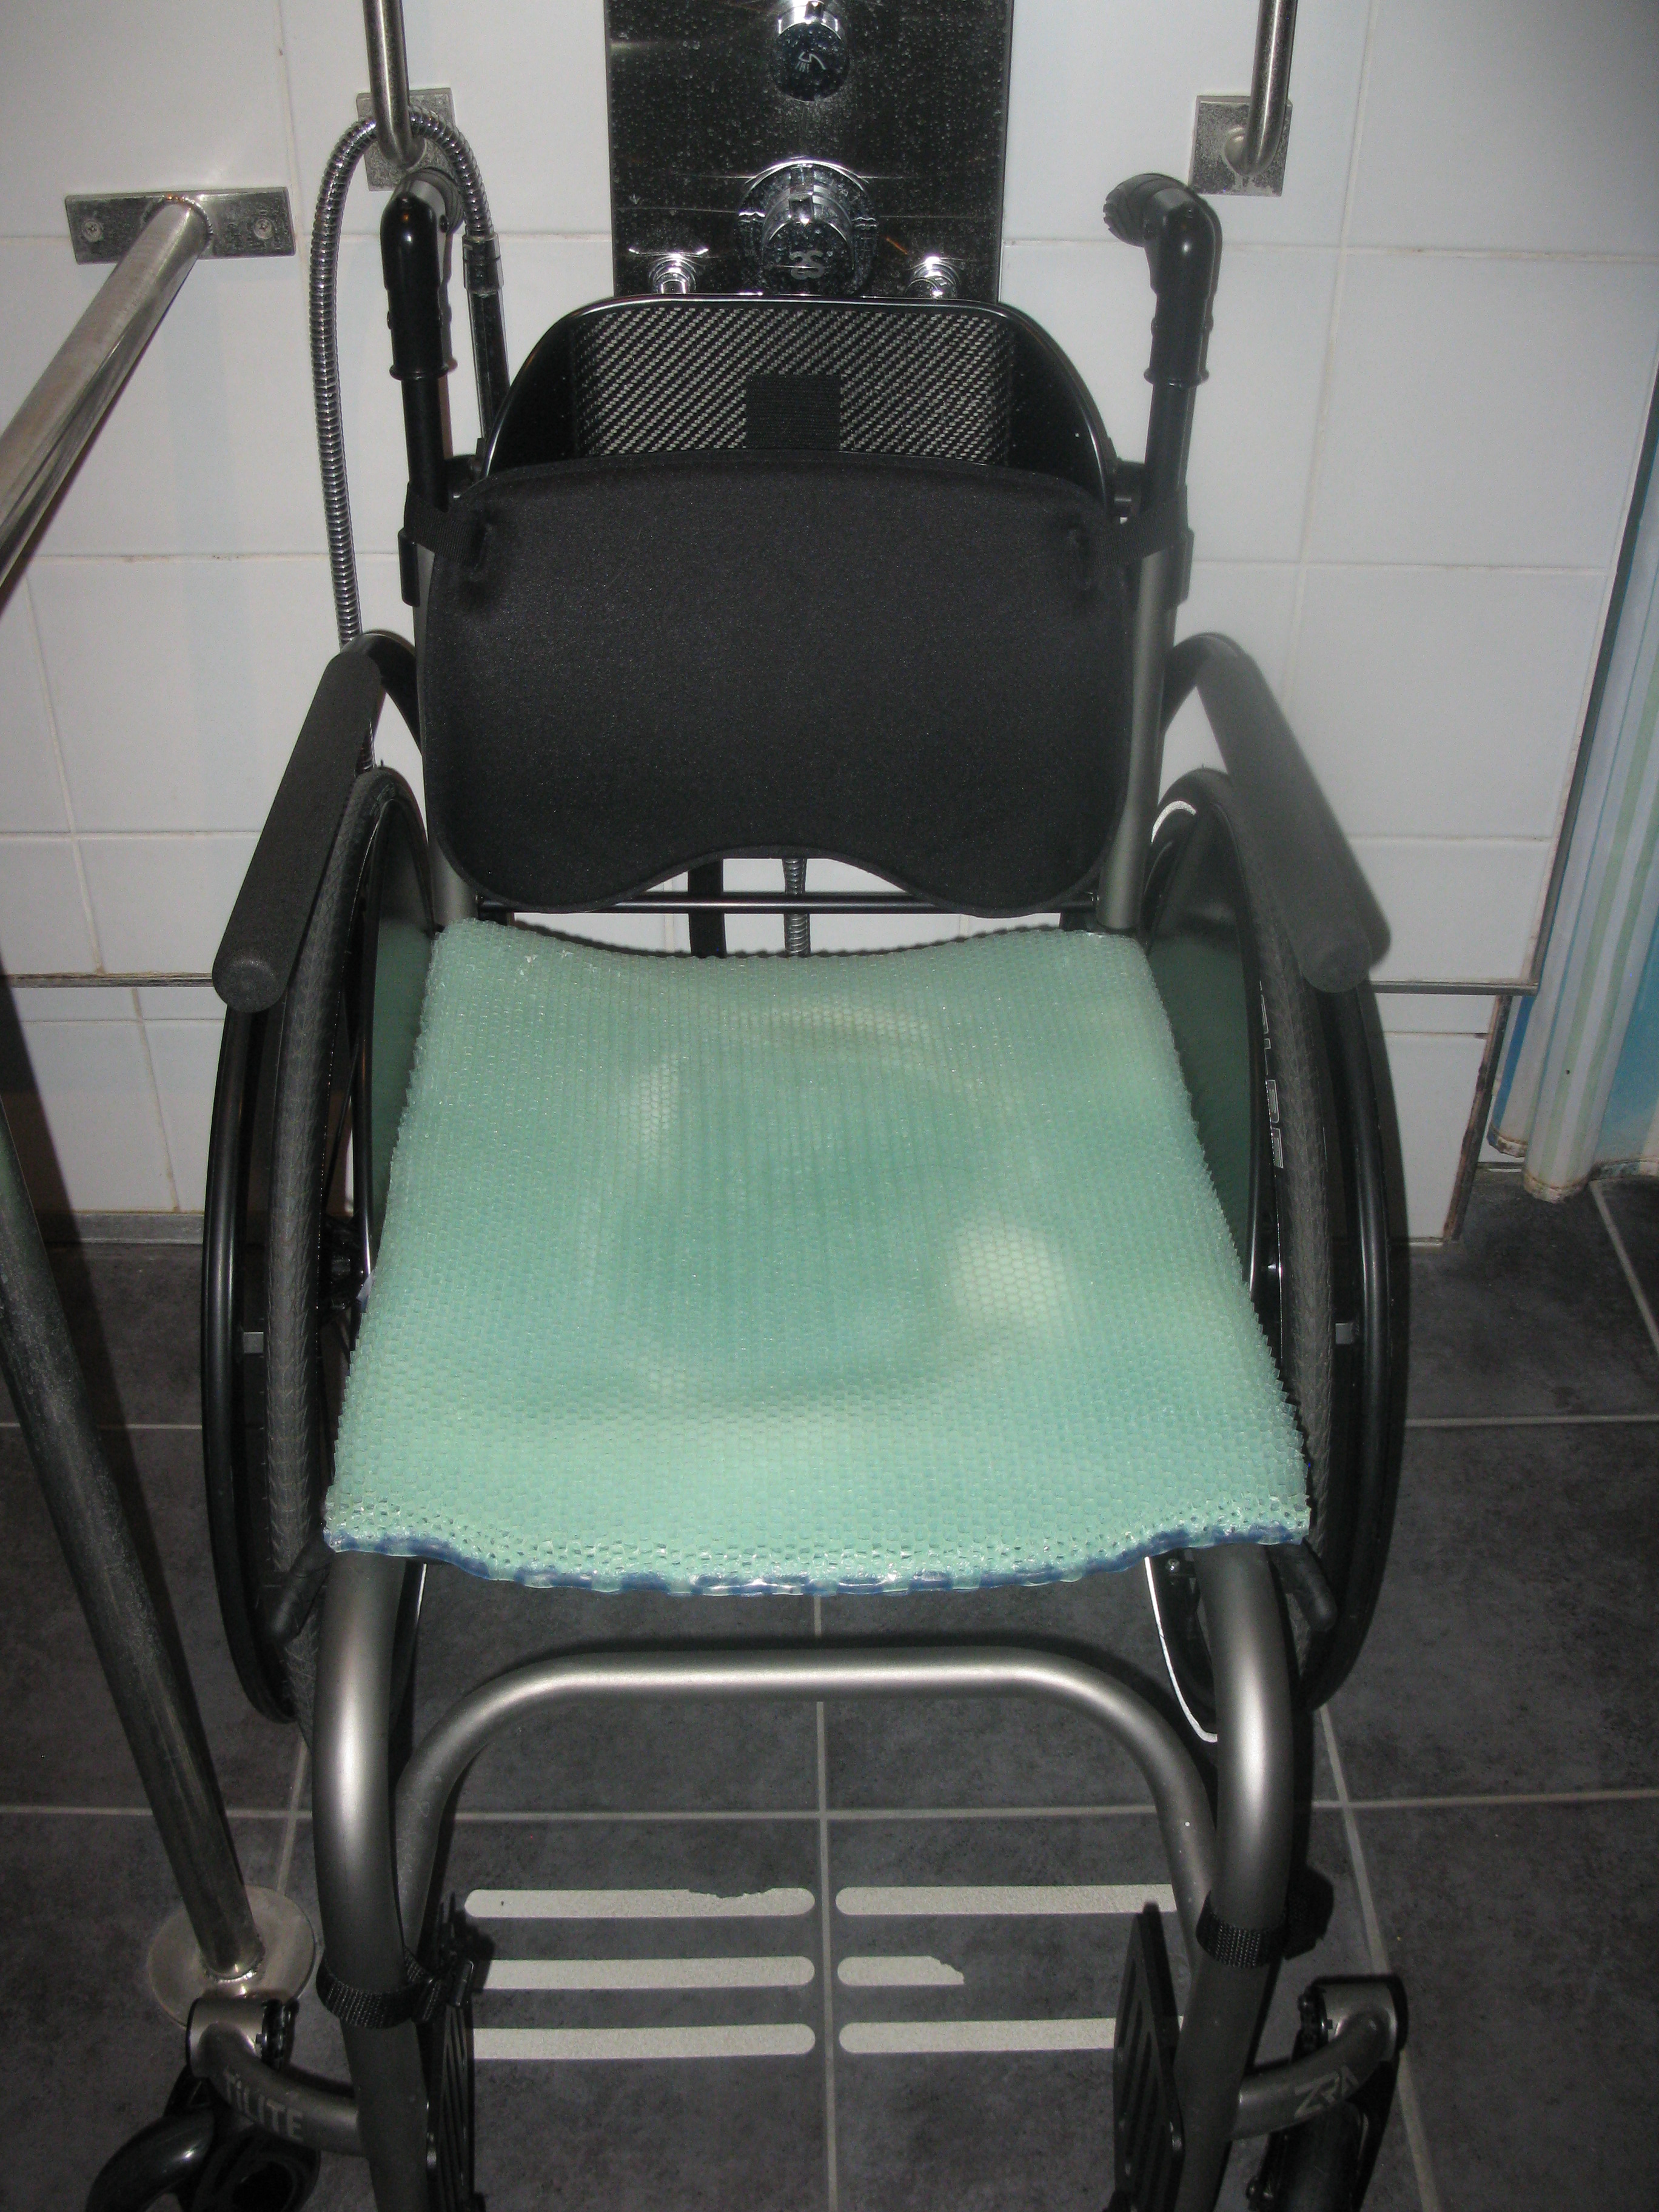
Although controversial, we also plan on occasion to use the ADI carbon fiber back, seat base and side guards in the shower while traveling. We will be taking an international road-trip and staying in some remote places where we will have only a solar shower. We are going to use our current shower cushion, a Supracor Stimulite Silver Cushion, along with a Supracor Stimulite Lumbar Support. Overall we think this will work (see the photo with the green cushion) so that we don’t also need to lug a shower chair around.
Note: Although carbon fiber is not classified as a hazardous material, it’s a good idea to wear a mask when drilling, and especially while sanding it.
Updated Review of the ADI Carbon Fiber Seat base and Folding Side Guards
After almost 2 years, we are very happy with the ADI Carbon Fiber Seat base and Folding Side Guards. We have absolutely zero maintenance issues with the sideguards. WIth the seat base we have had one small issue about 1 year after receiving the seat base with the trim coming loose on one side. This was easily repaired with Gorilla glue (see Carbon Fiber Maintenance / Repair). For both the seat base and the side guards, other than wiping them down, we do nothing to them. The carbon fiber looks brand new still. All of the hardware is holding up very well also. Although very expensive, I would highly recommend both products to others, despite our difficulty with the initial installation of the folding side guards (see above).
http://adirides.com/seating-systems/side-guards http://www.sportaid.com/adi-carbon-fiber-fixed-side-guards.html