For previous work on this project, see Modified All-Terrain Third Wheel 1. Research. For other All-Terrain Third Wheels on the market and why we did not choose them, see All-Terrain Third Wheels. Many of the points are also covered on a thread Modified All-Terrain Third Wheel on CareCure.
Development Step 2
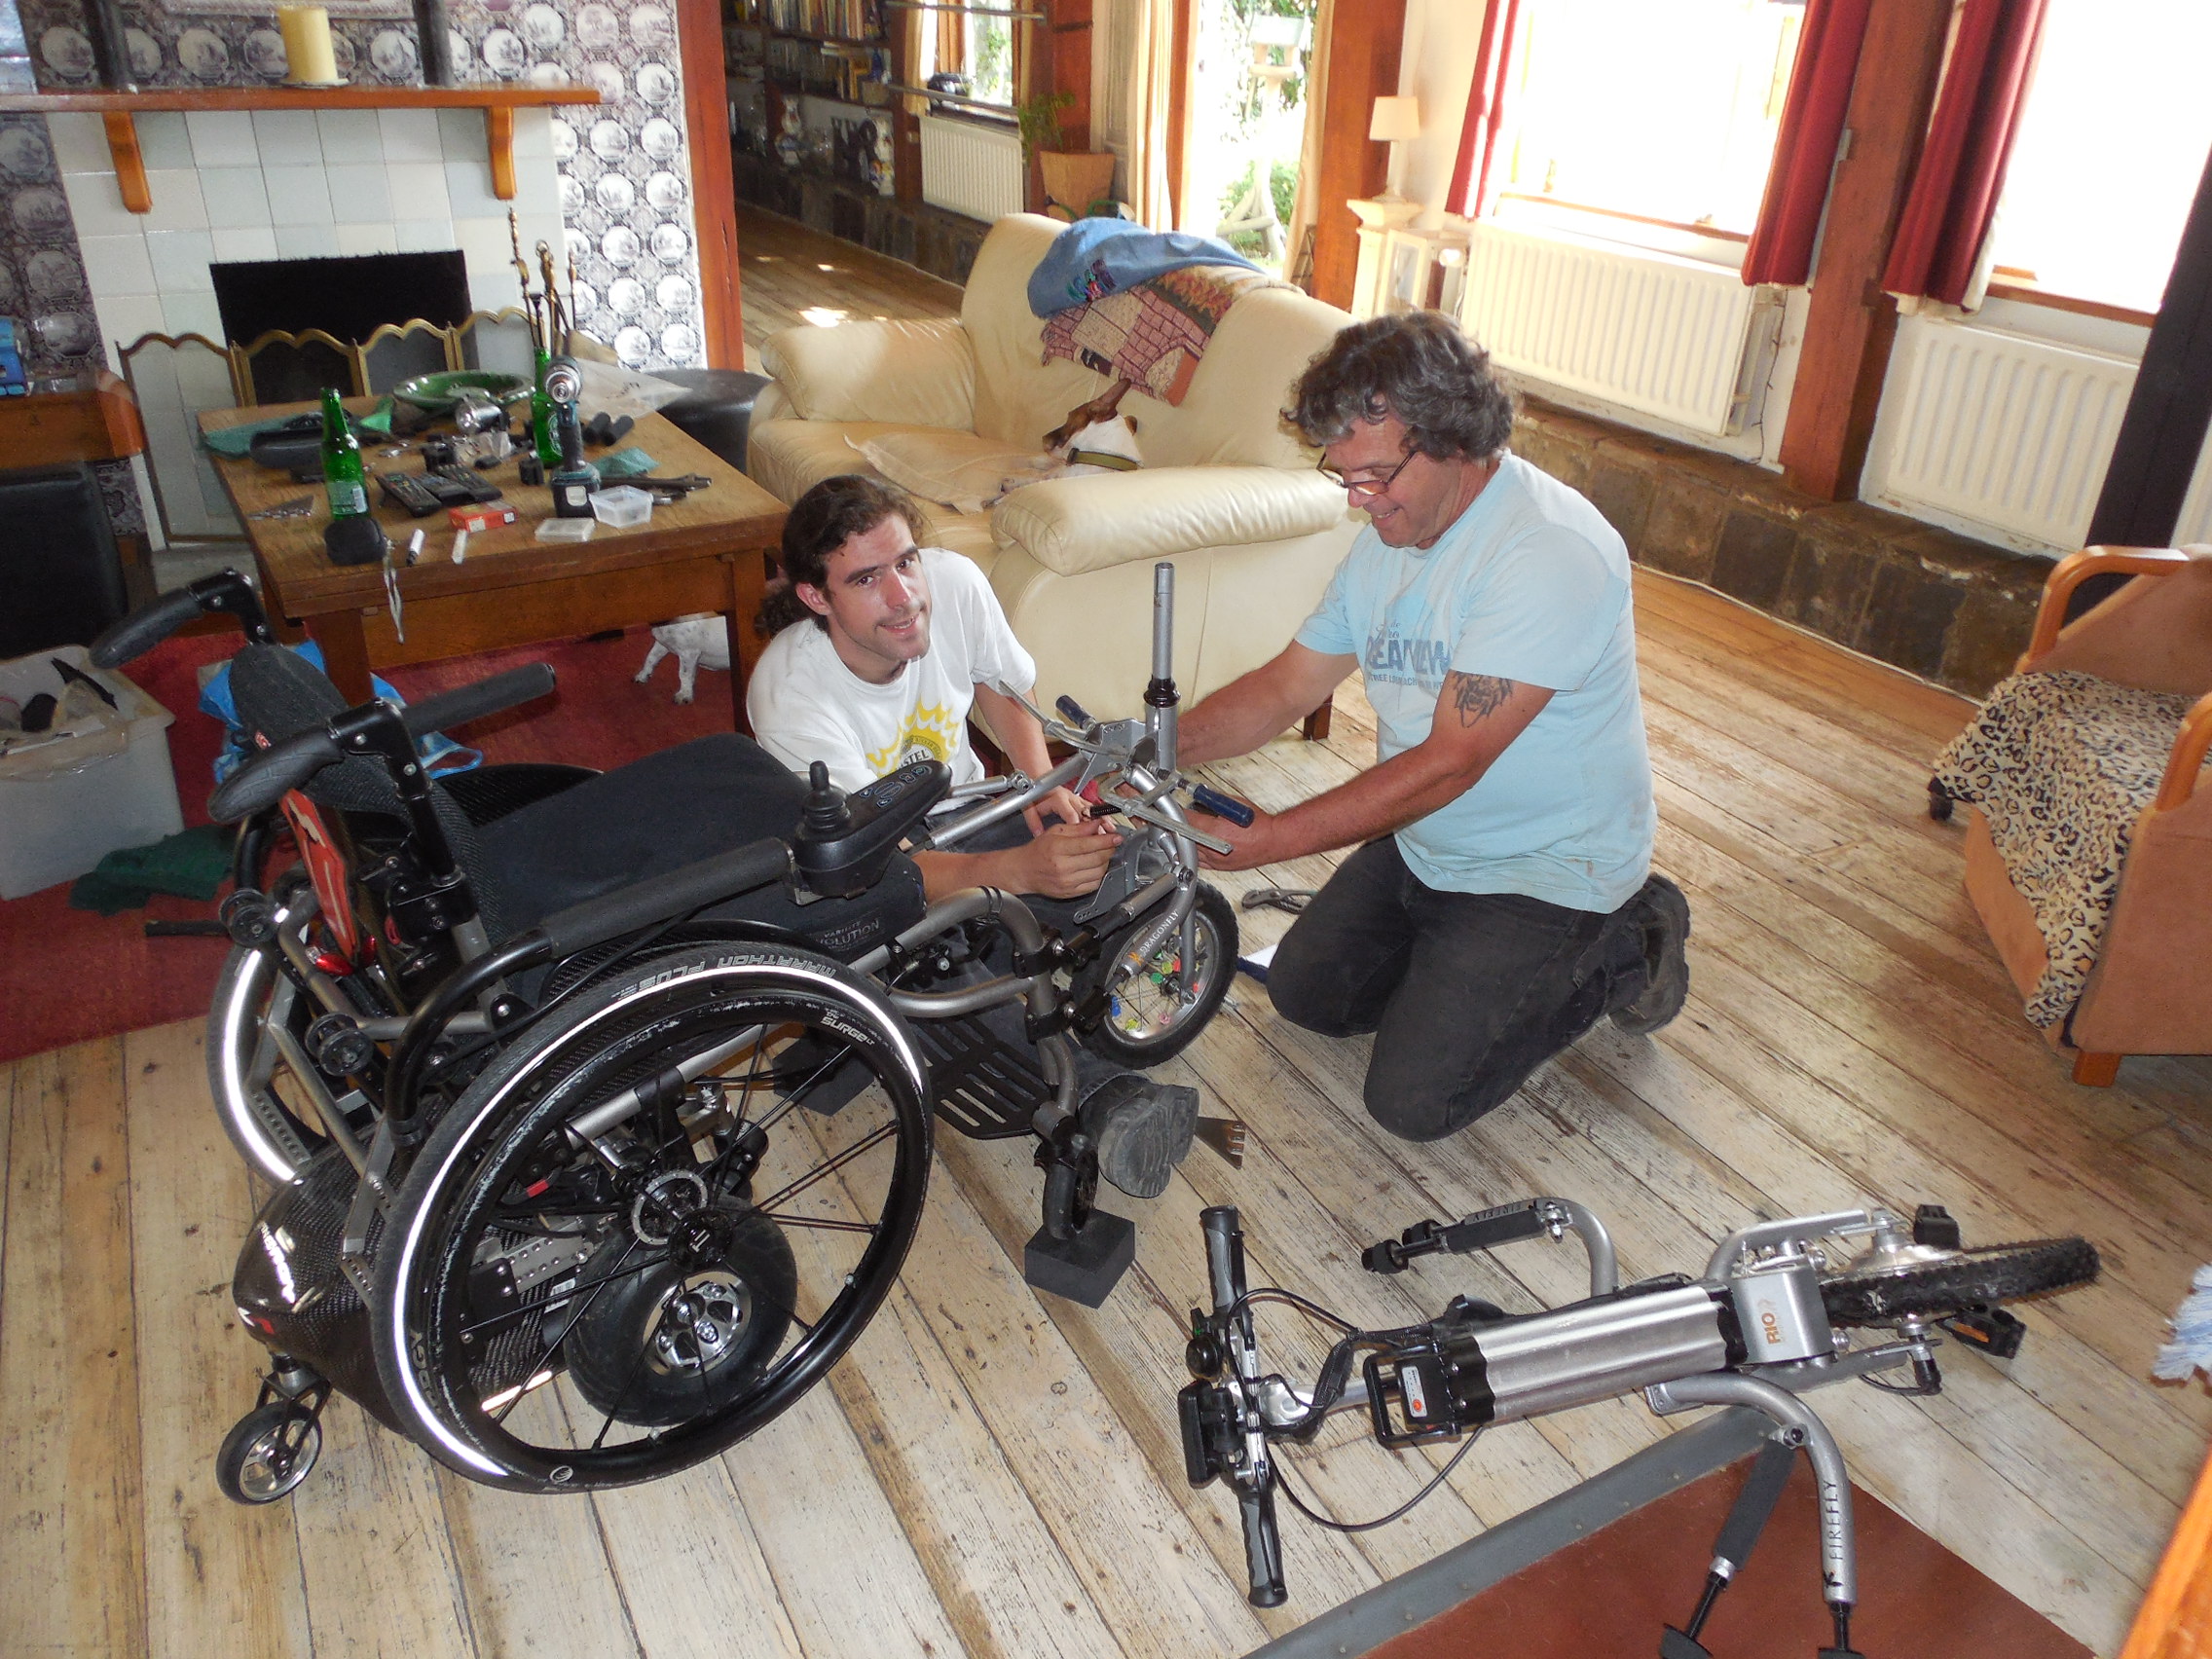
We had a bit of a lull in the action because Shannon had an unfortunate accident with his bike, but Shannon is doing better now thankfully, so he and John are back in action again on things.
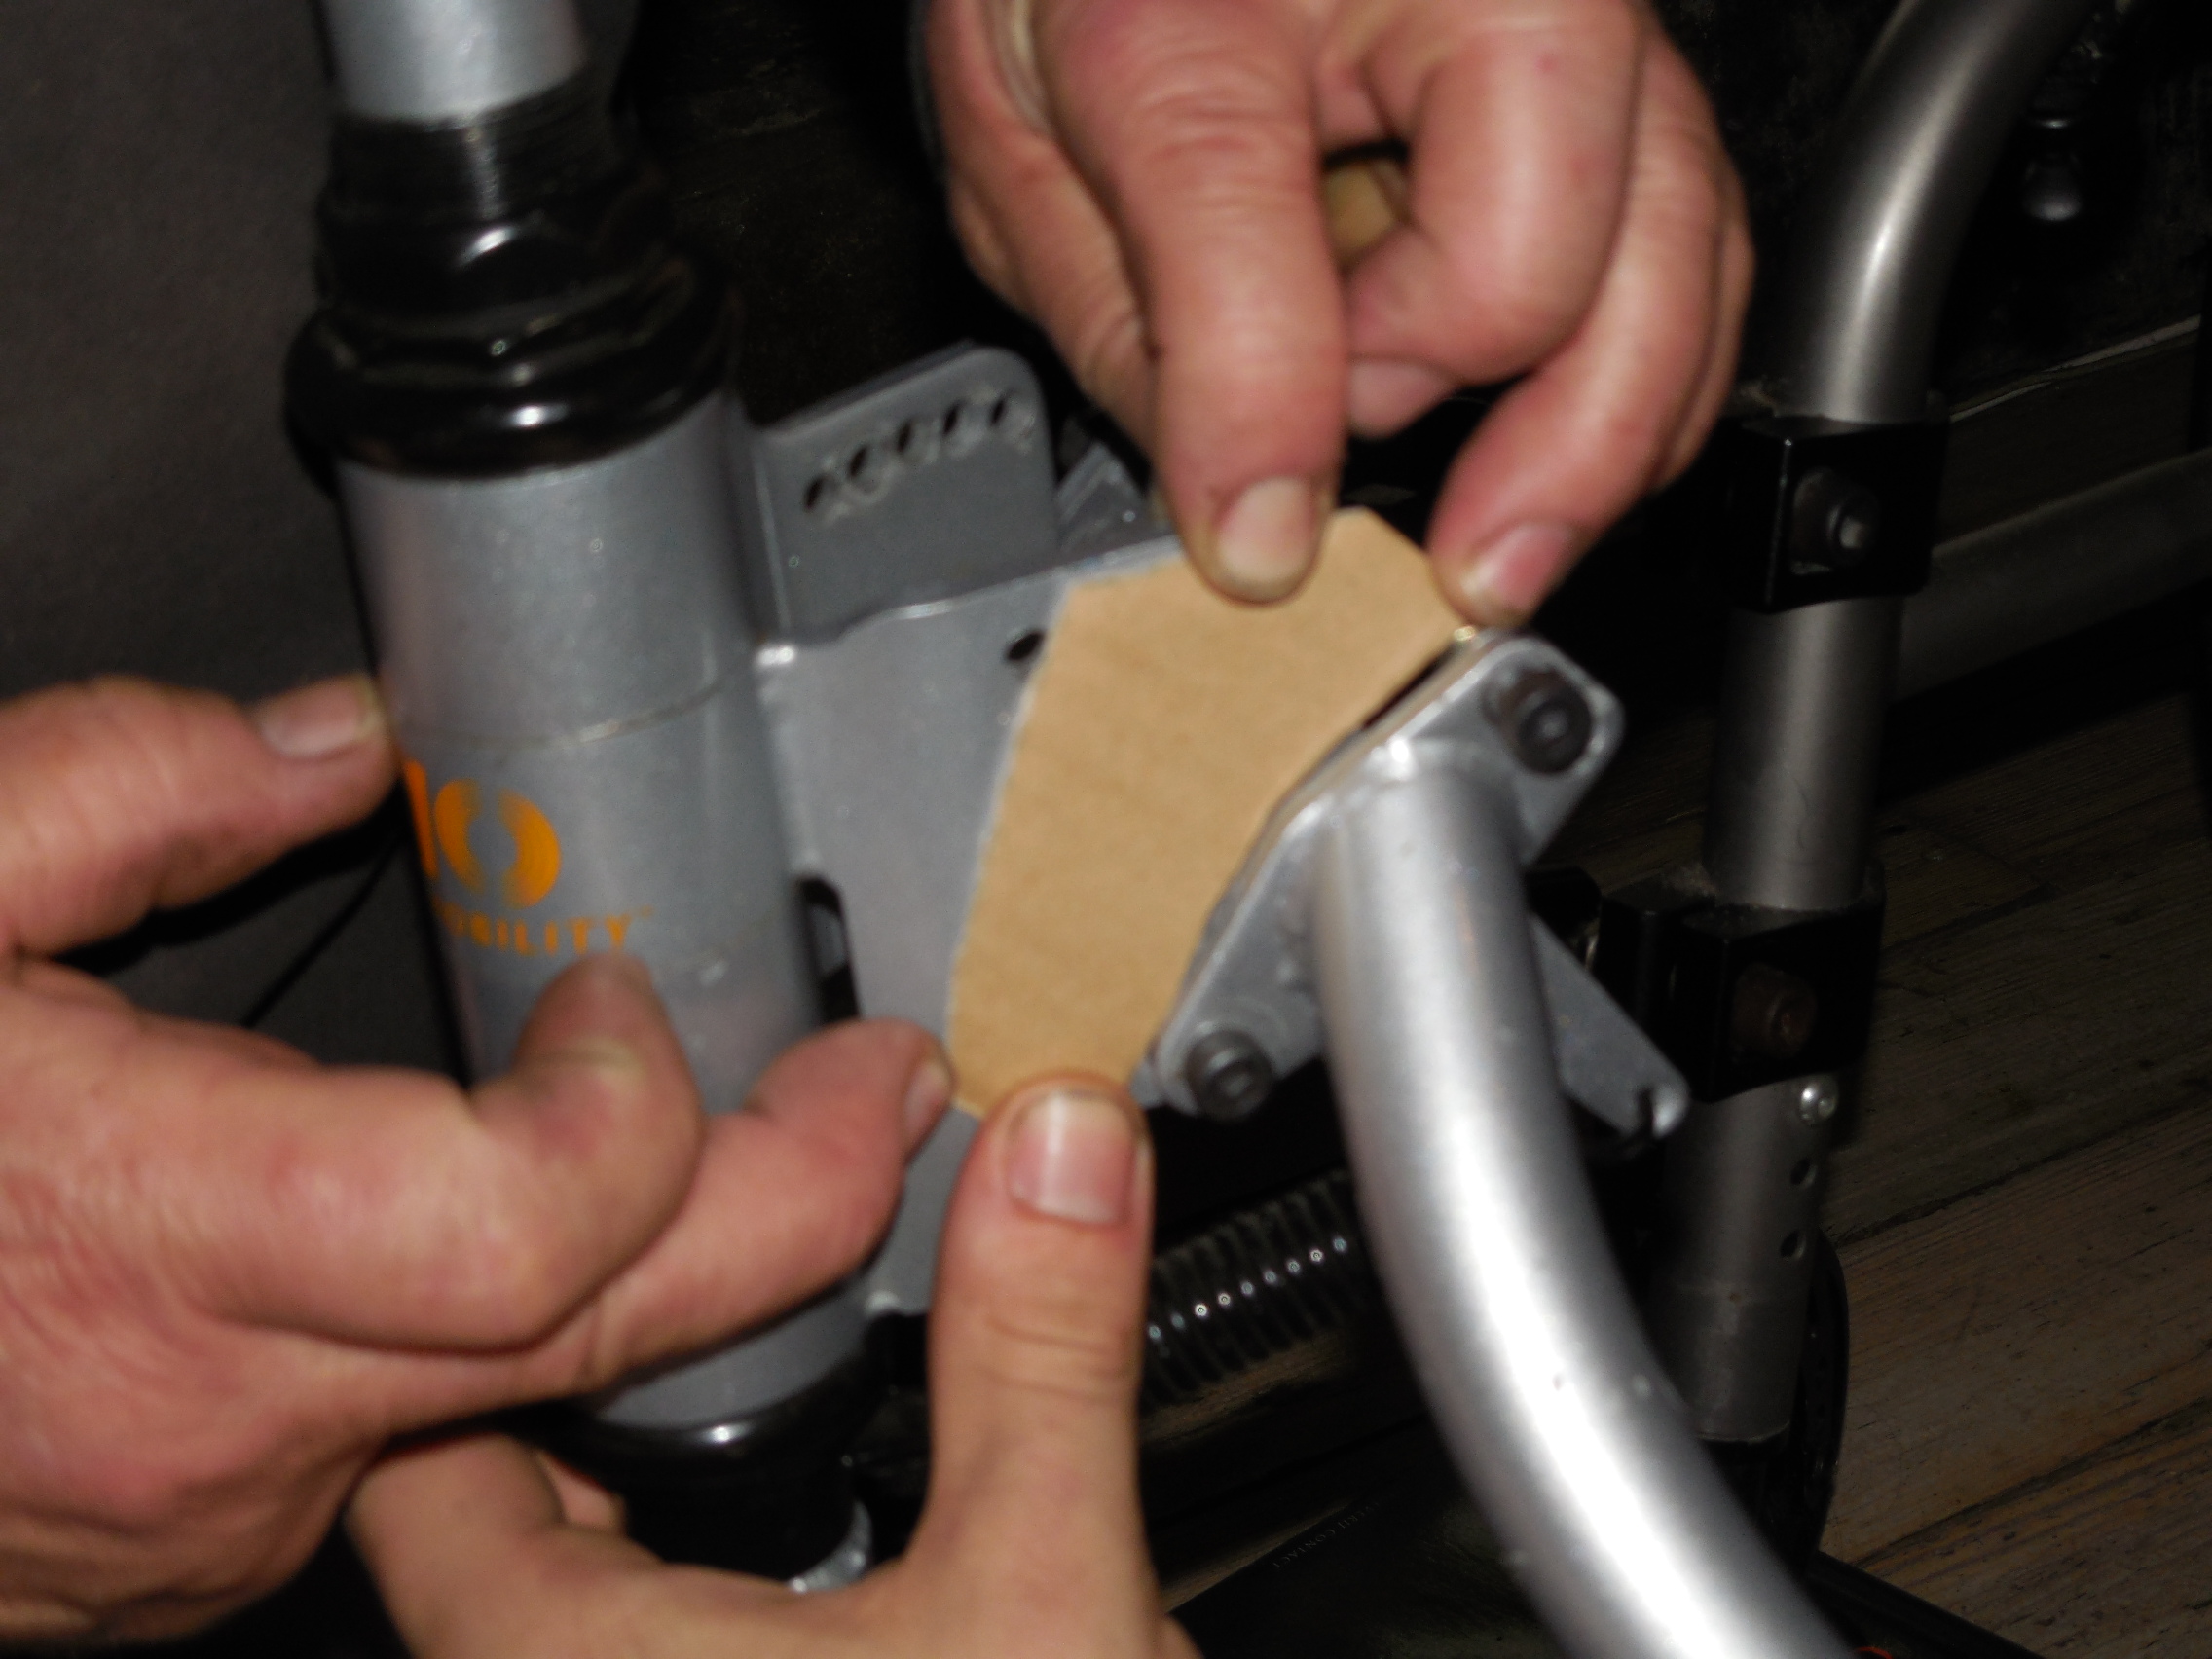
We did a test of the tack welded top wing plate extensions. It took a lot of trial and error, but with the steering tube vertical they were able to determine where the holes should be drilled in the top wing plate extensions.
We also determined that there was no real need to cut the fork as I had previously thought (don’t know why I thought that). The upside that John mentioned is that we could possibly swap for a 16″ wheel if we decided it was better later, without changing the geometry of everything else (great idea John!).
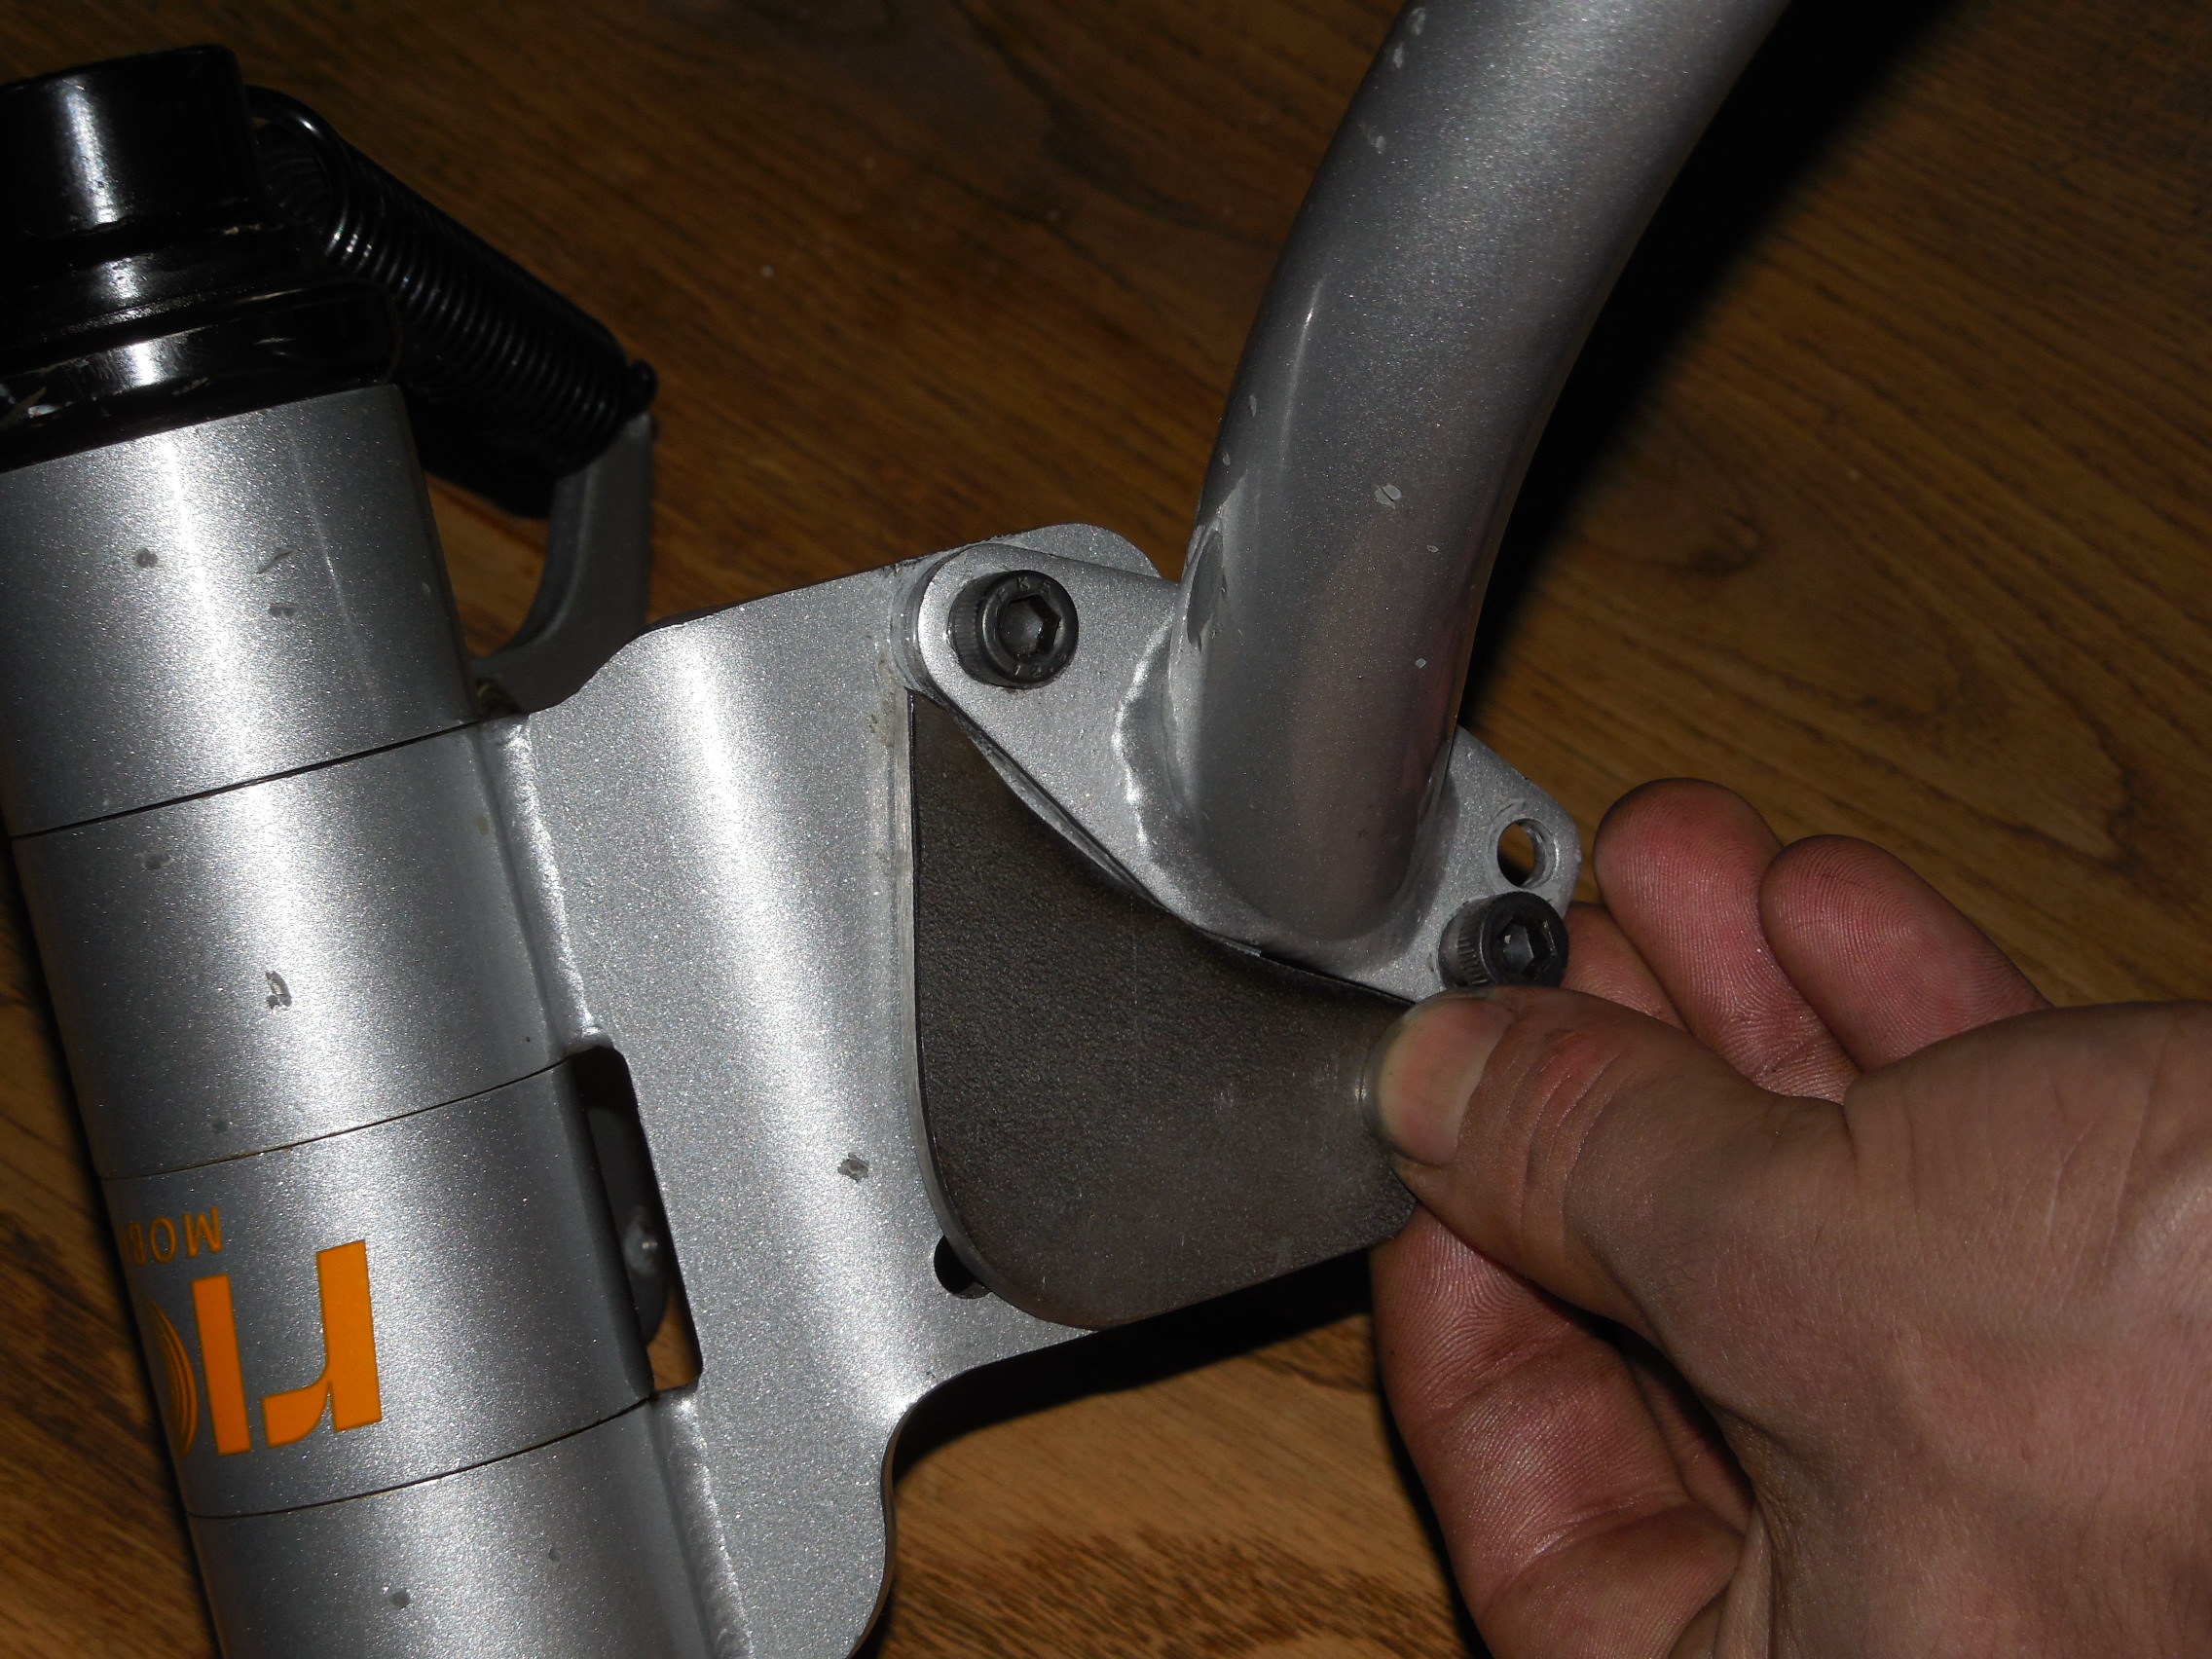
We ran into a bit of a problem with the spring collar on the DragonFly attachment, which is different to the FireFly attachment. We have no way to keep the Steering Plate from grinding down on the weld in the fork.
We toyed with some idea’s for spacers and other parts from bikes, but our friends think it is better to weld the Spring Collar to the Steering tube. I’m a bit concerned, because I’m not sure we will get the rotation we need it if is welded. Again, I wish we would have received identical attachments and forks for both, as I suspect this is why the design changed for the newer Firefly attachment and fork.
Next Steps for Development
The next step is for John and Shannon to drill the holes in the in the top wing plate extensions and to tack weld the bottom fork plates. After that we will test with the ZX-1 attached and Rob using it, to see how it trails with the different dropouts.
I am so pleased we have good friends to do this with us, who are also willing to work with me and my lack of knowledge about so much of it, and most importantly, to experiment. I think we are all also having a lot of fun with it, or at least I hope so for the guys. Thanks John and Shannon — you guys are great!
Photo’s August 2014
-
- Tack welded top wing plate extensions in the workshop
-
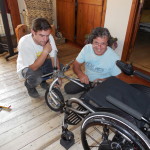
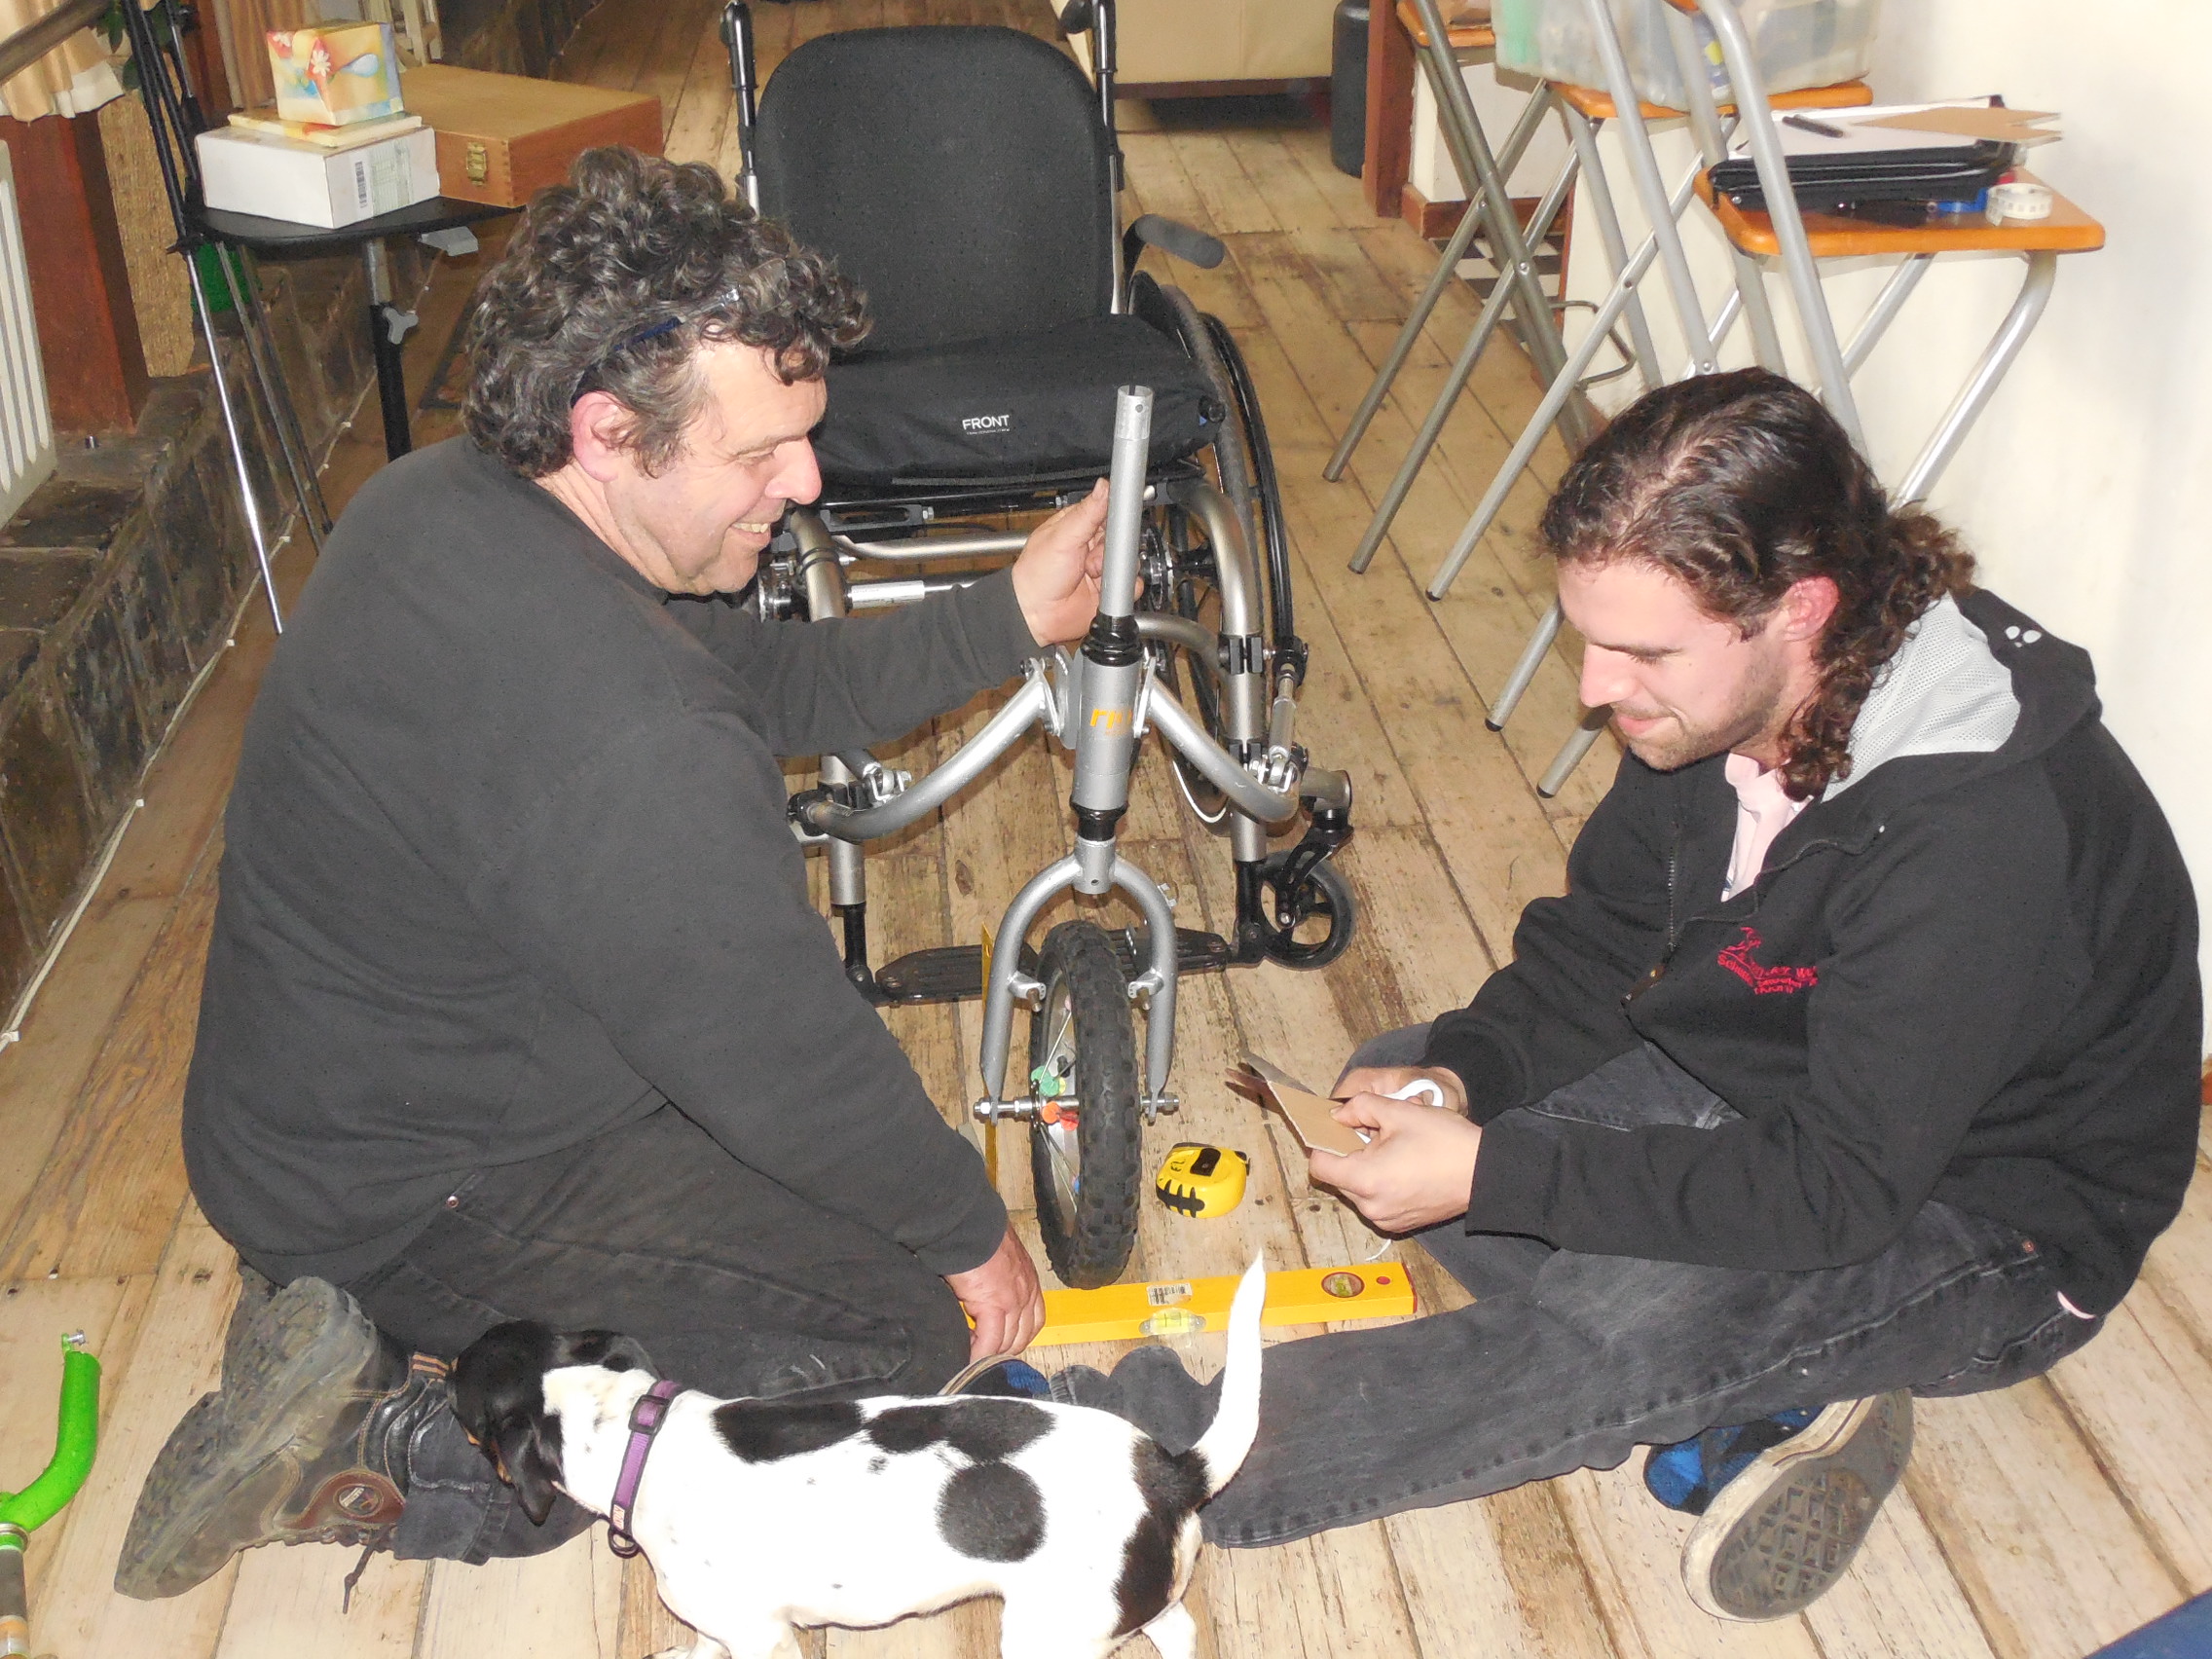
- Shannon and John, our father and son team!
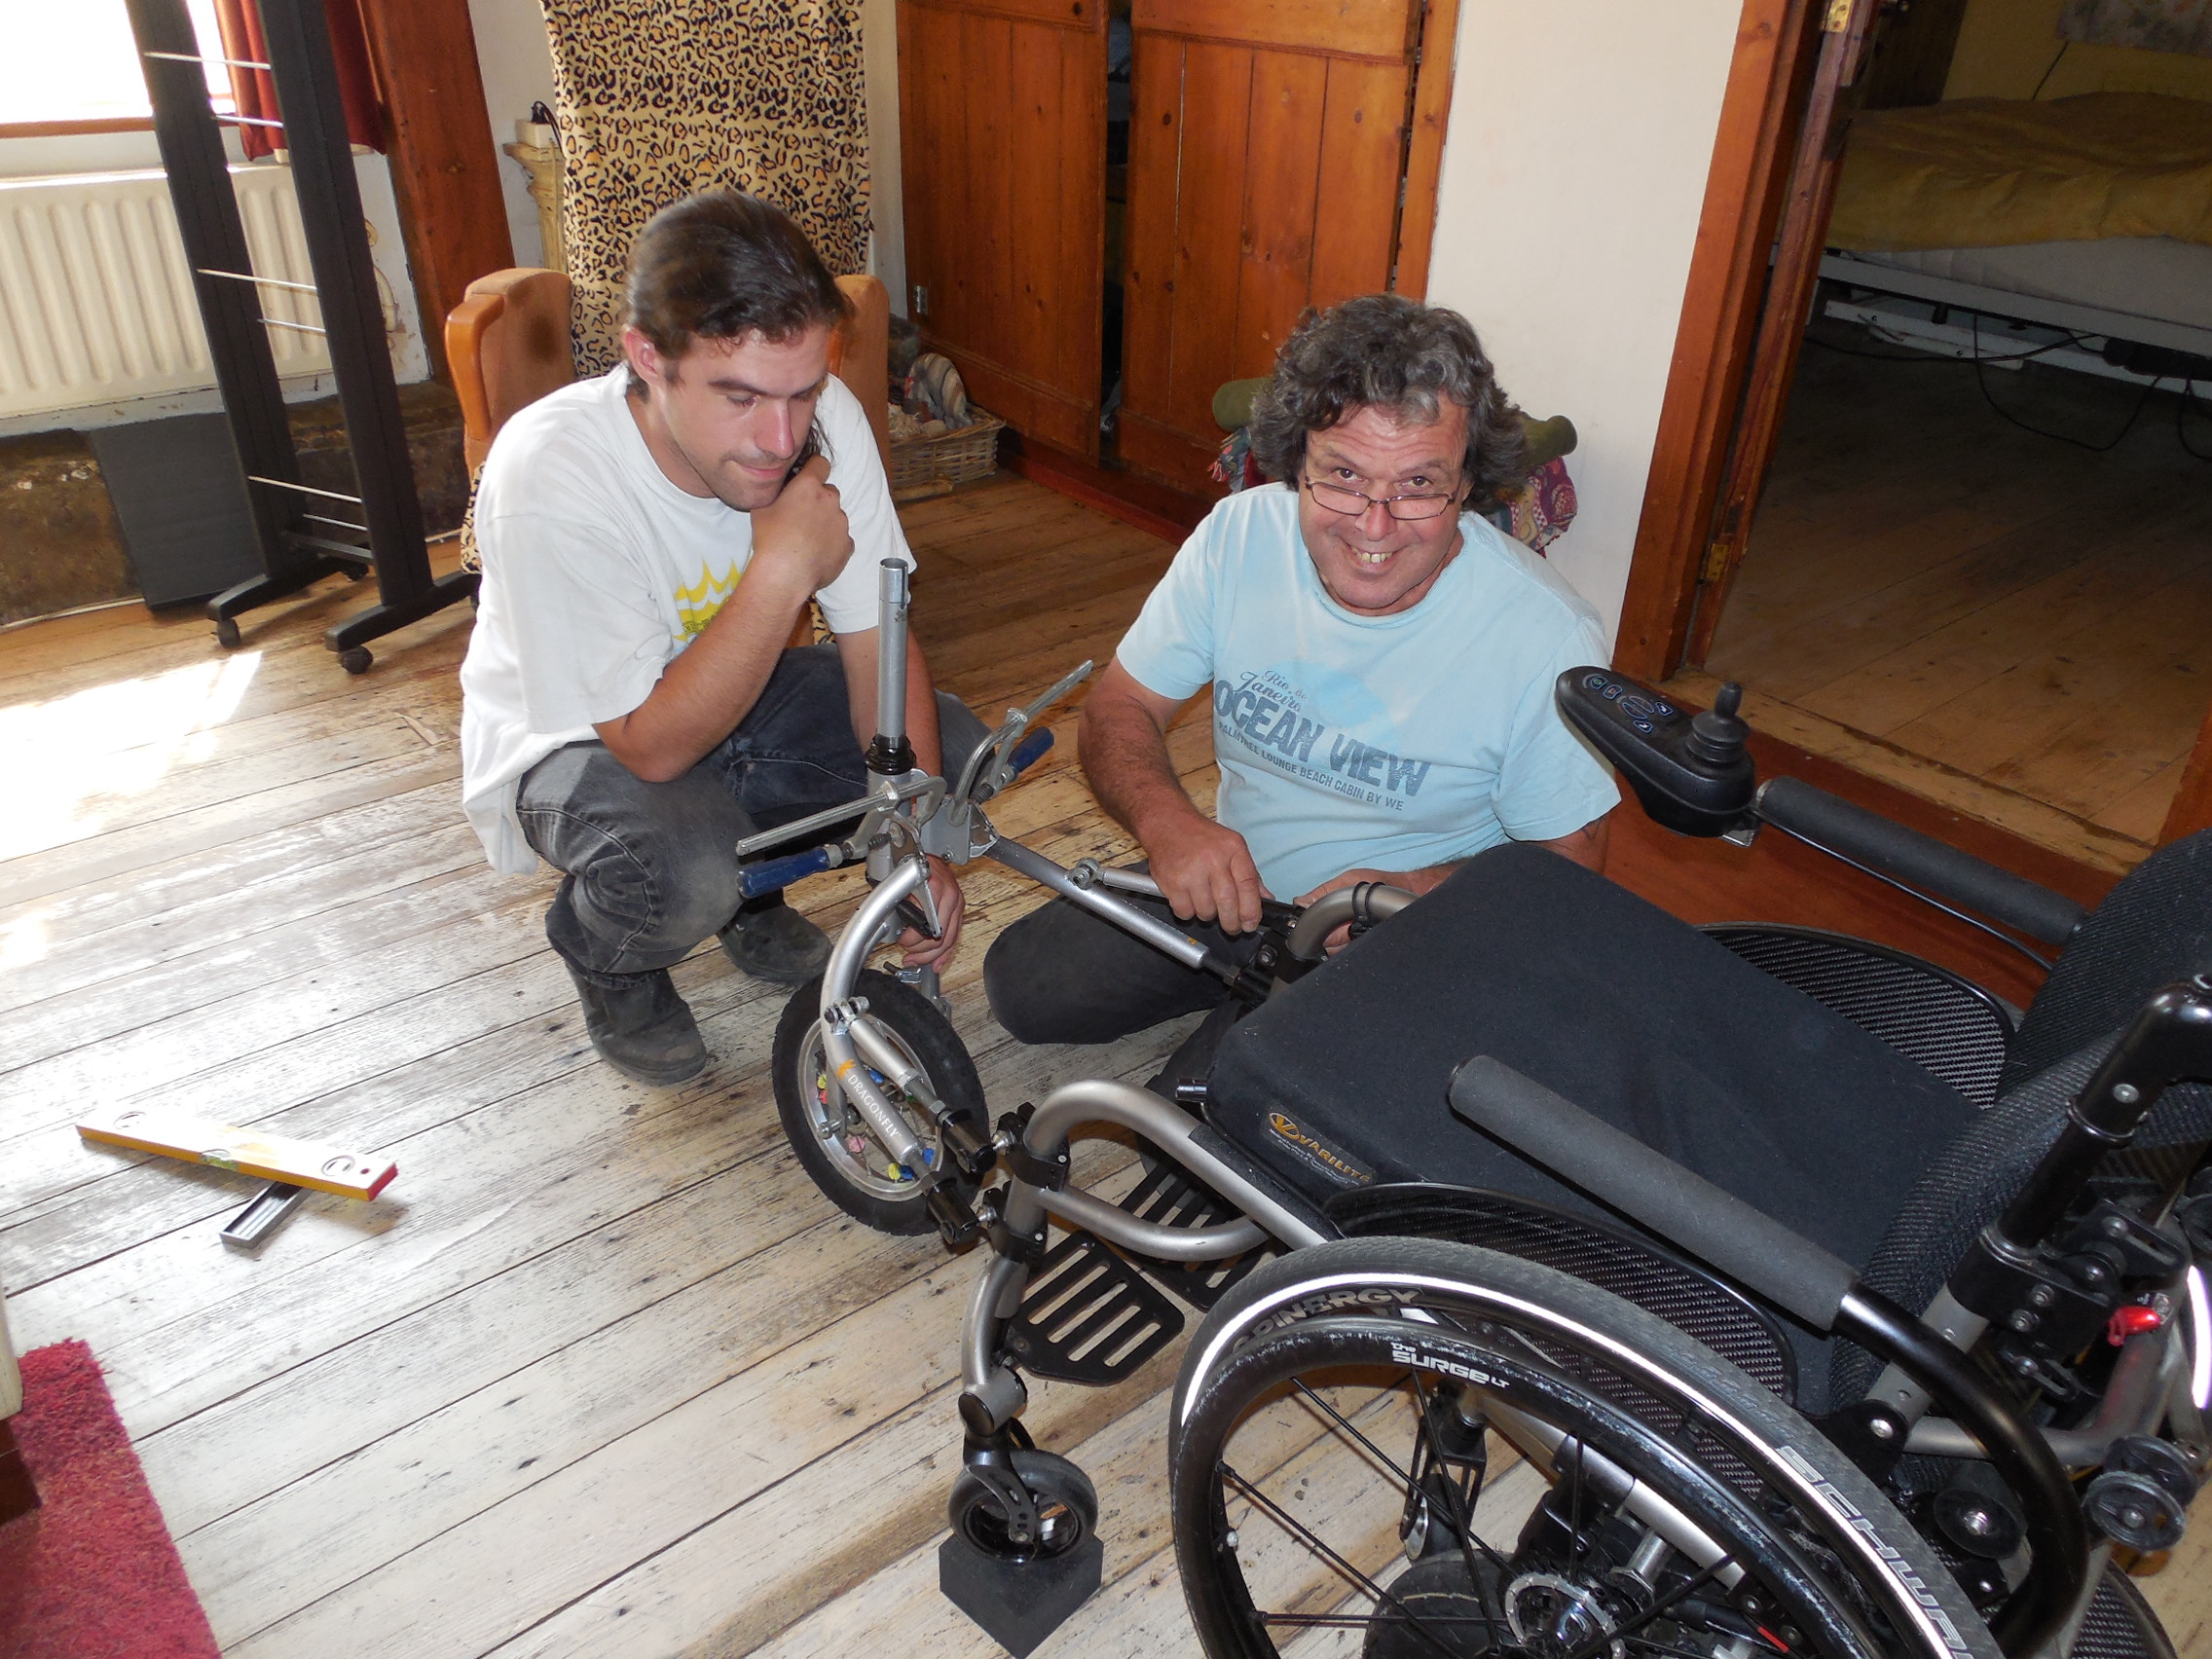
-
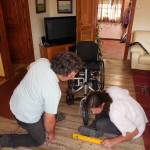
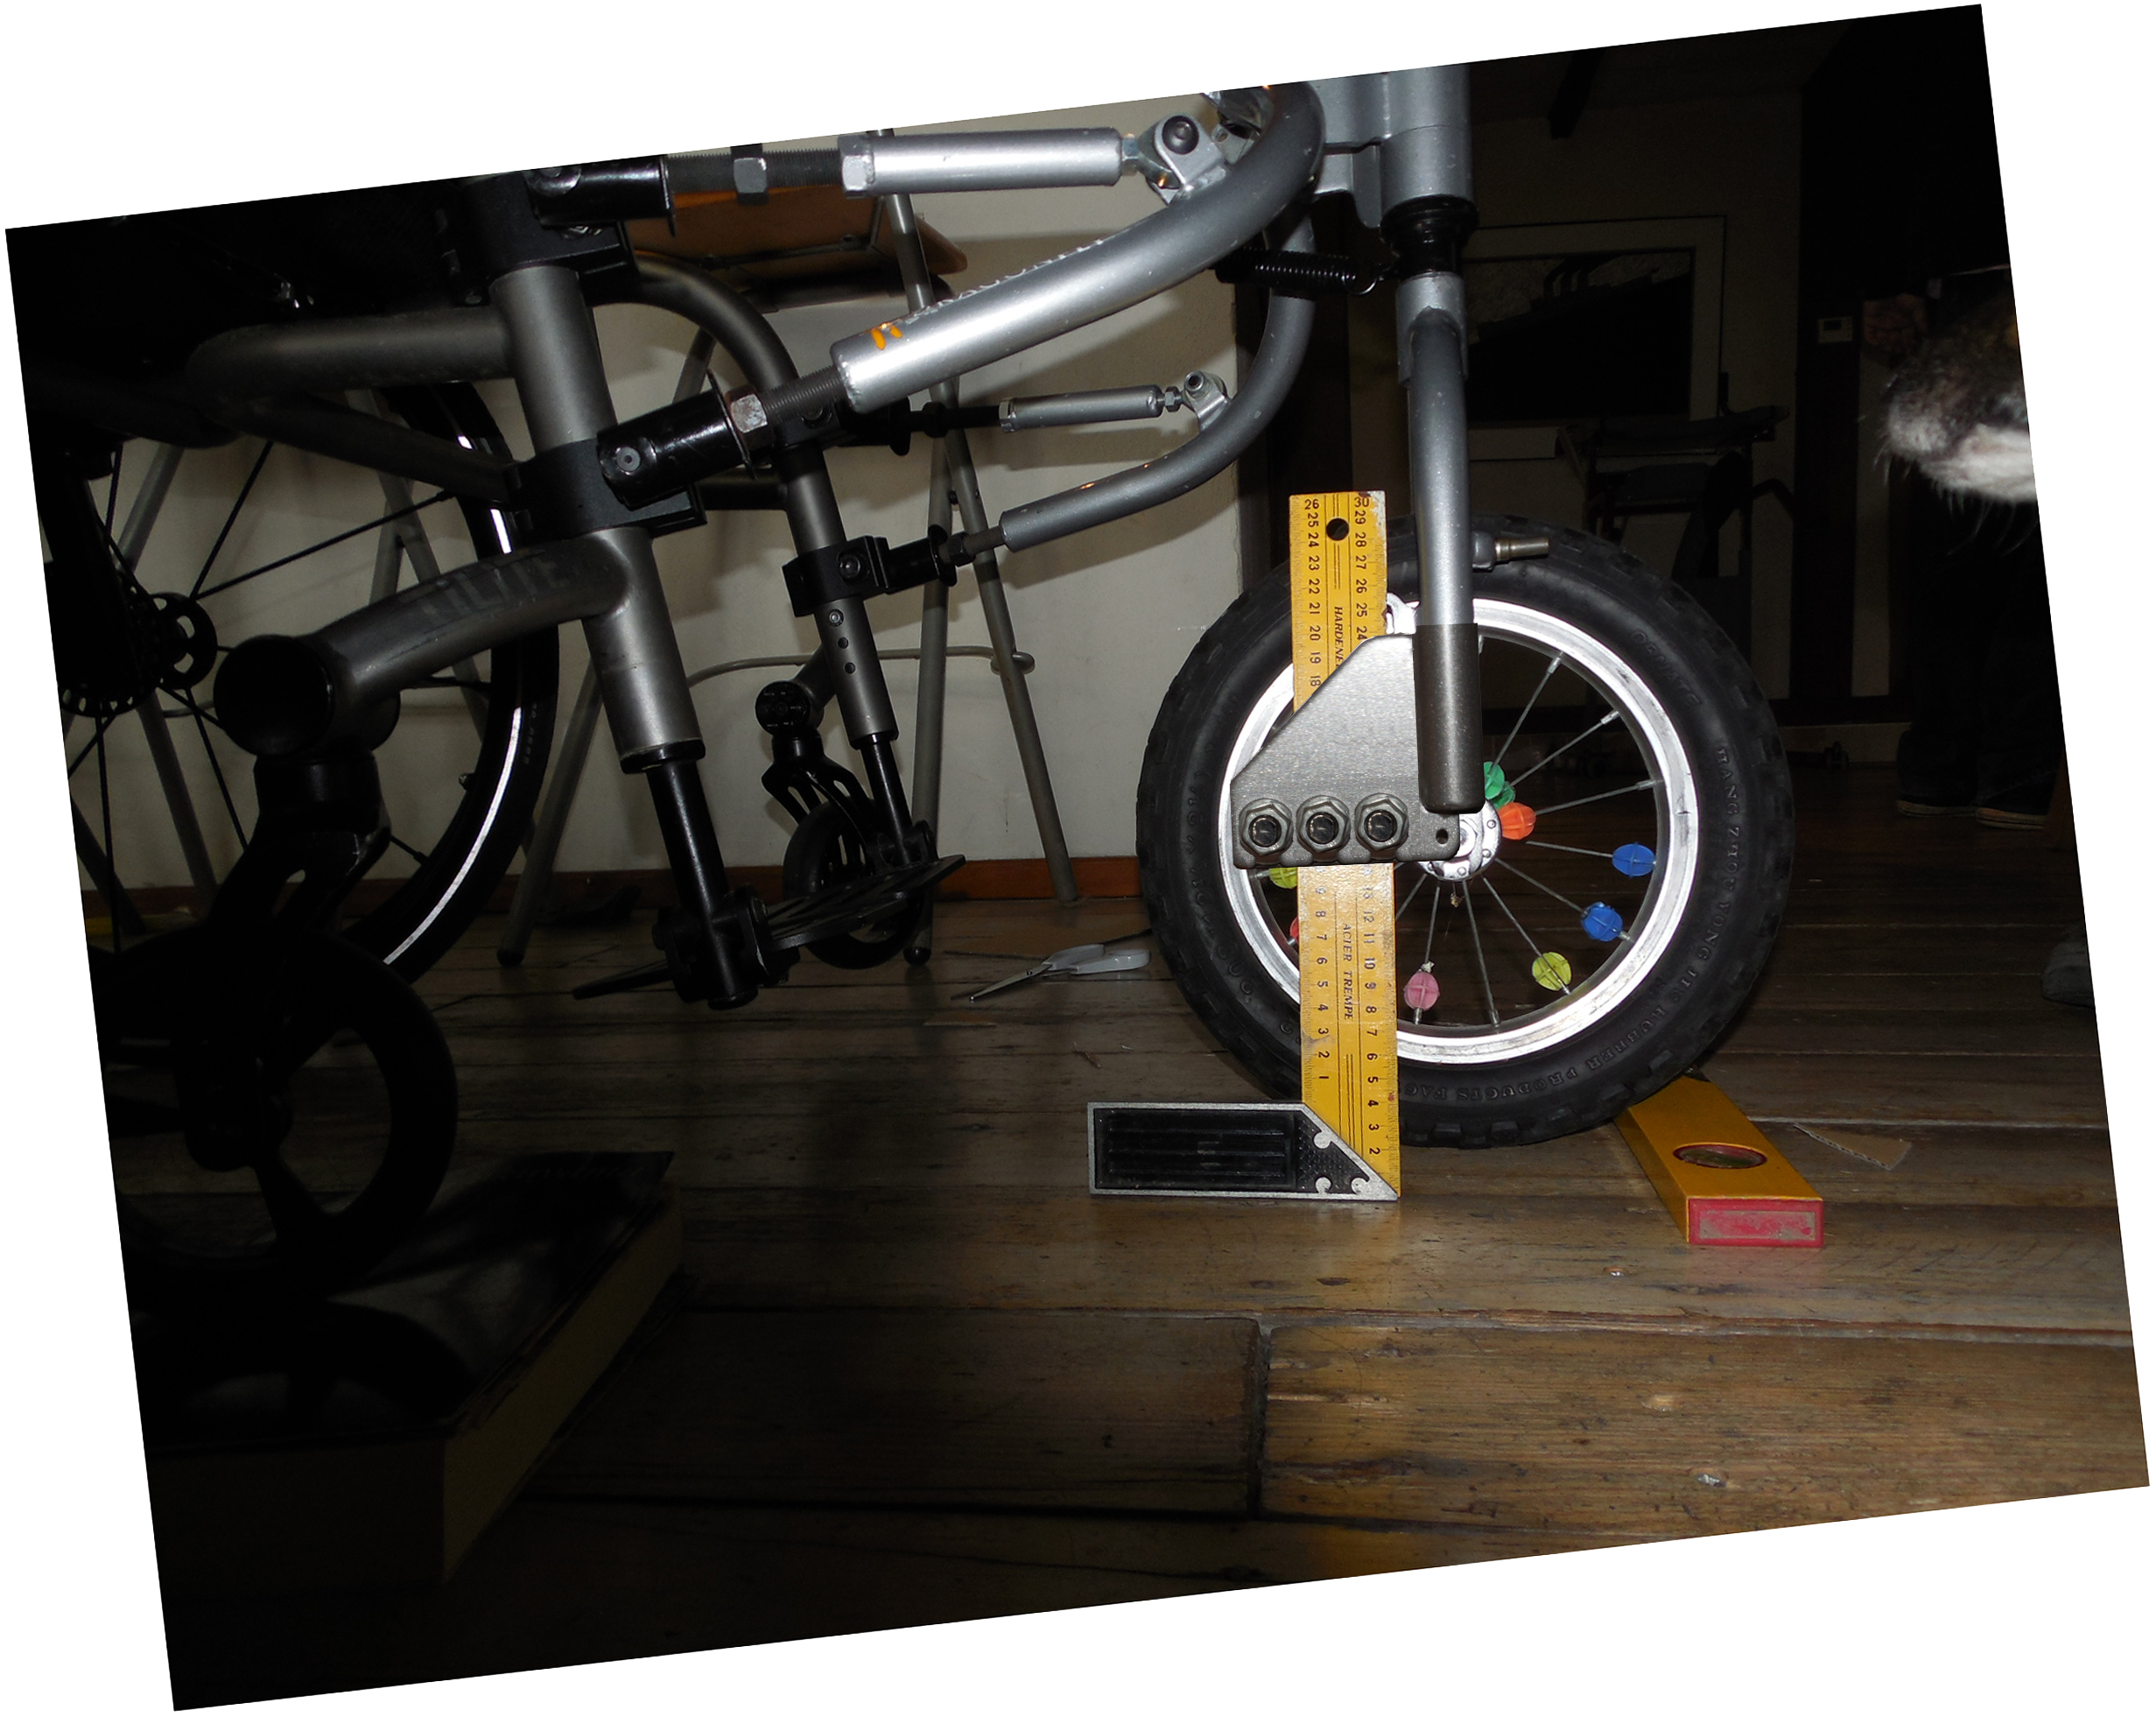
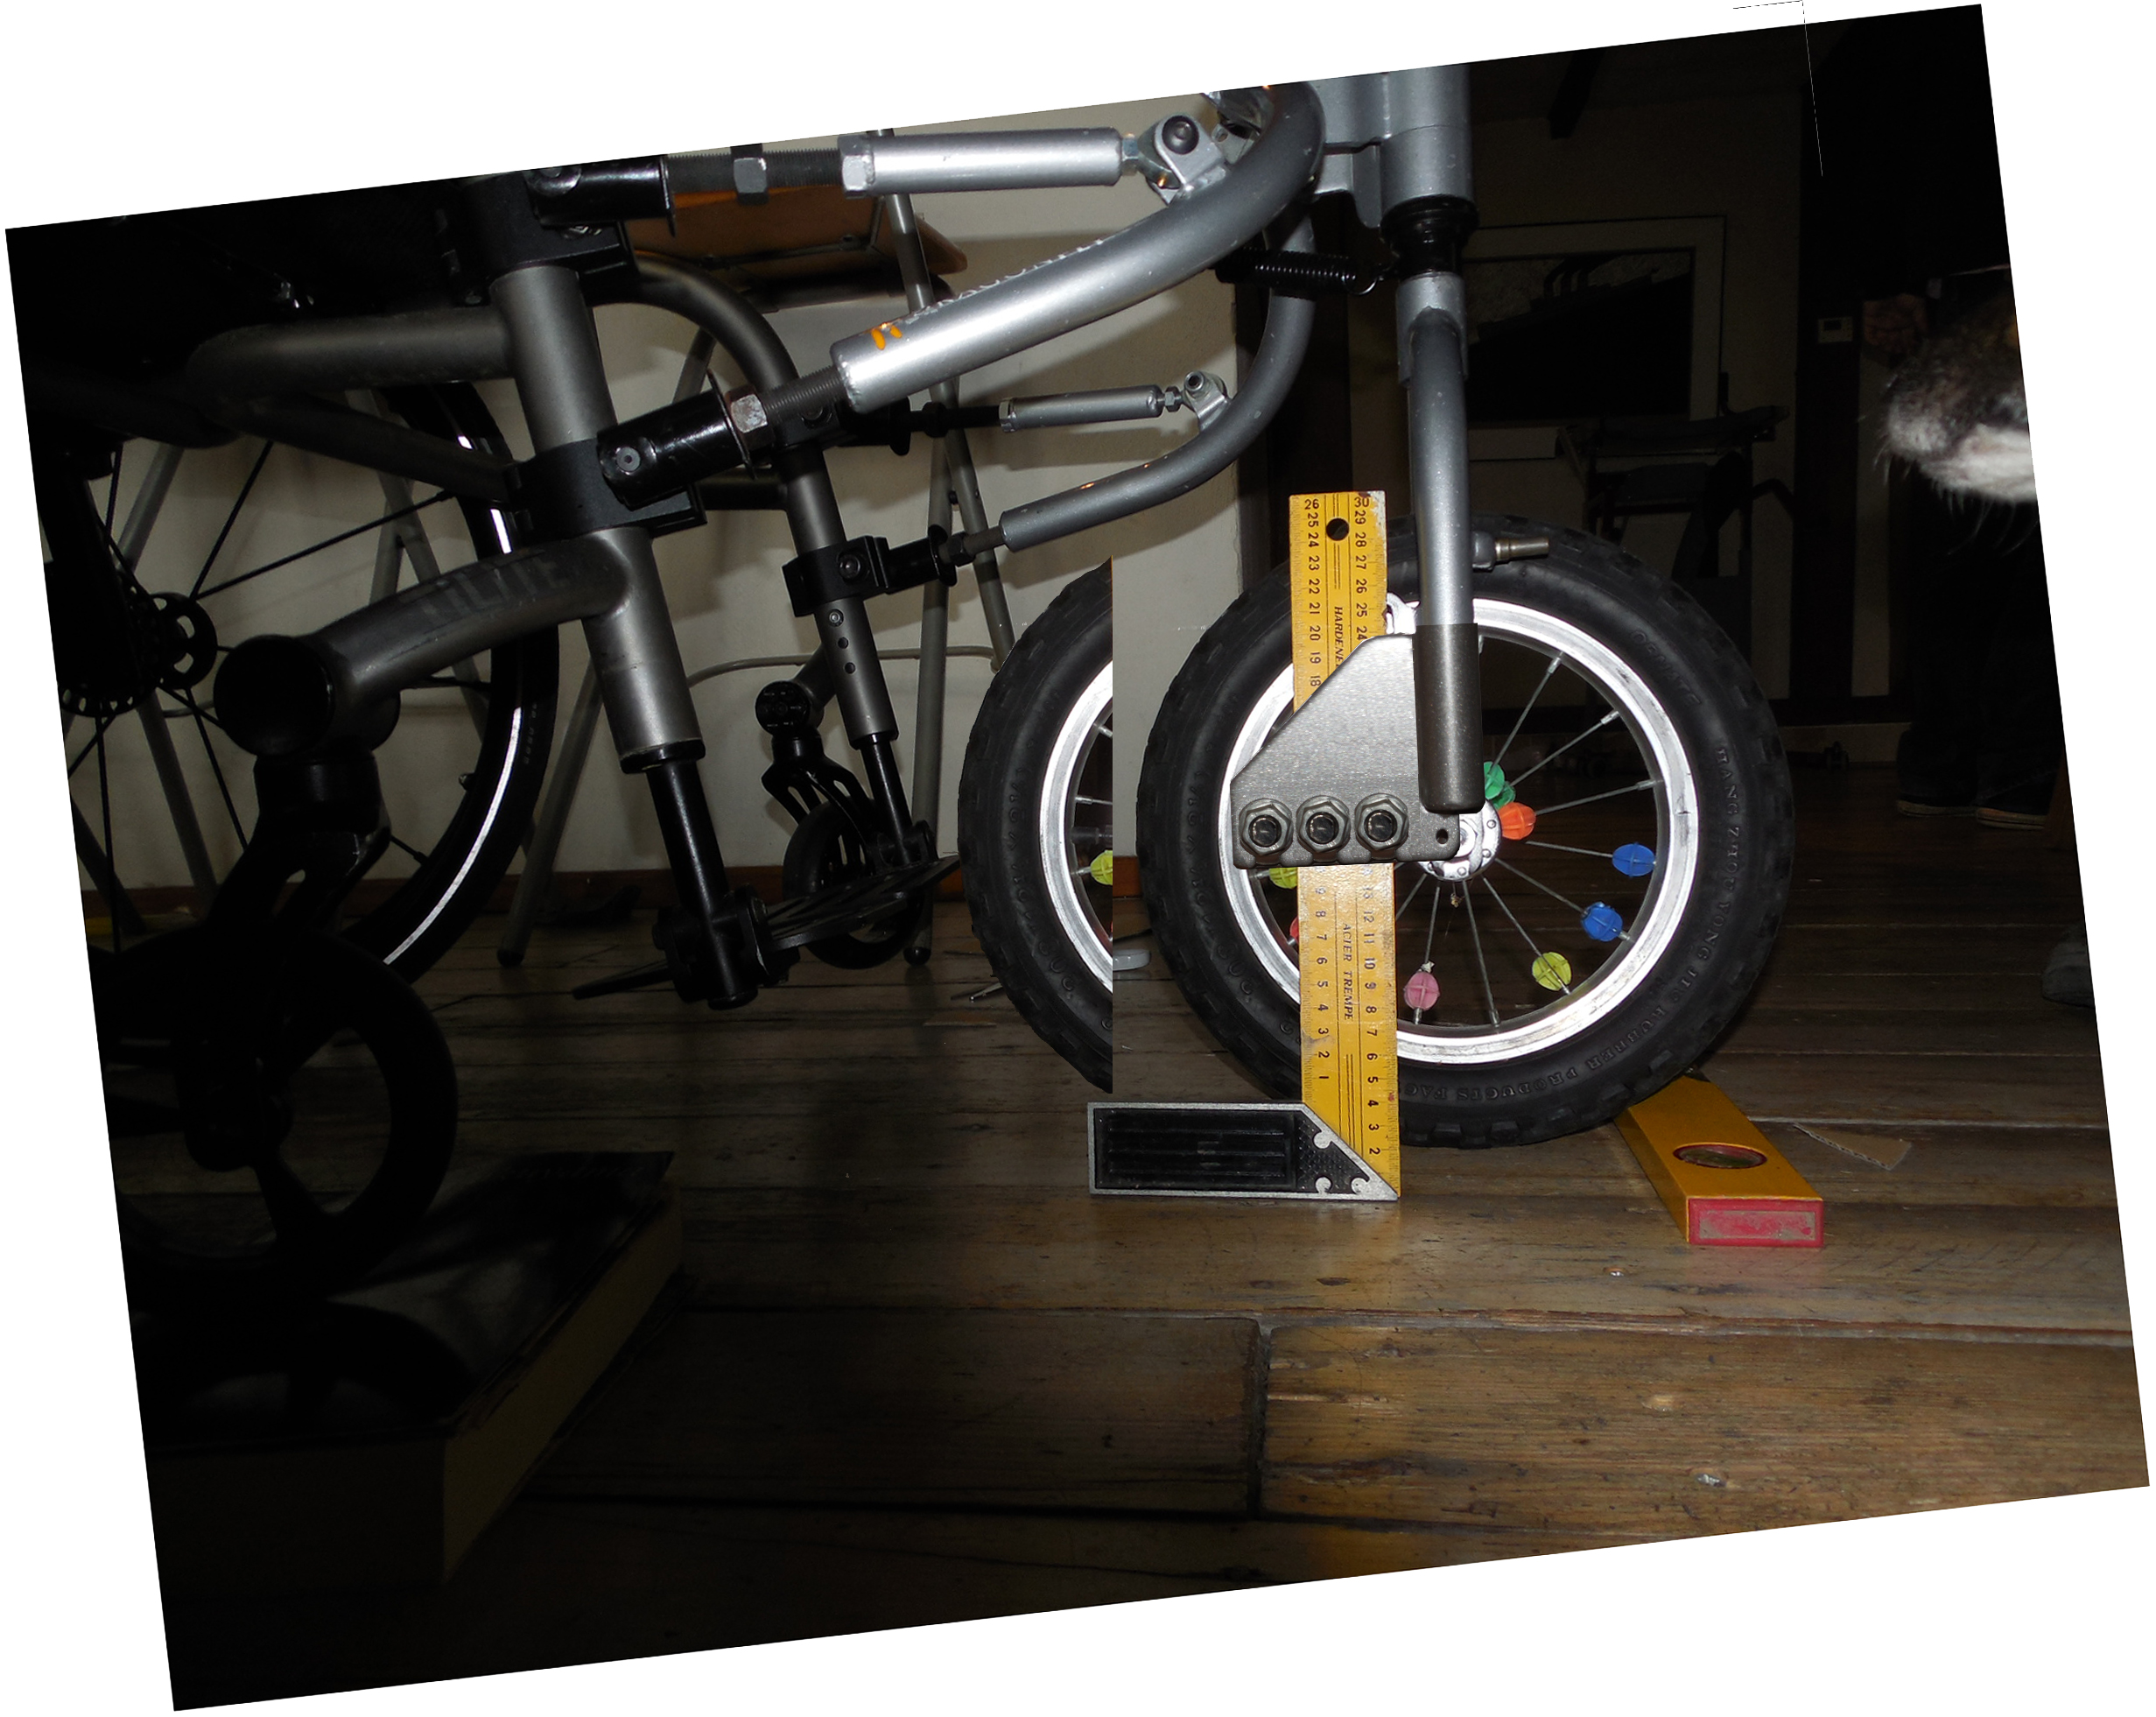
- Checking if our floor is level, which definitely it is not!
-
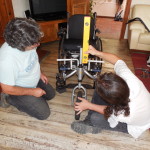
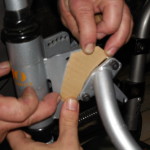
- Trying to get the steering tube vertical
-
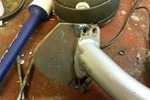
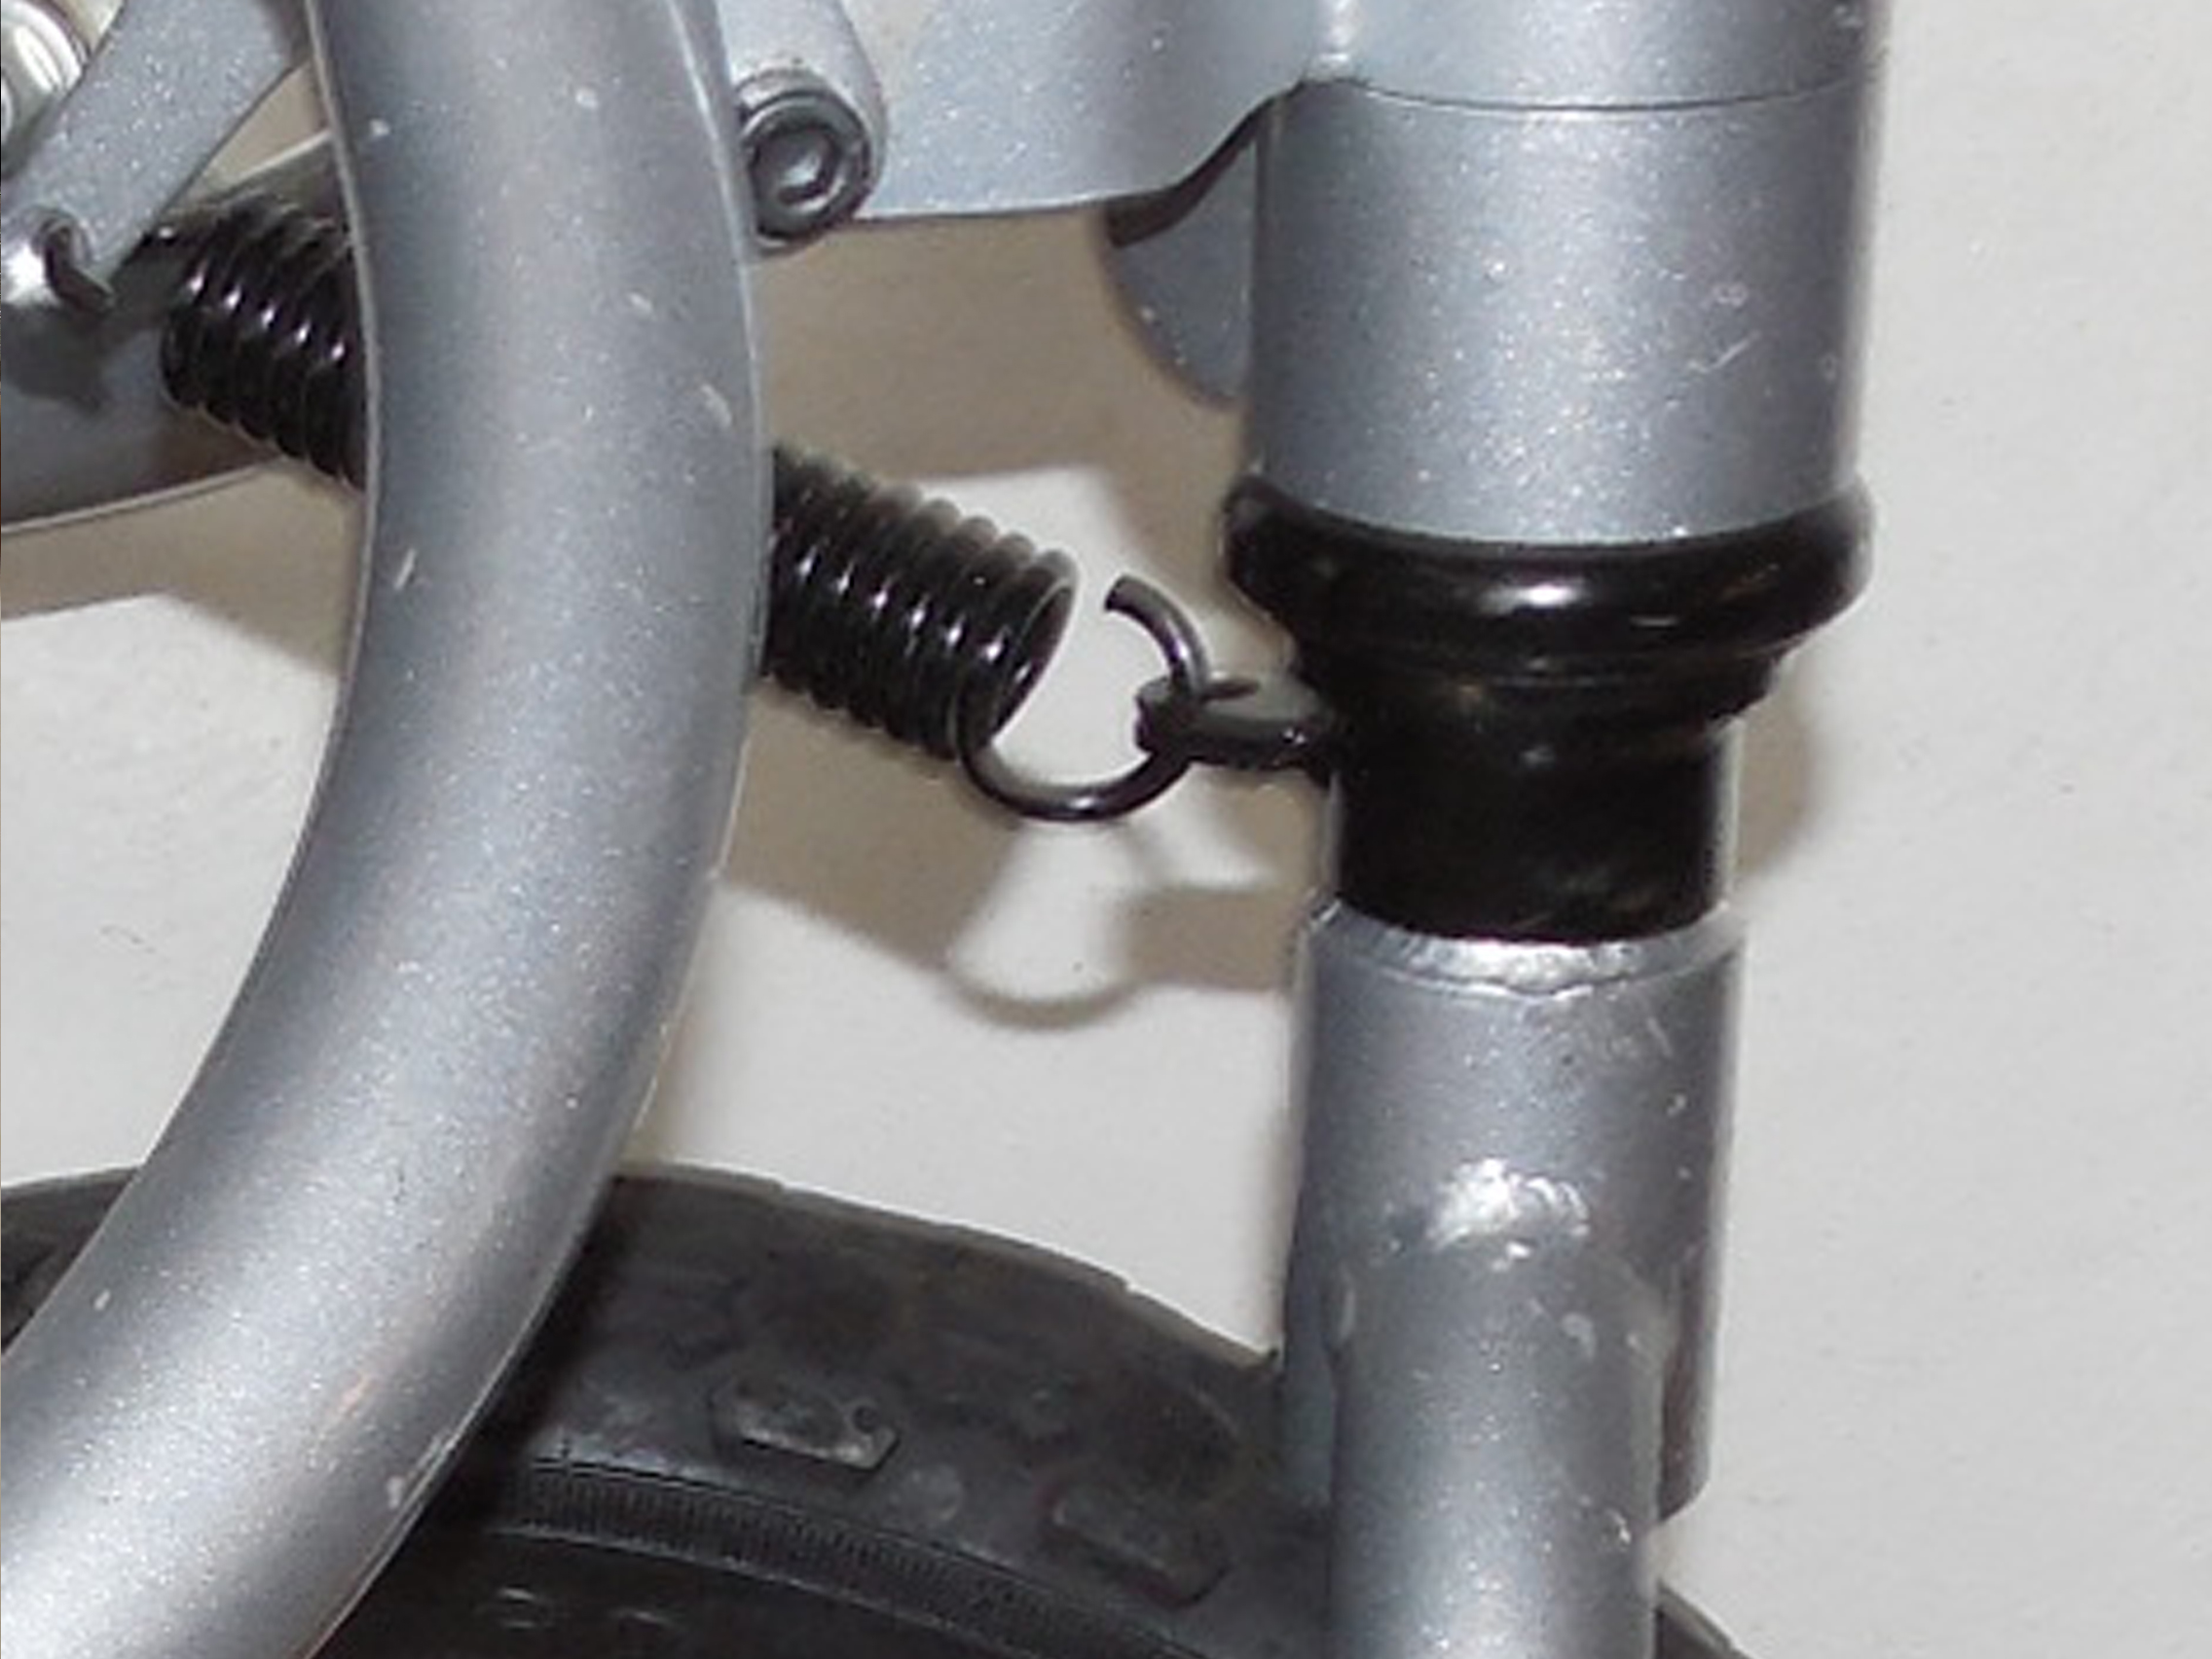
- Dragonfly Spring Collar and Fork
-
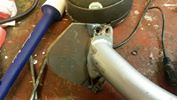
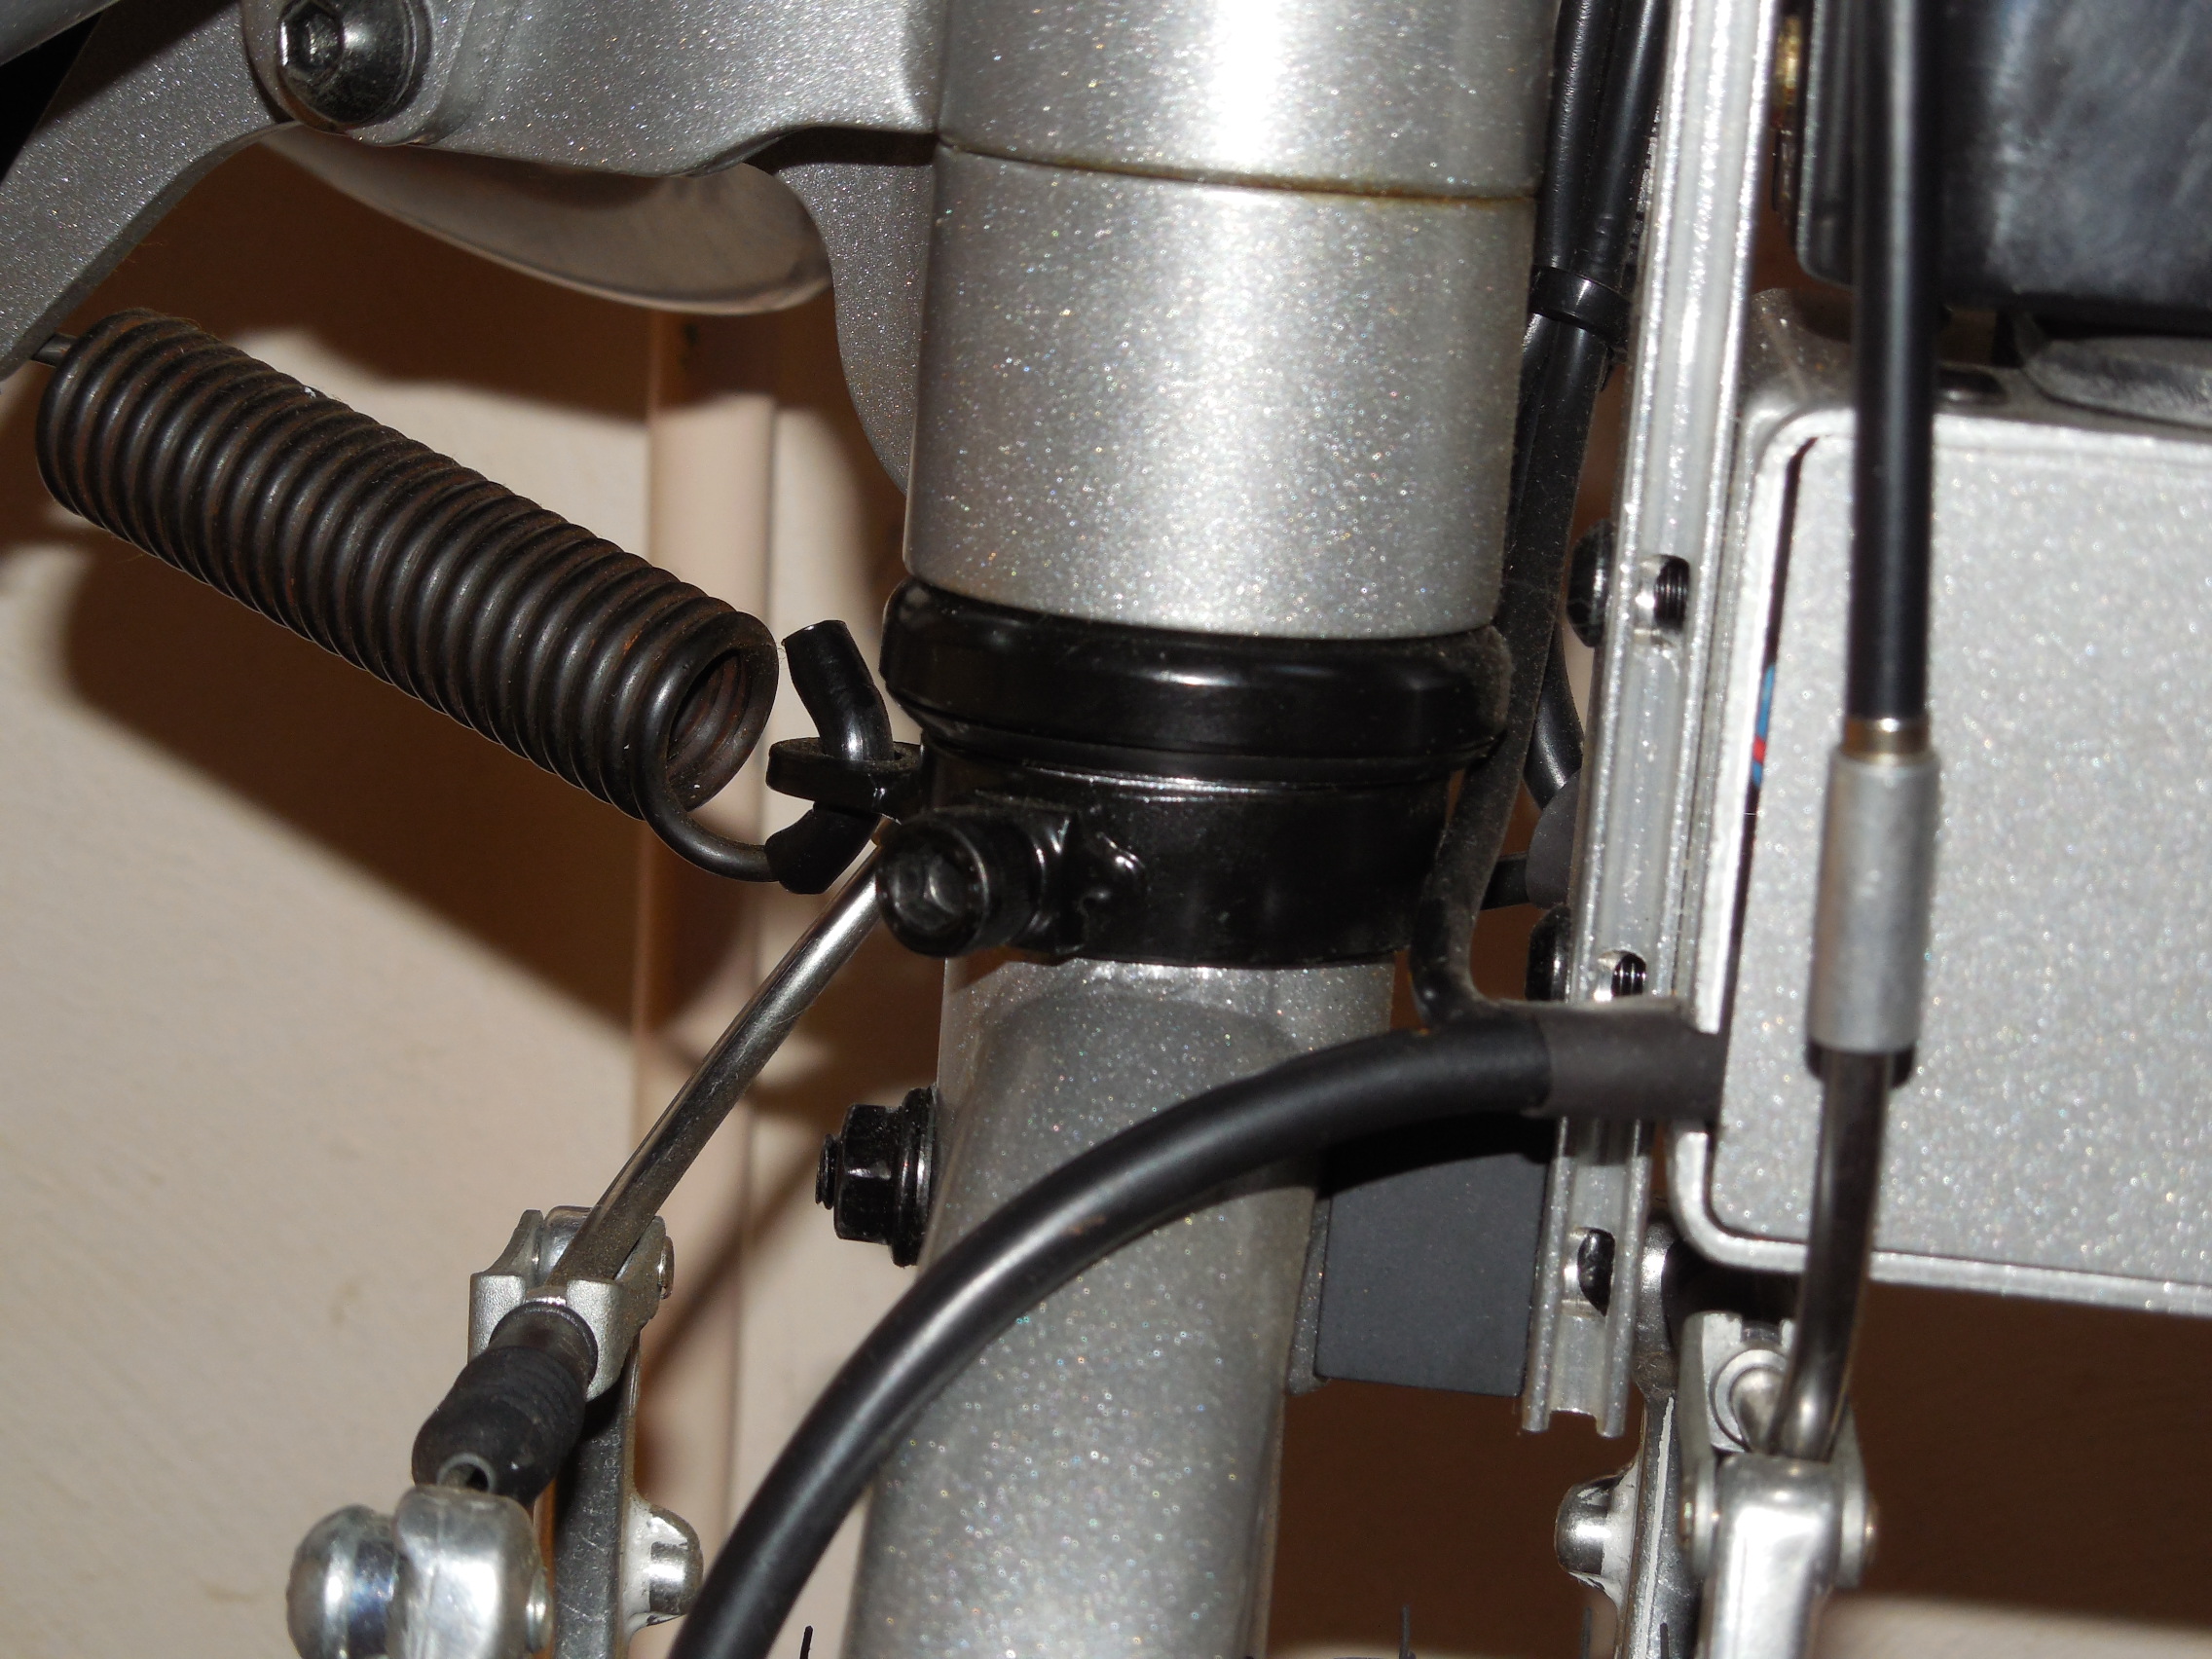
- Firefly Spring Collar and Fork
-
- We have a plan for the next step!
Development Step 1
Photo’s May 2014
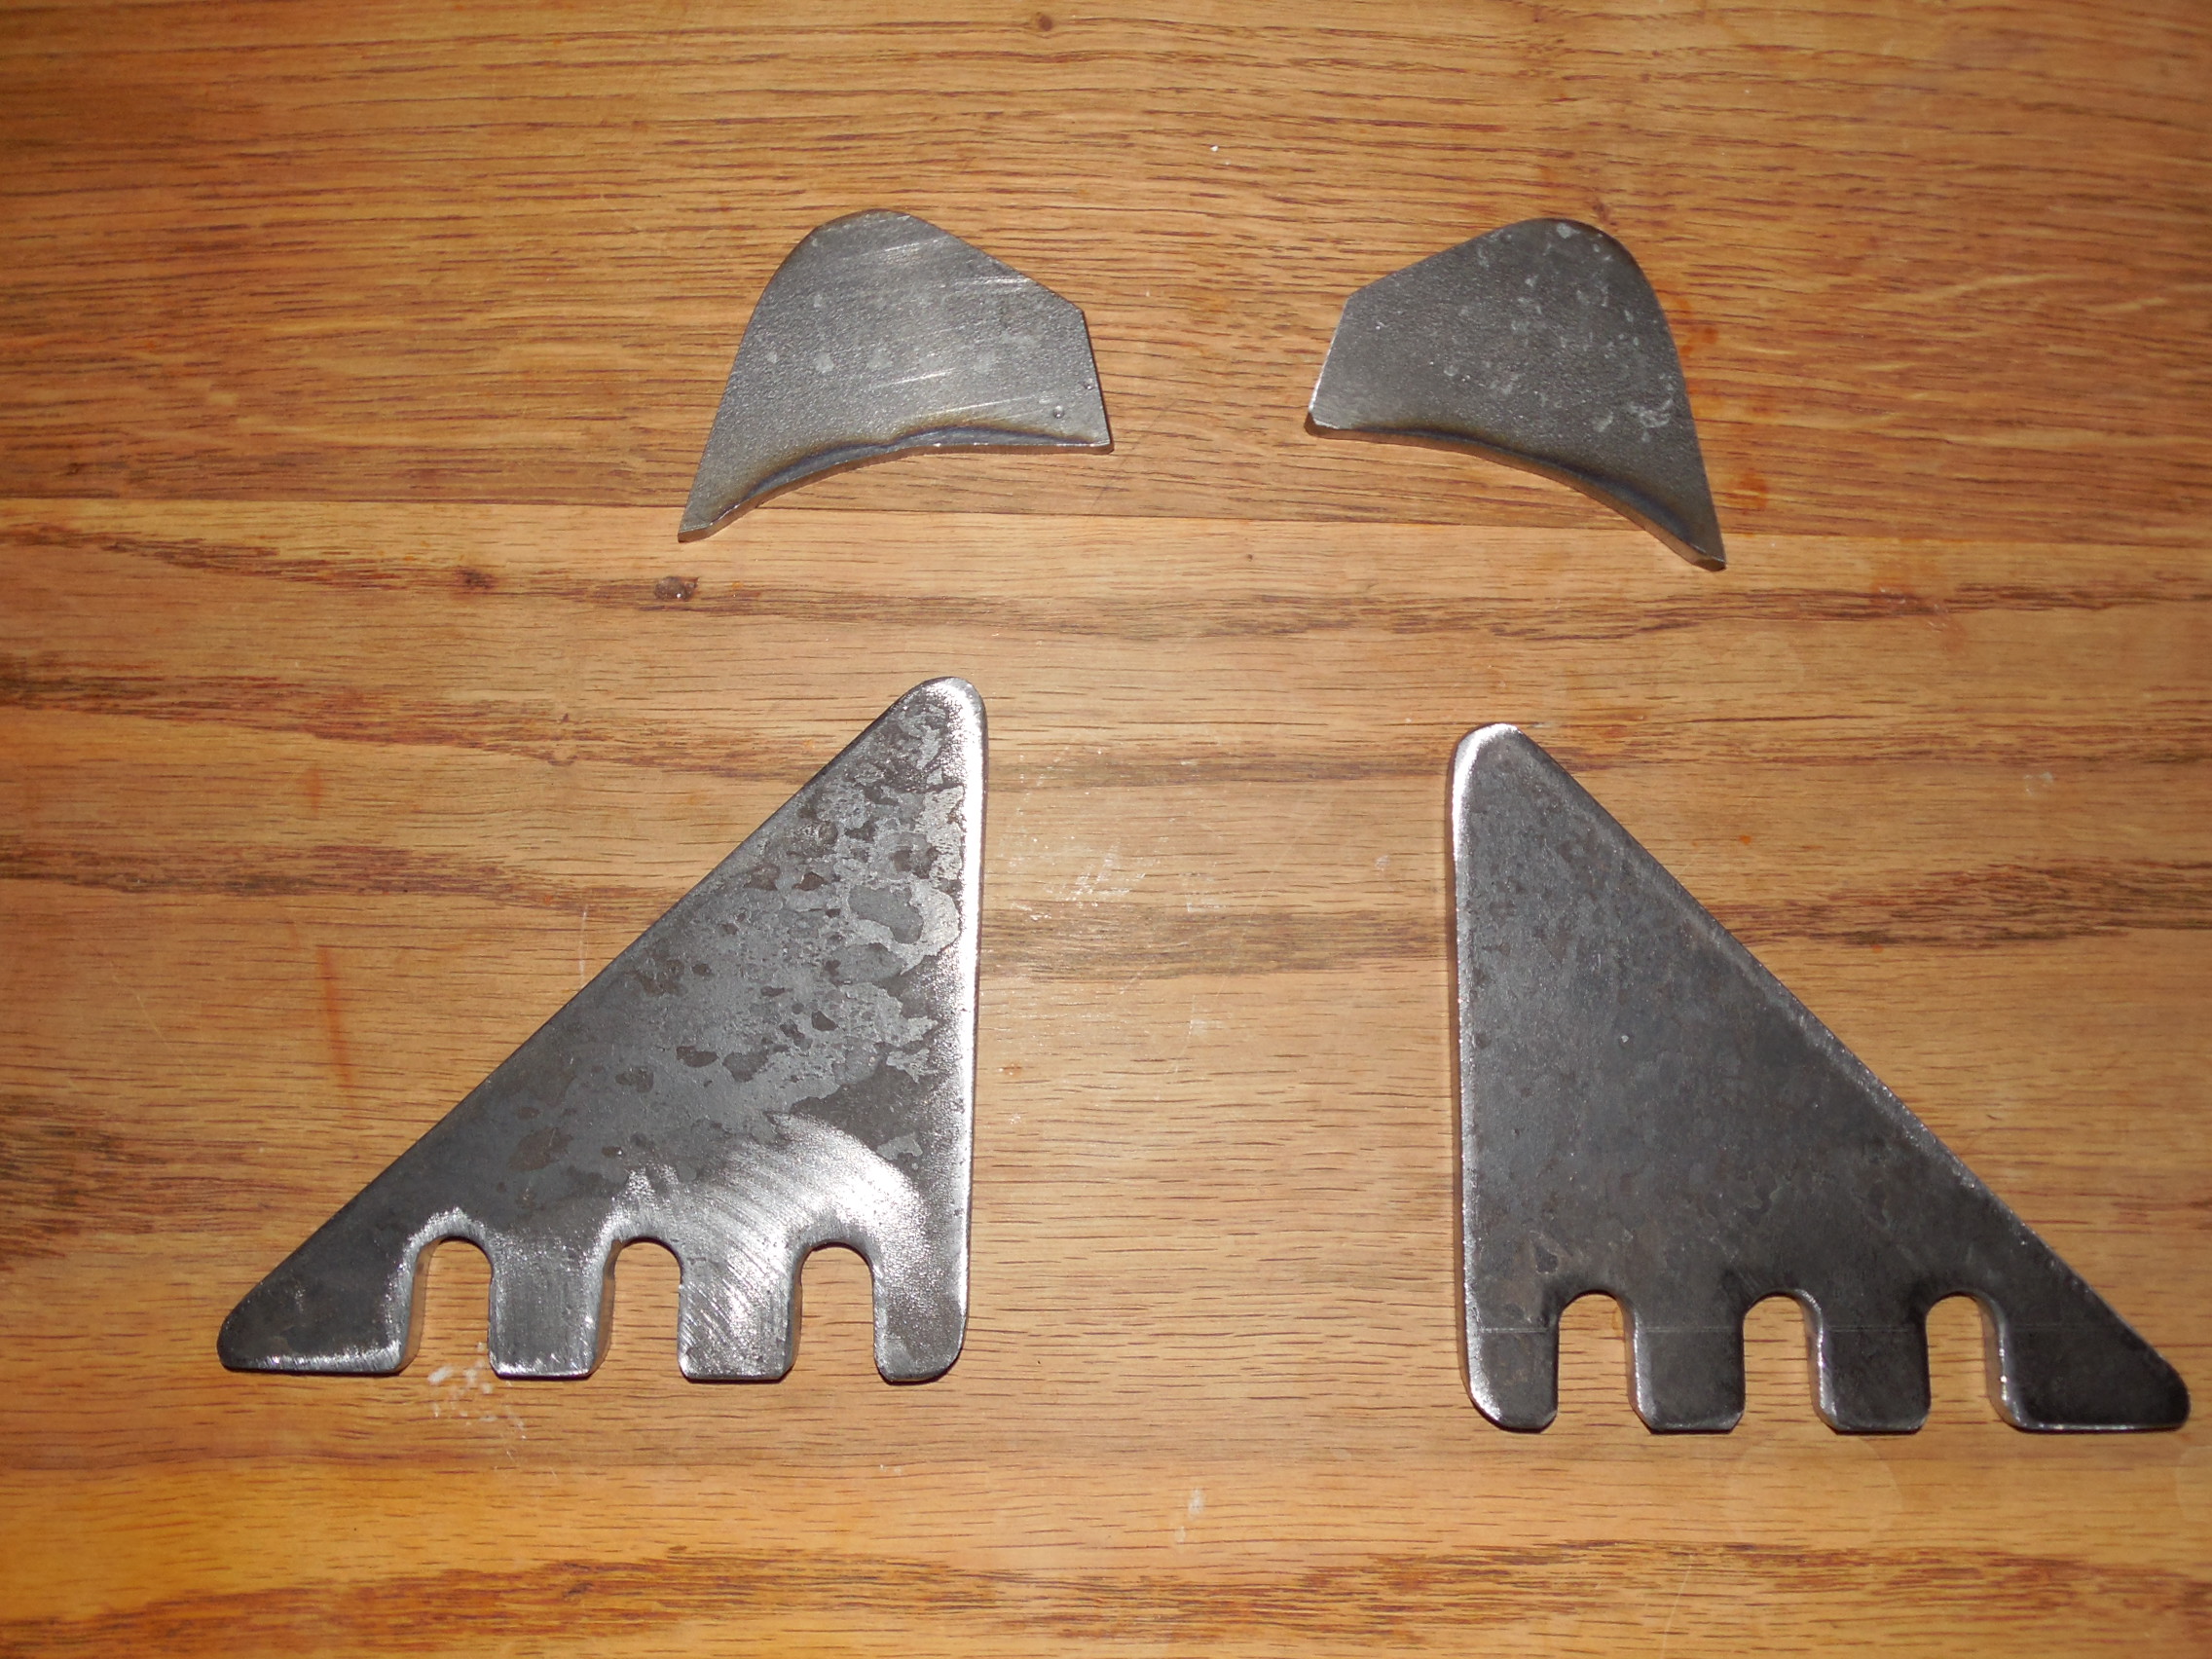
Shannon did a nice job of cutting the top wing plate extensions and bottom fork plates with dropouts.
Steps for Development
We are all agreed that cutting, measuring and welding in steps will be needed to get the fork plate placement right:
- Cut the top wing plate extensions and bottom fork plates with dropouts (done)
- Tack weld the top wing plate extensions (done)
- Attach the top wing plate extensions with small clamps to make vertical, with the front casters raised and ZX-1 attached (done)
- Drill holes in the top wing plate extension
- Tack weld the bottom fork plates
- Test with the front casters raised and ZX-1 attached and Rob using it, to see how it trails with different dropouts.
- Remove any not needed dropouts and any not needed welded parts on the fork and finish edges, and possibly cut steering tube.
- Finish off the surfaces and possibly paint
Photo’s April 2014
-

- John and Shannon (and Jane the dog)
-
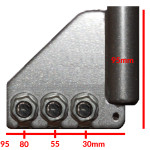
- Wing plate extension
-
- Fork plate
-
- Concept with no trail
-
- Concept with max. 80mm trail
Our welder friends Shannon and John came over and we did a long walk-through of all of the requirements, reviewed all the equipment, and started on the development phase.
It takes time to understand all of the variables involved, but they were totally up to the task, listened and questioned well and “got it!” (thanks guys). It’s also great to have a nice father and son team working on this. Shannon is going to do most of the work as he has time, but it’s nice to have John’s seasoned input too. I’m so glad to have friends willing to help on this, and put up with my lack of welding knowledge. This was also done on Rob’s birthday, and was an extra special gift.
Wing plates
Shannon made an excellent suggestion right from the start, that made a lot of sense. Instead of extending the steering plates, he is going to extend the wing plates. It will be easier to weld and stronger, and not as complicated as dealing with the differences on both sides of the steering plates.
- The current top wing plates are 5 mm thick (not standard, but John found some)
- Cut 2 plates using the template and drill 3 holes for 6 mm hex screws
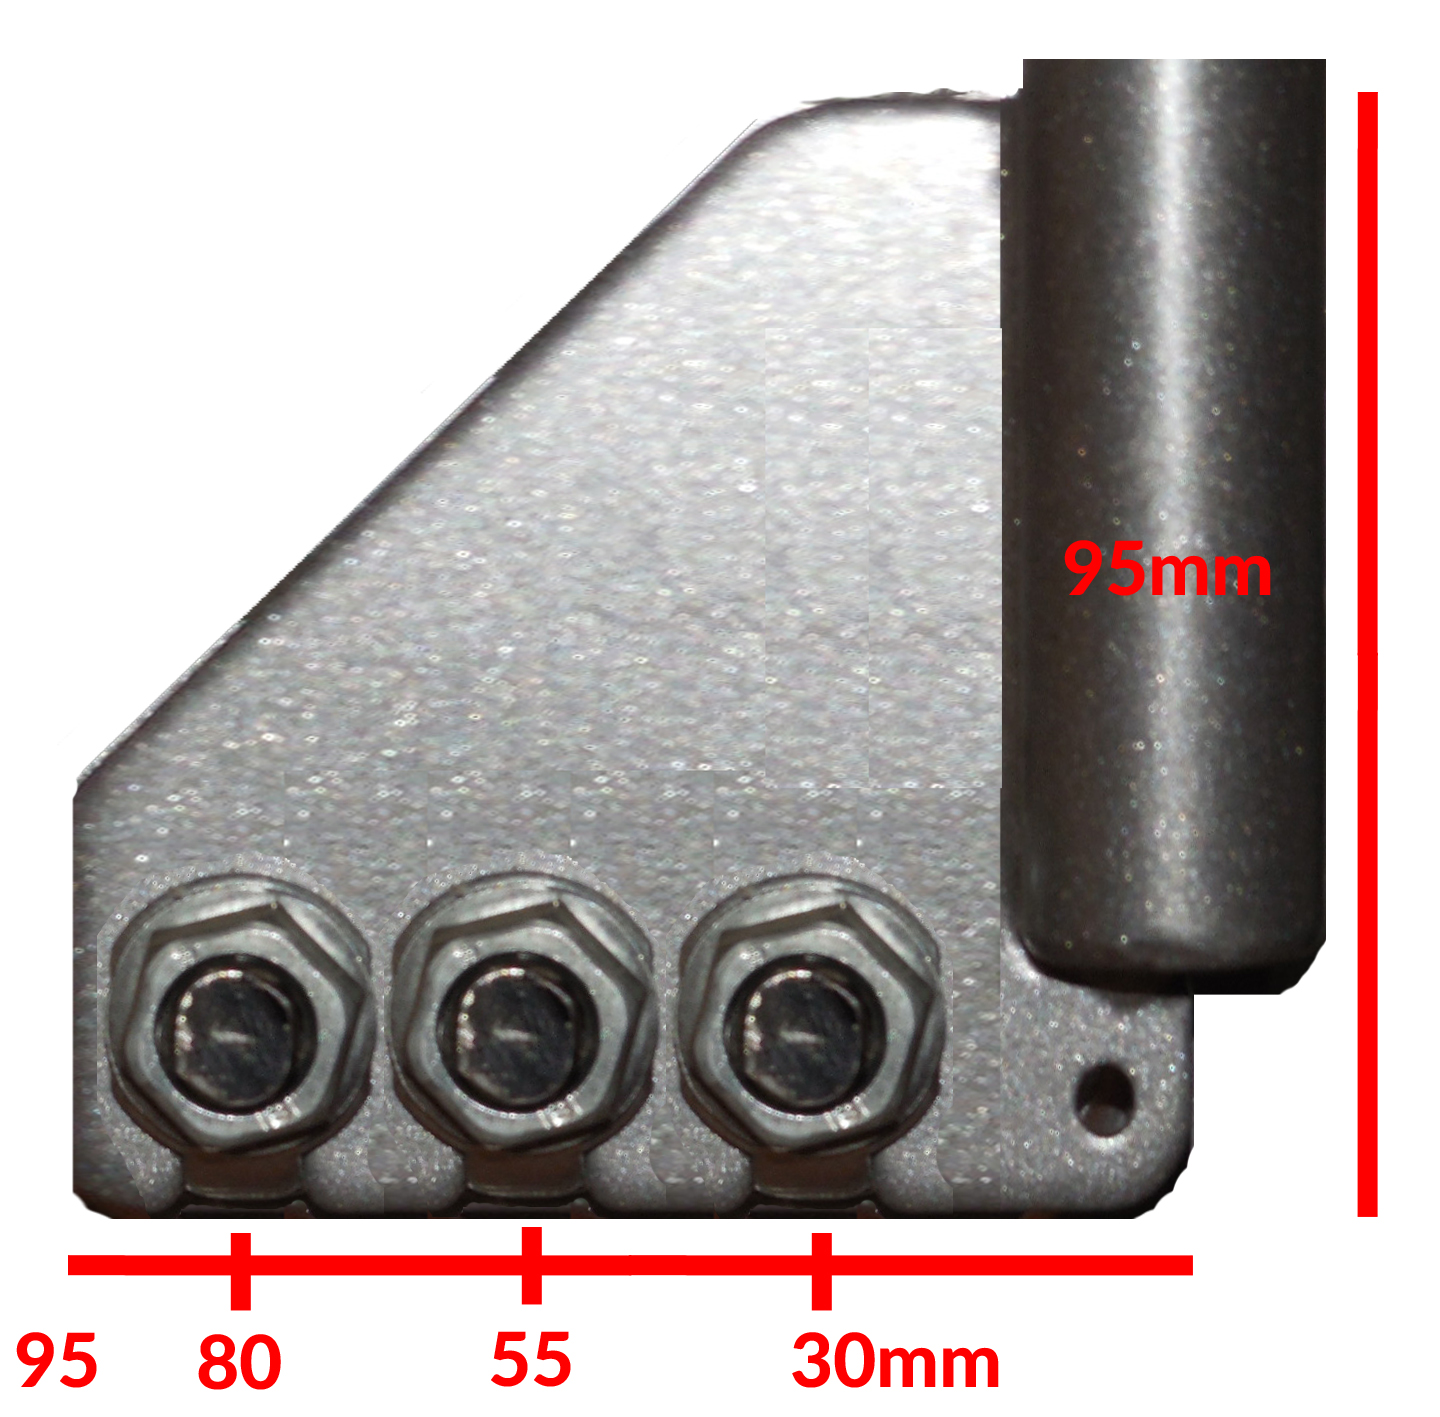
Fork plates
For the wing plates, we agreed that we need to test this with a few options to see how it will trail. We also are sure that it can not be longer than 100mm or the wheel will be in the way of Rob’s feet. We are hoping for 55mm, but are giving room for up to 80mm. They agreed that just a vertical dropouts would be sufficient. For strength, it will be better if the width and height of the wing plates are for the most part equal, to make it about a right triangle.
- Cut 2 triangular plates about 95 mm width x 95 mm length (max. 100 mm)
- Drill 3 holes for 10 mm axle with vertical dropouts on each extension
- First hole is 30 mm at center from the right edge with about 25 mm from the center between holes